How To Effectively Use a Bread Knife?
Key Takeaways:
- Choose the right bread knife to fit your needs and consider the serrations, length, and blade material for optimal results.
- Use a sawing motion with slight pressure to slice through bread with ease, avoiding pressing or forcing the knife.
- Maintain a consistent angle and grip while cutting to ensure even slices and avoid shredding the bread.
- Keep the bread knife sharp and store it properly to extend its lifespan and maintain its effectiveness.
Have you ever struggled to cut a fresh loaf of bread without squishing it? A bread knife can be a game-changer when it comes to neatly slicing through your favorite crusty bread.
But, using one properly takes a bit of know-how.
In this guide, I’ll share essential tips and techniques for using a bread knife like a pro. From choosing the right knife to mastering the art of slicing bread, I’ve got you covered.
Plus, I’ll also go over how to use your bread knife to cut other foods and keep it sharp for optimal performance.
Let’s get slicing!
| Step | Description |
|---|---|
| 1 | Choose a bread knife that is at least 8 inches long and has serrations on the blade. |
| 2 | Hold the loaf of bread with your non-dominant hand while holding the bread knife in your dominant hand. |
| 3 | Place the bread knife at the top of the loaf and make a gentle sawing motion back and forth across the crust. |
| 4 | Continue sawing back and forth until the knife has cut completely through the crust. |
| 5 | Press down gently and saw through the soft bread below the crust, using the serrations on the blade to slice through the loaf. |
| 6 | Repeat the slicing motion for each additional slice of bread. |
Understanding the Anatomy of a Bread Knife: A Guide to Choosing the Right One
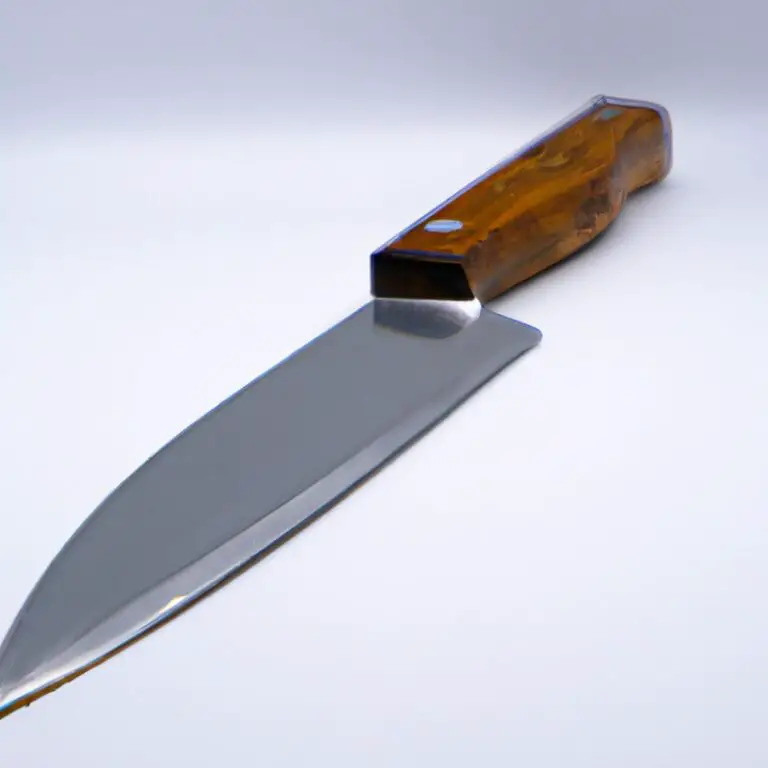
Understanding the Anatomy of a Bread Knife: A Guide to Choosing the Right One When choosing a bread knife, it’s important to understand its anatomy to make an informed purchase. A bread knife typically has a long, serrated blade that allows for easier cutting through crusty bread without crushing the soft interior.
The length of the blade can vary, but it’s generally between 7-12 inches.
The teeth of the blade are called serrations and are what differentiates a bread knife from other types of knives. The serrations can be pointed or rounded and the number of serrations can also vary.
A bread knife with fewer serrations will have larger teeth and produce larger, more uneven slices.
Another important aspect to consider is the handle. The handle should have a comfortable grip and be made of a material that provides a good amount of friction to prevent the knife from slipping.
Handles can be made of different materials such as wood, plastic, or metal.
When choosing a bread knife, it’s important to pick one that is well-balanced, sharp, and meets your specific needs. A good bread knife should be able to effortlessly glide through bread without requiring too much pressure or sawing motion.
By understanding the anatomy of a bread knife, you can choose the right one for your needs, ensuring effortless cuts of your bread for an enjoyable experience.
The Basics of Using a Bread Knife: Proper Hand Placement and Cutting Techniques
Proper hand placement and cutting techniques are crucial to using a bread knife effectively. When using a bread knife, always use gentle pressure and a back-and-forth sawing motion rather than a downward chopping motion.
This helps to prevent squishing the bread and ensures clean slices.
Place your non-dominant hand on the top of the loaf to steady it, while holding the handle of the knife with your dominant hand. Use the serrated blade to guide the knife back and forth through the loaf.
Be sure to hold the knife at a slight angle, with the tip of the blade pointing down towards the cutting board.
When the crust is thick and hard, you may need to apply slightly more pressure to penetrate it. When slicing soft loaves, use light, gentle pressure to avoid compressing the bread.
Make each slice as even as possible to ensure consistent results.
It is essential to take your time and be patient when slicing bread. With consistent practice, anyone can become a pro at slicing bread with a bread knife.
Common Mistakes to Avoid When Using a Bread Knife
Common Mistakes to Avoid When Using a Bread Knife:
- Serrated edges are delicate: Avoid putting too much pressure on the serrated edge of the knife when slicing bread. Instead, let the serrated teeth do the work.
- Cutting straight down: Avoid the mistake of cutting bread straight down. This will result in squished loaves. Slice with a back-and-forth motion, letting the serrated teeth grip the bread.
- Wrong bread knife size: Avoid using the wrong bread knife size. Choose the correct blade length to match the size of your bread. A small serrated knife is perfect for smaller loaves, while a larger bread knife is ideal for larger loaves.
- Overhandling the bread: Avoid overhandling the bread when slicing, as it can lead to squished loaves and uneven slices. Handle the bread lightly while making even slices.
- Dull blades: Avoid using a dull bread knife. It won’t work efficiently when slicing through bread, making it squished and uneven. Keep your bread knife sharp and regularly sharpen it when needed.
- Not cleaning the bread knife properly: Avoid not cleaning the bread knife properly. Bread crumbs and other residue may build up and cause the knife’s overall quality to deteriorate. Clean the knife thoroughly after every use.
By avoiding these common mistakes, you’ll be able to slice bread efficiently and prevent unwanted damages and frustration.
The Importance of Keeping Your Bread Knife Sharp and How to Do It
A sharp bread knife is crucial for effective slicing and preventing damage to your bread. Using a dull bread knife can lead to crushing and tearing, which can result in uneven slices and spoiling bread.
In addition, a sharp bread knife can also improve safety by reducing the risk of slipping while cutting.
To keep your bread knife sharp, it’s recommended to use a honing steel regularly. Simply hold your knife at a 20-degree angle and glide it down the honing steel a few times on each side.
Another option for sharpening is using a sharpening stone, which should be used about once or twice a year depending on usage.
Be sure to clean your bread knife before and after sharpening to prevent any buildup of dirt or debris. With these tips, you can ensure that your bread knife remains sharp and effective in the long run.
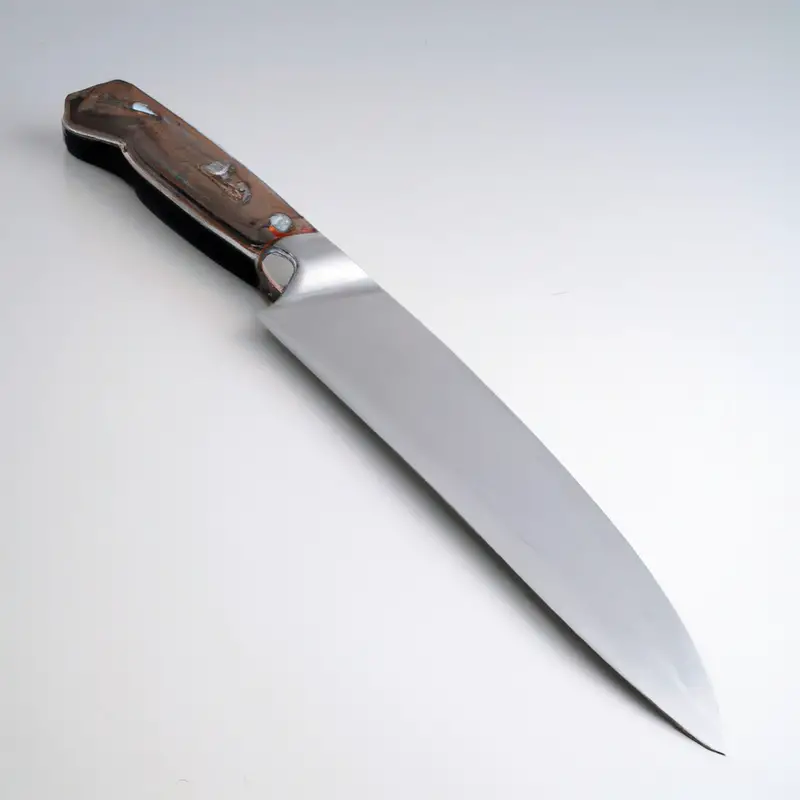
Mastering the Art of Slicing Bread: Tips and Tricks from the Pros
Mastering the art of slicing bread takes practice and skill. Here are some tips and tricks from the pros to help you slice your bread evenly and professionally:
- Start with a sharp bread knife: A sharp blade will make slicing through your bread easier and cleaner. Make sure to use a bread knife specifically designed for slicing bread, with a serrated edge that can gently saw through the loaf without crushing it.
- Use a sawing motion: Instead of pressing down on the bread, use a sawing motion to gently guide the blade through the loaf. This will help you slice through the bread without flattening it or squishing the slices together.
- Mind your hand placement: Hold the bread with one hand, and use the other hand to guide the knife through the loaf. Make sure to keep your fingers away from the blade to avoid any accidents.
- Cut your bread into even slices: If you’re serving your bread to guests, it’s important to slice it into even slices for a professional presentation. You can use a ruler to guide your slices and ensure they’re all the same size.
- Store your bread properly: Once you’ve sliced your bread, make sure to store it properly. Wrap it in plastic wrap or an airtight container to keep it fresh for longer.
With these tips and tricks, you can perfect your bread-slicing skills and impress your friends and family with your professional-looking bread slices.
Choosing the Right Bread for Your Bread Knife: A Comprehensive Guide
When it comes to choosing the right bread for your bread knife, it’s important to look for loaves with a thick, crusty exterior and a soft, fluffy interior. Artisan bread, sourdough, and French bread are all good options.
Stay away from fluffy, soft bread as it may squish and deform during slicing.
Additionally, avoid bread with a lot of nuts, seeds, or dried fruit, as they can make your knife dull. For best results, choose a bread that is at least a day old and has had time to dry out a bit.
This will make it easier to cut with precision and prevent tearing or crumbling.
By choosing the right bread for your bread knife, you can ensure a smooth, even slice every time.
Slicing Bread with Precision: Techniques for Even Slices
Slicing bread evenly can be challenging, but with the right technique, it can be effortless. Firstly, it’s essential to use a bread knife with a serrated edge.
Place the bread on a flat surface and hold it down with one hand.
With your other hand, saw back and forth, using the teeth on the blade to slice through the loaf without applying too much pressure. Try to maintain a constant angle and use slow and even movements.
If you need to cut a lot of slices, it’s advisable to adjust the loaf’s position after every cut.
By following these simple tips, you’ll be able to slice bread with precision and ease.
How to Use a Bread Knife to Cut Other Foods: Meats, Fruits, and Vegetables
A bread knife isn’t exclusively for bread alone; you can also use it to cut other foods. When it comes to meats, use a sawing motion to slice through thick cuts like roasts, ham or poultry.
For fruits, such as tomatoes and melons, use a gentle sawing motion to achieve clean, even slices without crushing the fruit’s flesh.
For vegetables, like eggplant and squash, use the same sawing motion, applying gentle pressure to avoid tearing the flesh. However, it’s still essential to maintain the sharpness of your knife to avoid crushing, ripping or tearing, as dull knives tend to grab and rip apart the food.
Also, remember to keep your fingers and hands out of harm’s way by using the proper grip and leverage when slicing through any food item.
Maintaining Your Bread Knife: Cleaning and Storage Best Practices
Maintaining Your Bread Knife: Cleaning and Storage Best Practices A well-maintained bread knife can last for years and make slicing bread a breeze. Here are some cleaning and storage tips to keep your bread knife in top shape: Cleaning:
- Wash by hand: Avoid putting your bread knife in the dishwasher as the high heat and detergent can damage the blade.
- Use mild soap: Use a gentle soap and warm water to clean the blade thoroughly.
- Dry the blade: Dry the blade immediately after washing to prevent rust and corrosion.
- Avoid abrasive cleaners: Do not use abrasive cleaners or scrubbers on the blade as it can scratch the surface.
Storage:
- Use a sheath or blade guard: Protect your bread knife by using a sheath or blade guard when it’s not in use.
- Store it in a safe place: Store your bread knife in a dry, cool place away from other knives or utensils.
- Secure the blade: Make sure the blade is secured and covered to avoid accidents when reaching for it.
By following these simple cleaning and storage practices, you can ensure your bread knife stays sharp and in excellent condition for years to come.
How to Sharpen Your Bread Knife: DIY vs. Professional Sharpening
There are two ways to sharpen your bread knife: DIY or professional sharpening. DIY sharpening is inexpensive and can be done at home using sharpening stones or electric sharpeners.
However, it requires some skill and practice to get it right.
Professional sharpening, on the other hand, is more expensive but provides precision and consistency, ensuring your bread knife is sharpened to the correct angle and edge. It’s recommended to sharpen your bread knife professionally at least once a year, depending on usage.
Ultimately, the choice between DIY and professional sharpening depends on your budget, skill level, and personal preference.
Final Verdict
Mastering the art of using a bread knife is essential for perfectly sliced bread and a seamless kitchen experience. Remember to choose the right bread knife based on its anatomy, hand placement, and cutting technique.
Avoid common mistakes and keep your knife sharp for precise slices every time.
To take your bread slicing skills to the next level, experiment with different bread types and try cutting other foods with your bread knife. By maintaining your knife with proper cleaning and storage techniques, you can ensure its longevity.
Whether you choose to DIY or seek professional sharpening, always prioritize safety and accuracy.
Armed with these tips and tricks, you’ll be able to confidently wield your bread knife like a pro and impress guests with your perfectly sliced loaves.
