How To Fillet a Lemon Sole Using a Fillet Knife? Tips
Key Takeaways:
- A fillet knife is essential for filleting a lemon sole properly.
- Make sure to remove all the bones while filleting to avoid any choking hazard.
- Take your time and be patient when filleting to ensure that you get the best possible result.
- Practice makes perfect- with enough practice, filleting a lemon sole will become second nature.
Are you a seafood lover who enjoys experimenting with different fish recipes? Then mastering the art of filleting fish is a must! One fish that is worth learning to fillet is the succulent Lemon Sole with its delicate flavor.
With the right tools and techniques, filleting a Lemon Sole can be easy and enjoyable.
In this article, I’ll show you how to fillet a Lemon Sole using a fillet knife, step-by-step. From choosing the right knife to storing the fillets correctly, this guide has got you covered.
Get ready to impress your guests by serving perfectly filleted Lemon Sole!
| Steps | Description |
|---|---|
| Step 1 | Place the lemon sole on a stable surface, such as a cutting board, with its tail facing away from you. |
| Step 2 | Insert the tip of the fillet knife at the top of the fish’s head and cut along the backbone towards the tail, using the backbone as a guide. |
| Step 3 | At the end of the ribcage, cut through the bones to release the fillet. |
| Step 4 | Flip the fish over and repeat steps 2 and 3 to fillet the other side of the fish. |
| Step 5 | Trim away any remaining bones or skin from the fillet and repeat on the other side of the fish. |
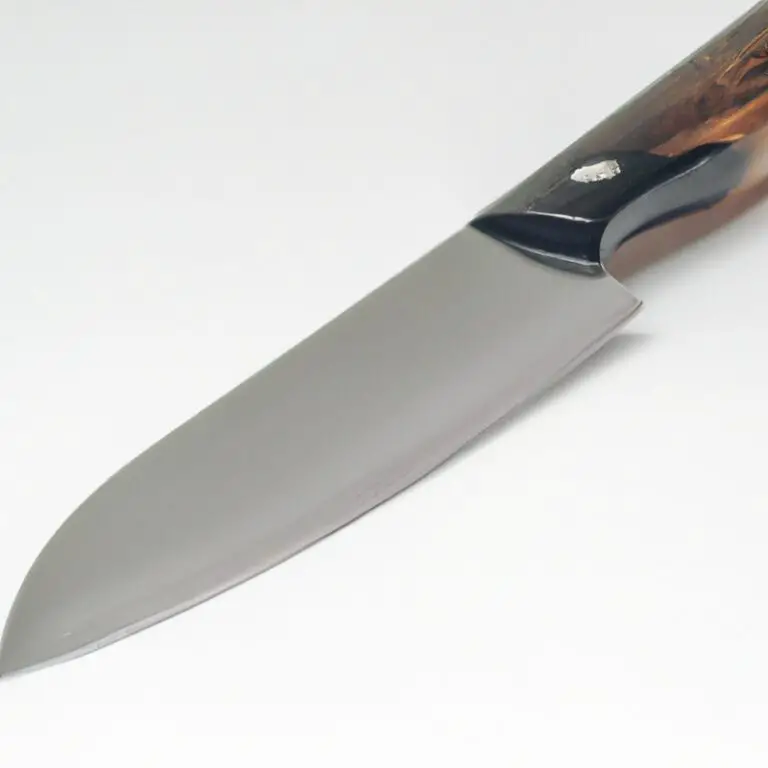
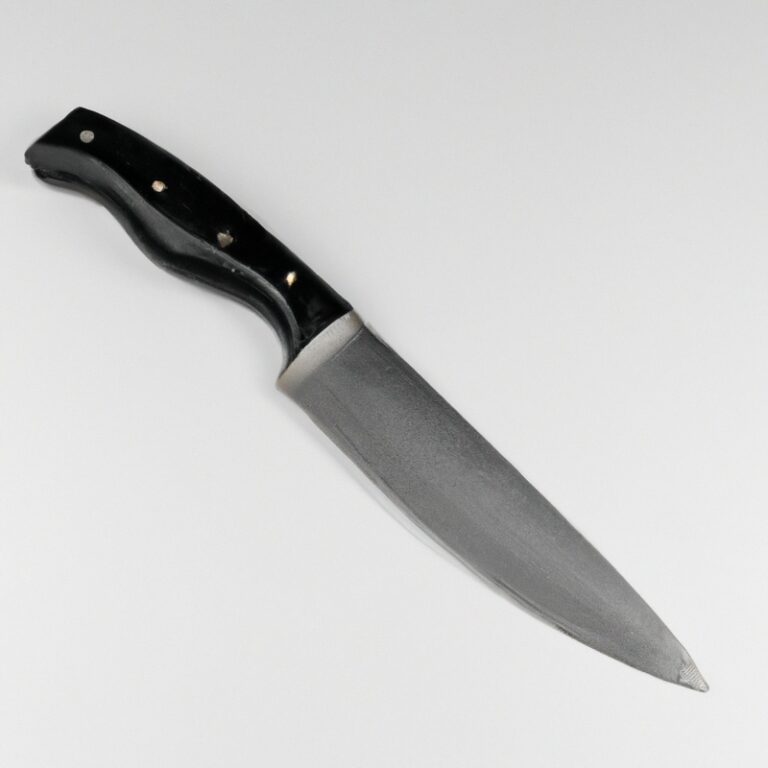
Choosing the Right Fillet Knife
When selecting a fillet knife, there are a few key factors to consider. The length of the blade is crucial; look for a knife with a blade that is at least as long as the fish you will be filleting.
Flexibility is also important; a more flexible blade will easily contour to the fish’s bone structure, making for a cleaner cut.
Additionally, opt for a knife with a comfortable handle that fits your grip well to reduce hand fatigue. A sharpening tool should also be on hand to maintain the blade’s sharpness.
Investing in a high-quality fillet knife can make the filleting process easier and more precise.
Preparing the Lemon Sole for Filleting
To prepare a lemon sole for filleting, first, rinse the fish under cold water to remove any scales or debris on the skin. Then, lay it on a flat surface and cut off the head just behind the gills using a sharp knife.
Next, cut off the tail, just above the anal fin.
Make a small incision along the spine of the fish, starting from the head towards the tail. Use the tip of the knife to gently separate the flesh from the bones, pulling the fillet away from the bones as you go.
Take care not to cut through the bones or leave any flesh behind.
Once you’ve removed one fillet, flip the fish over and repeat the process on the other side. Finally, rinse both fillets under cold water to remove any loose bones or debris and pat them dry with a paper towel.
By properly preparing the lemon sole for filleting, you’ll be able to remove the fillets easily and ensure that they are free from any unwanted bones or skin.
Removing the Head and Tail of the Fish
To remove the head of the lemon sole, place the fish on a cutting board with its head facing towards you. Hold the head firmly with one hand and insert the tip of the fillet knife behind the gills towards the head.
Cut through the flesh and bones down to the spine, and then repeat on the other side.
Once both sides have been cut, twist the head to break it off. To remove the tail, hold the fish near the tail end and insert the fillet knife in a shallow angle towards the tail.
Cut through the flesh and bones until the knife meets resistance.
Then, lift the tail end and break it free from the rest of the fish. Once the head and tail have been removed, you are ready to move on to the next step in the filleting process.
Making the First Incision
To make the first incision, place the lemon sole on a flat surface, and insert the tip of the fillet knife into the flesh just behind the gills. Cut straight down to the backbone, making sure not to puncture any internal organs.
Use the backbone as a guide and continue cutting down towards the tail, following the natural contour of the fish’s body.
Take your time and use smooth, controlled strokes to avoid damaging the flesh or bones. Once you reach the tail, cut through the skin to separate the fillet.
Repeat the process on the other side of the fish.
Remember to keep the blade of the fillet knife angled towards the bone to ensure a smooth transition from the flesh to the skin. With practice, making the first incision will become easy and effortless, resulting in neat, clean fillets ready for cooking.
Removing the Skin from the Fillet
To remove the skin from the fillet, place the fillet skin-side down on a cutting board. Insert the blade of the fillet knife between the skin and the flesh, angling it slightly towards the tail end.
Holding the skin with one hand and the knife with the other, slowly and gently pull the knife along the fillet, separating the skin from the flesh.
Use a sawing motion to remove the skin without wasting any of the meat. Repeat the process on the other fillet, and you will have two boneless, skinless fillets ready to cook.
Removing the skin with a fillet knife can be tricky at first, but with practice, you will be able to do it effortlessly.
Removing the Rib Bones from the Fillet
To remove the rib bones from the lemon sole fillet, make an incision along the length of the rib bones from the tail end. Once you have cut through the ribs, use the tip of the fillet knife to carefully slide the blade underneath the bones.
Apply gentle pressure while lifting the bones using a pair of fish bone tweezers.
Use a gentle pulling motion to remove the rib bones completely. Repeat the process on the other side of the fish to remove the rib bones completely.
Be careful not to damage the fillet while removing the rib bones.
Once you have removed the ribs, you can proceed to remove the pin bones from the fillet.
Removing the Pin Bones from the Fillet
Removing the pin bones from the fillet is an essential step in preparing a boneless fillet. To do this, run your finger over the fillet to locate the bones.
Use pliers or tweezers to remove the bones, starting from the tail end of the fillet and pulling them out in the opposite direction they are pointing.
Be careful not to tear the flesh while removing the pin bones. Once all the bones have been removed, use a sharp knife to trim any remaining bone fragments.
Repeat the same process on the other side of the fish to get a clean, boneless fillet.
With this step done, your filleted lemon sole is now ready for cooking.
Cleaning and Trimming the Fillet
After removing the pin bones, the next step is to clean and trim the fillet. This will ensure that the fillet is ready to be cooked.
First, use cold water to rinse the fillet and remove any remaining scales or bones.
Then, gently pat the fillet dry with a paper towel. To trim the fillet, use a sharp fillet knife to remove any excess fat or skin.
Run the knife along the length of the fillet, using a gentle slicing motion to remove any uneven thickness or unwanted flesh.
Be careful not to cut too deeply and remove too much meat. Once the fillet is cleaned and trimmed, repeat the process on the other side of the fish.
This will give you two equal fillets ready for cooking.
It is essential to note that if you intend to store the fillets, ensure they are refrigerated or frozen to maintain freshness. Now that you have learned how to fillet a lemon sole using a fillet knife, it’s time to put your skills to work and enjoy your delicious meal.
Repeat the Process on the Other Side of the Fish
After completing the first side of the lemon sole, it’s time to repeat the process on the other side of the fish. Place the fish on its opposite side and repeat the same steps for filleting.
Make the first incision behind the head and continue cutting towards the tail, keeping the blade flat against the bones.
Again, carefully remove the skin, ribs, and pin bones using a fillet knife or pair of pliers. Once you have filleted both sides of the lemon sole, discard the head, tail, and any leftover bones.
You can now store the fillets in an airtight container in the refrigerator until ready to use.
Remember to use them within 2-3 days of filleting for best freshness and flavor.
Storing the Fillets Correctly
Proper storage of filleted fish is essential to maintain its freshness and prevent spoilage. After filleting your lemon sole, wrap the fillets tightly in plastic wrap or aluminum foil.
You can also place them in an airtight container.
Store the fillets in the coldest part of the refrigerator, preferably at a temperature of 32°F to 38°F. For best results, use the fillets within 2-3 days of filleting.
When freezing, ensure that the fillets are properly wrapped and labeled with the date of freezing to avoid confusion.
When thawing, it is recommended to do so in the refrigerator to prevent spoilage.
Final Verdict
Filleting a lemon sole using a fillet knife can seem overwhelming at first, but with the right technique and tools, it becomes effortless. Always ensure that you’ve chosen the right fillet knife for the job, and follow a step-by-step process for flawless results.
By removing the head and tail of the fish, making a first incision, and carefully removing the skin, rib bones, and pin bones, you’ll have a perfectly cleaned fillet to enjoy.
Remember to clean and trim the fillet properly and repeat the process on the other side of the fish. Finally, store the fillets correctly for optimal freshness and taste.
By following these steps, you’ll be a pro at filleting a lemon sole in no time.
Practice makes perfect, so grab a fish and put your newfound knowledge to the test!