How To Fillet a Red Snapper Using a Fillet Knife? – Like a Pro!
Key Takeaways:
- A sharp fillet knife is essential for filleting a red snapper with precision.
- Begin by making a shallow cut along the spine and then use long, smooth strokes to remove the fillet.
- Take your time and work carefully to avoid cutting through bone or leaving flesh on the skin.
- Practice makes perfect, so keep practicing and honing your filleting skills to become an expert.
Are you tired of buying pre-packaged fillets from the store that never seem to taste as fresh? Why not try filleting your own red snapper at home?
With the right tools and technique, filleting a fish can be a simple and satisfying process.
In this article, I will guide you through each step of filleting a red snapper using a fillet knife. From preparing the fish to cleaning up, you will feel like a pro in no time.
So put on your apron and let’s get started!
| Steps | Actions |
|---|---|
| Step 1 | Remove the scales from the red snapper by scraping them off with a spoon or scaler. Start at the tail and work towards the head. |
| Step 2 | Hold the head of the red snapper with one hand and make a cut behind the gills with a sharp fillet knife. |
| Step 3 | Run the blade of the fillet knife along the spine of the red snapper in one smooth motion towards the tail. |
| Step 4 | Turn the red snapper over and repeat step 3 on the other side of the fish. |
| Step 5 | Flip the red snapper over so it is lying flat on the cutting board with the stomach facing up. |
| Step 6 | Run the fillet knife along the belly of the red snapper to remove the fillet, being careful not to cut into the bones. |
| Step 7 | Repeat step 6 on the other side of the red snapper. |
| Step 8 | Remove any remaining bones from the fillets using a pair of fish bone pliers or tweezers. |
Preparing for the Filleting Process
Before getting started with the filleting process, there are a few essential steps you need to take to prepare the fish properly. First, make sure you have a sharp fillet knife that fits your hand comfortably.
Dull knives can make the process more challenging and increase the risk of injury.
You can sharpen the blade using a sharpening stone or a honing steel. Next, prepare your workspace and ensure you have a clean, flat surface to work on.
You can place a non-slip cutting board or a damp towel beneath the fish to prevent it from slipping while you work.
Position the red snapper on its side and secure it using a clamp or by placing it on a clean towel. Removing the scales from the skin can be messy, so it’s best to do it outside or in an area that’s easy to clean.
You can use a scaling tool or the back of a knife to scrape the scales off in a gentle motion.
Once the fish is clean and secure, begin the filleting process by making a diagonal cut behind the gills to the spine. Hold the fish tightly and use a gentle sawing motion to cut through the spine and remove the head.
Continue by cutting along the spine and removing the fillet using long, smooth strokes.
After removing the first fillet, repeat the process on the other side to get the second fillet. Once the fillets are clean, remove the bones using tweezers, pliers, or a fish bone removal tool.
Lastly, rinse the fillets with cold water and pat them dry with a paper towel.
Now you’re ready to cook your red snapper fillets and enjoy a delicious meal.
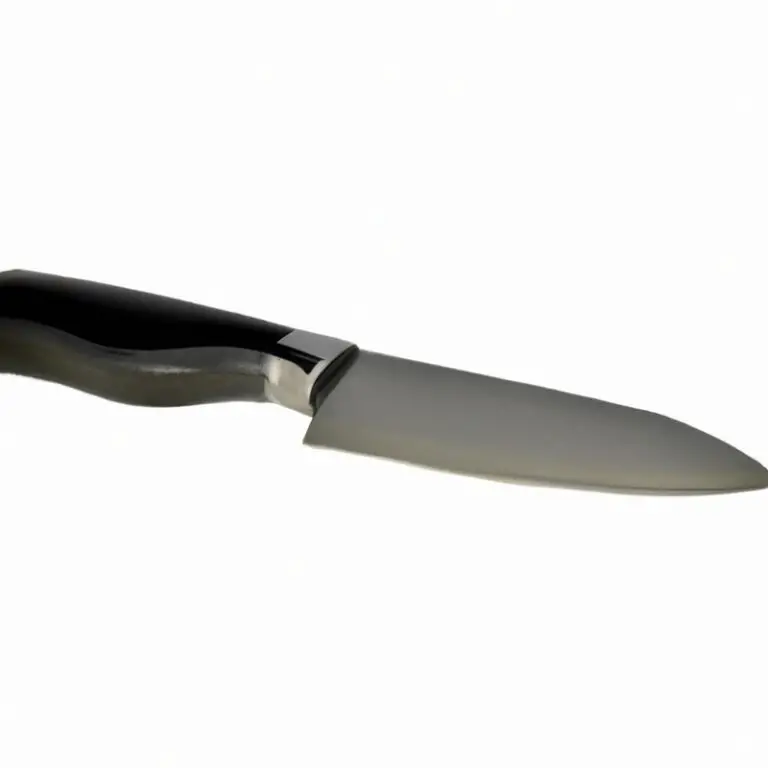
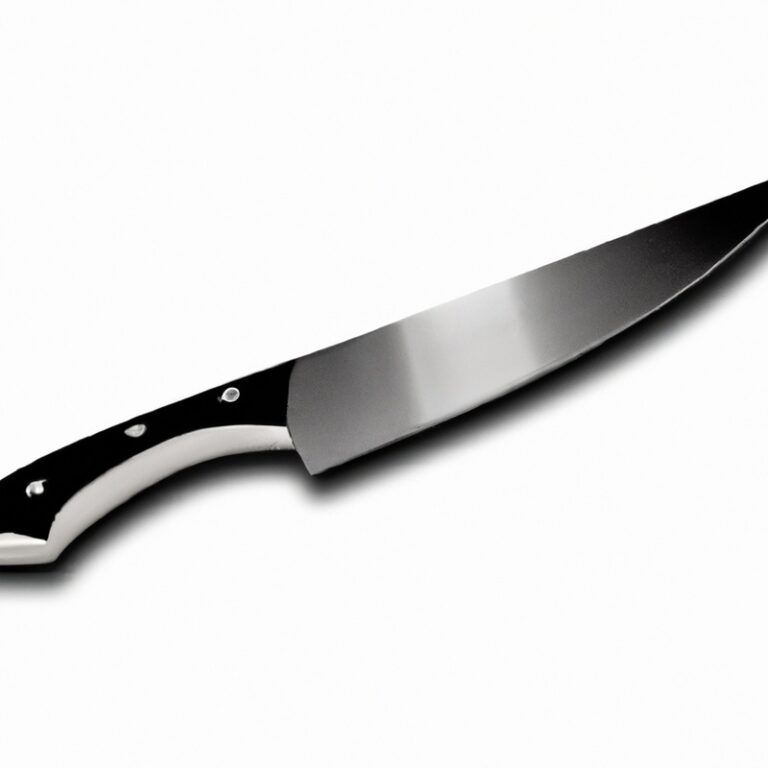
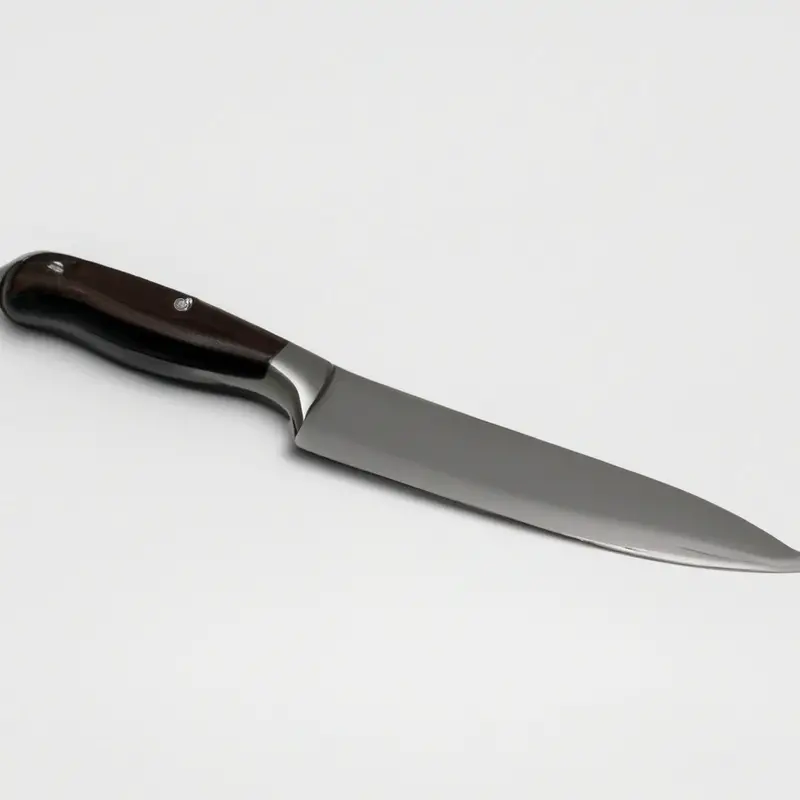
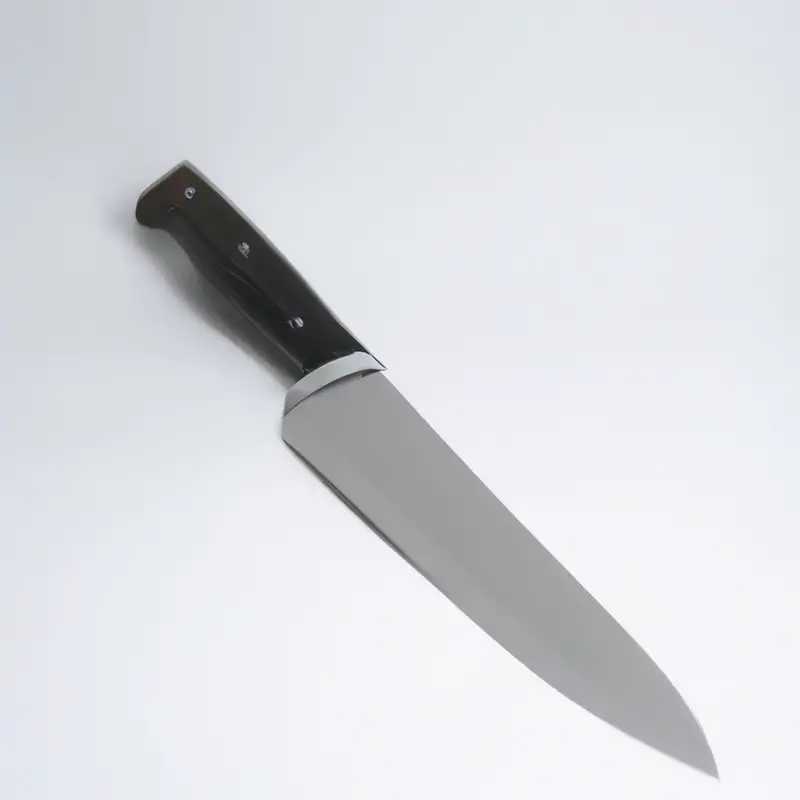
Choosing the Right Fillet Knife
When it comes to choosing the right fillet knife for filleting a red snapper, there are a few important factors to keep in mind. Firstly, the size of the knife matters – typically, a blade between 6 and 9 inches long is ideal for filleting fish.
Secondly, consider the flexibility of the blade.
A more flexible blade can contour to the shape of the fish, making it easier to remove bones and skin. Additionally, the handle of the knife should be comfortable to grip and offer a secure, non-slip hold to avoid accidents during the filleting process.
Finally, choose a high-quality fillet knife made with durable materials, such as stainless steel, to reduce the need for frequent sharpening.
By selecting the right fillet knife, you’ll ensure a smooth and efficient filleting process, resulting in the most delicious and visually appealing fillets of red snapper.
Positioning and Securing the Red Snapper
Positioning and securing the red snapper correctly is essential for a successful filleting process. Firstly, rinse the fish under running water and pat it dry with a paper towel.
Place the fish on a flat surface with its belly facing up towards you.
If you want to save the head, cut it off before filleting by making a clean cut just behind the gills. Next, insert the fillet knife behind the pectoral fin and cut towards the head, following the backbone towards the tail.
After making the first cut, turn the knife perpendicular to the backbone and slice the meat away from the rib bones.
Make sure to keep the knife parallel to the spine to get an even thickness of meat. Use your non-dominant hand to hold the fish steady while filleting.
Once one fillet is removed, flip the fish over and repeat the process on the other side.
Remember to keep the blade at a shallow angle and glide it over the bones. Securing the red snapper in place will help eliminate potential accidents.
You can use a clamp or a fillet board to hold the fish during the filleting process.
By correctly positioning and securing the red snapper, you will be able to fillet quickly and with ease, ensuring that you get the most out of your fish.
Removing the Scales and Cleaning the Fish
To start removing the scales from the red snapper, place it on a flat surface and scrape the scales off using a fish scale remover or the back of a knife. Work from head to tail, being careful not to damage the skin.
Once you’ve removed all the scales, rinse the fish with cold water to remove any excess scales or debris.
Next, make a small incision along the belly of the fish and use your fingers to remove the innards, including the spine, organs and gills. Be thorough and ensure that you’ve removed everything, as any remaining organs or gills can contaminate the fish’s meat.
After cleaning the fish, it’s time to rinse it again with cold water, removing any remaining debris.
Pat it dry with paper towels, and your red snapper is now ready for the filleting process.
Starting the Filleting Process
To start the filleting process, locate the red snapper’s spine and make an incision through the skin along the length of the fish from the head to the tail. Use the tip of the fillet knife to gradually cut the flesh away from the bones, angling the knife towards the head of the fish.
Keep the knife blade close to the bones, and follow the contour of the fish’s rib cage until you reach the fillet’s tail.
Repeat the process on the other side of the fish to get two fillets. Always maintain a steady hand and use long, smooth strokes to ensure the fillets are even and uniform in thickness.
With practice, you will develop a rhythm and technique that suits your style and skill level.
Removing the Skin from the Fillet
To remove the skin from the fillet, place the fillet skin-side down on a cutting board. Use a sharp fillet knife, start by making a small cut at the end of the fillet.
Then, work the knife between the skin and the flesh of the fish, using a back and forth sawing motion.
Keep the blade angled slightly downward to ensure that you remove only the skin and not too much flesh. Use gentle pressure and let the blade do the work.
Once the skin is removed, use your fingers to feel for any stray bones.
Remove them with tweezers or pliers. Repeat the process on the second fillet.
With the skin successfully removed, you can now cook the fillets to your liking or portion them out for future meals.
Removing Bones from the Fillet
To remove bones from the fillet, feel along the center line of the fillet for the pin bones. Using a pair of pliers, grasp the tip of the bone and pull it out in the direction of the head of the fish.
Work your way down the fillet, removing all pin bones as you go.
You can use a pair of tweezers if your fillet knife comes with one, to remove even the smallest bones. Be sure to check both sides of the fillet for any missed bones.
Once all the pin bones are removed, your fillet will be ready to cook.
Making the Second Fillet
To make the second fillet, repeat the process on the other side of the red snapper. Start by making an incision behind the gills, cutting down towards the head.
Cut straight down through the spine, stopping just before you reach the tail.
Then, separate the fillet from the spine by running the blade along the rib bones. Remove any remaining bones from the fillet, and repeat the process on the other side.
Finishing Touches to the Fillets
Once you’ve made the two fillets, it’s time to focus on finishing touches to ensure that your fillets are ready for cooking. First, check for any remaining small bones or pin bones.
You can use tweezers or pliers to remove them carefully.
Next, use a sharp fillet knife to trim any uneven edges or parts of the fillet that are thick. This will help the fillet to cook evenly.
If you plan on storing the fillets, make sure to pat them dry with paper towels to remove any excess moisture.
Place each fillet in a plastic wrap and store it in the refrigerator for up to two days. When you’re ready to cook, remove the fillets from the plastic wrap and allow them to reach room temperature before seasoning and cooking.
Finally, don’t forget to properly dispose of the fish head, bones, and scraps.
Cleaning up after the filleting process is important to maintain hygiene in your kitchen. Wash your hands and clean any utensils and surfaces that came into contact with the fish to prevent cross-contamination.
By following these steps, you’ll end up with perfectly filleted red snapper ready for cooking.
Cleaning Up and Storing the Fillet Knife
After filleting the red snapper, it’s essential to clean and store your fillet knife properly. Rinse the blade with warm water and dish soap, and use a sponge or brush to scrub off any leftover scales, blood, or meat residue.
Avoid soaking the knife in water as it can cause rust to form on the blade.
Dry the knife thoroughly with a soft cloth, and store it in a knife sheath or blade guard to protect the blade’s edge. Keep the knife in a cool and dry place away from humid environments.
Caring for your fillet knife will extend its lifespan and keep it performing at its best for many more filleting sessions to come.
Final Verdict
Filleting a red snapper may seem intimidating at first, but with the right preparation, technique, and tools, you can achieve restaurant-quality results in no time. By following the steps outlined in this guide, you can ensure that your red snapper fillets are clean, bone-free, and ready to cook.
Remember to choose a good quality fillet knife, secure the fish properly, and practice safety measures while filleting.
With time and practice, you can master the art of filleting a red snapper like a pro. So, don’t be afraid to try it out and impress your friends and family with your newfound skills.