How To Fillet a Snapper Using a Fillet Knife? Tips
Key Takeaways:
- Begin by preparing your workspace and ensuring your fillet knife is sharp.
- Make a vertical incision behind the gills and trace the fillet knife along the spine.
- Repeat on the other side of the fish and remove any remaining bones or skin.
- With a little practice, filleting a snapper can be easy and rewarding for any amateur cook.
If you love seafood and are intrigued by the idea of filleting your own fish, then learning how to fillet a snapper is an excellent place to start. While it may seem daunting at first, filleting a snapper is a fun and rewarding process that allows you to access the delicate and flavorful flesh of this popular fish.
In this article, I’ll guide you through the steps of filleting a snapper using a fillet knife, from preparing your tools and workspace to removing the scales and bones.
You’ll also learn tips and tricks for achieving a perfect fillet every time and avoiding common mistakes. So let’s dive in and get started!
| Steps | Details |
|---|---|
| Step 1 | Set up your workspace. Make sure you have a clean, flat surface to work on. Place a cutting board on top. |
| Step 2 | Place the snapper on the cutting board with its head facing left (if you’re right-handed). |
| Step 3 | Insert the tip of the fillet knife behind the pectoral fin of the snapper and make a cut along the spine, towards the head of the fish. |
| Step 4 | Turn the snapper around, so the head is facing right (if you’re right-handed). |
| Step 5 | Insert the tip of the fillet knife behind the pectoral fin of the snapper and make a cut along the spine, towards the tail of the fish. |
| Step 6 | Run the fillet knife along the ribs of the snapper, starting at the top and working your way down to the bottom. |
| Step 7 | Flip the snapper over and repeat Steps 3-6 on the other side. |
| Step 8 | Remove the skin by placing the fillet between your fingers and gently running the fillet knife down the length of the fish. |
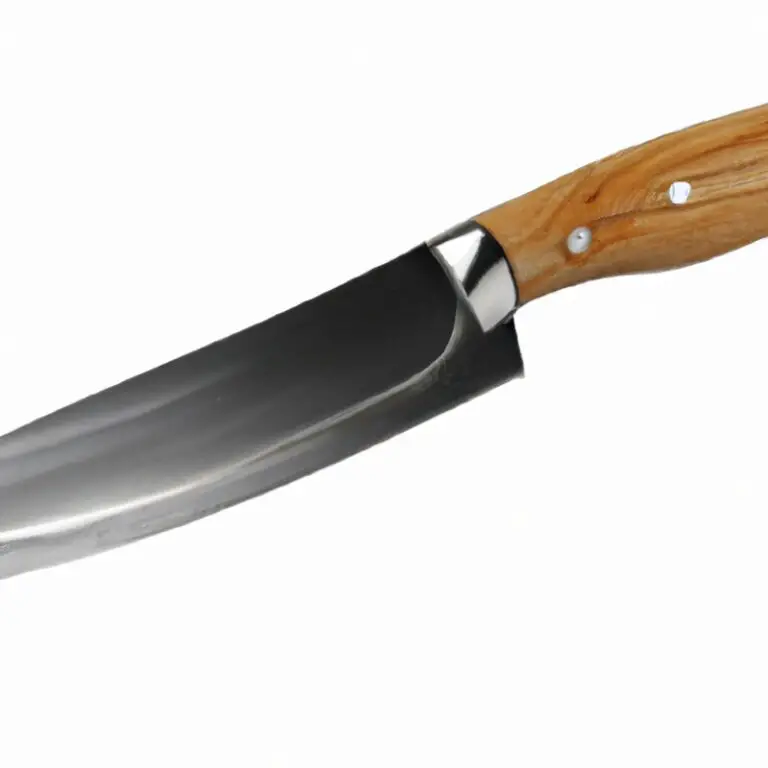
Preparing to Fillet: Cleaning and Sharpening Your Fillet Knife
Before filleting a snapper, it’s important to properly clean and sharpen your fillet knife. First, clean your knife with hot, soapy water and dry it completely.
Then, use a sharpening stone or honing steel to sharpen the blade.
The blade should be sharp enough to easily slice through the fish without requiring too much force. You should also have a cutting board, preferably one made of wood or plastic, dedicated solely for fish filleting.
Avoid using a glass or ceramic cutting board as they can dull your knife quickly.
In addition, it’s important to have a towel or cloth nearby to wipe any excess moisture from the fish or blade throughout the filleting process. It’s also recommended to wear gloves to protect your hands from any potential cuts.
By taking the time to clean and sharpen your fillet knife properly, you’ll be able to fillet a snapper with ease and precision.
Choosing the Right Cutting Board for Filleting a Snapper
Choosing the right cutting board for filleting a snapper is crucial for ensuring a successful and safe process. It is recommended to use a cutting board made of non-porous, non-absorbent material like plastic or silicone.
Avoid using wooden cutting boards as they can absorb fish oils, which can build up and create an unpleasant odor.
Additionally, make sure the cutting board is large enough to comfortably hold the snapper and has a non-slip surface to prevent accidents. For extra safety, consider using a cutting board with a juice groove to contain potential messes.
Before using the cutting board, clean and disinfect it to prevent contamination.
You can do this by soaking it in a mixture of water and vinegar or by using a commercial disinfectant. Also, remember to change the cutting board if it becomes too scratched or damaged, as bacteria can build up in those crevices and lead to foodborne illnesses.
Choosing the right cutting board might seem insignificant, but it can make a big difference in the quality of your snapper fillets and your safety while filleting.
Removing the Head and Scales of a Snapper
To remove the head of a snapper, make a small incision behind the gills at a slight angle towards the fish’s head. Then, use the point of the knife to cut through the backbone behind the head until the fish’s head dislodges.
To scale the fish while maintaining its skin, hold the fish by the tail and scrap from the tail towards the head using a back-and-forth motion with a scaling tool or a spoon.
Rinse the fish under cold running water to clean off the scales. Alternatively, if you plan to remove the skin, use the knife to make a small cut at the base of the fish’s tail.
Make sure not to cut too deep into the flesh.
Use the edge of the knife to scrape off the scales from the tail to the head. Be cautious not to damage the flesh.
Rinse under cold water to clear off the scales.
Making the Initial Incision along the Snapper’s Backbone
To make the initial incision along the snapper’s backbone, first, place the fish on a cutting board with its belly facing up. Start by inserting the tip of your fillet knife at the base of the snapper’s head, cutting down towards the tail while keeping the blade as close to the backbone as possible.
As you cut along the backbone, use a sawing motion to work the blade through the fish’s rib cage.
Be careful not to cut too deep, as you want to avoid slicing through any bones and ruining the fillet. Once you reach the tail, turn your knife and slice towards the fish’s tail fin.
Cut the fillet away from the backbone, working your way from the tail to the head.
Always make sure to use a sharp fillet knife and take your time to make precise incisions along the backbone. A smooth, slow cut will result in a perfect fillet and help you avoid any bones left in the flesh.
Once you have removed the fillet, repeat the process on the other side of the snapper to get the second fillet.
Separating the Flesh from the Bones of a Snapper Fillet
To separate the flesh from the bones of a snapper fillet, you will need to angle your fillet knife towards the bones, starting at the tail. Use gentle pressure to cut through the rib bones and along the spine until you reach the fish’s head.
Then, use the knife to cut through the remaining connecting tissues to lift the fillet off the bones.
Be careful not to cut through any of the bones, and use the tip of the fillet knife to feel for any remaining bones or scales. Once you have removed any remaining bones, your snapper fillet is ready to be trimmed and served.
Trimming the Fillet and Removing Any Remaining Bones
Once the snapper fillet has been separated from the bones, the next step is to trim and remove any remaining bones. Use a pair of fish tweezers to pull out any bones that were missed during the initial filleting process.
To trim the fillet, use a sharp fillet knife to cut away any excess fat or skin.
Hold the knife at a slight angle and use long, smooth strokes to remove any discolored or unwanted portions of the fillet. It’s essential to remove any bones or small pieces of bones that may still remain in the fillet.
This step ensures that the dish is enjoyable and safe to consume.
Take your time and be thorough in removing all bones. Once the trimming and bone removal are complete, your snapper fillet is ready to be cooked or stored in the fridge or freezer.
Repeating the Process on the Other Side of the Snapper
After successfully filleting one side of the snapper, it’s time to repeat the process on the other side. Using the same techniques as before, make an initial incision along the backbone, then use your fillet knife to separate the flesh from the bones.
Once the fillet has been trimmed and any remaining bones have been removed, you should have a perfect snapper fillet.
Remember to take your time and use steady, deliberate strokes with your knife to ensure a clean cut and a high-quality fillet.
Tips and Tricks for Achieving Perfect Snapper Fillets
Tips and Tricks for Achieving Perfect Snapper Fillets:
- Take your time: Filleting a snapper takes patience and attention to detail. Rushing the process can result in messy or uneven fillets.
- Use a sharp knife: A dull knife can crush the flesh of the snapper, making it difficult to achieve clean cuts. Make sure to sharpen your fillet knife before starting.
- Always start with a clean surface: Keep your cutting board, knife, and filleted fish clean and dry to avoid any contamination or unnecessary mess.
- Use the right technique: There are different techniques for filleting, such as the pinbone removal method or the butterfly fillet. Research and practice the technique that you feel most comfortable with.
- Know where to cut: Make sure to locate and follow the bones of the snapper when making cuts, as this will ensure that you remove as much flesh as possible.
- Don’t be afraid to trim: After filleting, use a sharp knife to trim any excess fat or bones that may still be attached to the fillet.
- Store properly: Keep your snapper fillets in a sealed bag or container in the refrigerator or freezer until ready to use. Avoid stacking the fillets on top of each other, as this can cause them to stick together.
By following these tips and tricks, you’ll be well on your way to achieving perfect snapper fillets every time.
Storing and Using Snapper Fillets After Filleting
Once you have successfully filleted your snapper, it is crucial to store and use the fillets correctly to maintain their freshness and flavor. The optimal temperature for storing snapper fillets is between 32-34°F.
You can place them in airtight containers or wrap them tightly in freezer bags or plastic wrap before storing them in the refrigerator.
When properly stored, snapper fillets can last up to three days. Alternatively, you can freeze your snapper fillets for later use.
Again, wrap them tightly in plastic wrap, making sure there is no air inside the package.
Then, place the wrapped fillets in a freezer bag and label them with the date. Snapper fillets can last up to six months when frozen.
When you’re ready to use your snapper fillets, thaw them in the refrigerator for several hours, depending on their size.
Avoid thawing them at room temperature, as this increases the risk of bacterial growth. Once thawed, rinse the fillets in cold water and pat them dry before cooking.
Keep in mind that snapper fillets are delicate and can easily fall apart while cooking.
To avoid this, use a non-stick pan or coat your cooking surface with oil to prevent sticking. Cook the fillets for 3-4 minutes per side over medium heat, or until they are golden brown.
In summary, storing and using snapper fillets after filleting is essential to maintain their freshness and flavor.
Store them properly in the refrigerator or freezer, and avoid thawing them at room temperature. Bon appétit!
Common Mistakes to Avoid When Filleting a Snapper
When filleting a snapper, there are common mistakes that you should avoid to achieve perfect results. Here are some of those mistakes:
- Using a dull fillet knife: A dull fillet knife requires more force to cut, which can result in an uneven cut and damage the flesh of the snapper. Always make sure to sharpen your knife before filleting.
- Cutting too deep: When making the initial incision along the snapper’s backbone, avoid cutting too deeply as you may damage the bones or the other side of the fish.
- Not removing all the bones: Ensure that you remove all the bones from the fillet before cooking. Leaving any bones can be unpleasant and even hazardous for you or your guests.
- Cutting through bones: Avoid cutting through bones while filleting as this can dull your knife and damage the fillet.
- Forgetting to scale the fish: Removing the scales is an essential part of filleting a snapper. Not scaling the fish can leave you with an unpleasantly crunchy texture in your fillet.
By avoiding these common mistakes, you can achieve perfect snapper fillets that are easy to cook and enjoy.
Final Verdict
Knowing how to fillet a snapper using a fillet knife is an essential skill for any seafood lover. With careful preparation, proper technique, and attention to detail, you can produce perfect fillets every time.
Remember to always keep your equipment clean and sharp, use the right cutting board, and remove the head and scales before starting to fillet.
Making a precise initial incision along the backbone and separating the flesh from the bones with a delicate touch will ensure that your fillets are of the highest quality. Finally, be sure to store and use your snapper fillets properly to maintain freshness and taste.
Avoiding common mistakes and following the tips and tricks outlined here will help you achieve success in filleting a snapper.
With practice, you’ll be able to do it like a pro and impress your family and friends with your culinary skills. Trust in these techniques and tips and start filleting your snapper with confidence!