How To Fillet a Sole Using a Fillet Knife? Easy Peasy!🐟
Key Takeaways:
- A sharp fillet knife is essential for filleting a sole effectively and efficiently.
- Proper technique, including starting at the head and running the blade along the bone, is crucial for a clean, bone-free fillet.
- Removing the skin is an optional step, but can enhance the texture and flavor of the sole.
- Practice and patience are important when learning to fillet a sole, but with repetition, it can become a quick and easy process.
There’s nothing quite like a fresh fillet of sole, but before you can get to the cooking, you need to know how to fillet a fish properly. Luckily, with a good fillet knife and a little bit of know-how, it’s an easy process to master.
In this article, I’ll guide you through the steps to fillet a sole using a fillet knife, from gathering your supplies to trimming any remaining skin or bones.
Plus, I’ll share tips for keeping your fillet knife in top condition for future use. So, let’s dive in and get started on your filleting journey.
| Steps | Description |
|---|---|
| Step 1 | Place the sole on a cutting board and hold it firmly by the head with one hand. |
| Step 2 | Insert the point of the fillet knife just behind the gills and cut downwards towards the head in a straight line to remove the head. |
| Step 3 | Starting from the head end, make a cut along the center of the fish, from head to tail, following the bone. |
| Step 4 | Turn the fish over and repeat step 3 on the other side of the fish. |
| Step 5 | Starting at the tail end, insert the knife under the fillet and carefully slice along the ribs to remove the fillet from the bones. |
| Step 6 | Repeat step 5 on the other side of the fish to remove the second fillet. |
Gather Your Fillet Knife and Sole
To begin filleting a sole, make sure you have a sharp fillet knife and a fresh sole. Having a good quality fillet knife is essential as it will make the job easier and safer.
A dull knife can slip and cause injury.
Choose a flat surface for your work area and place a non-slip mat or cloth underneath to keep the sole from sliding around. Hold the sole firmly by the head and make a shallow cut with the tip of the knife just behind the head.
This will be the starting point for the filleting process.
Ensure that your grip on the sole is secure and stable to prevent accidents. Once you have made the initial cut, you can now proceed to slice along the backbone to remove the fillet from the fish.
Remember to keep your fingers away from the blade and be steady and careful throughout the process.
With the fillet knife in hand and the sole in place, you are now ready to start filleting.
Prepare Your Work Area
Before you begin filleting your sole, it is important to prepare your work area properly. This will help you work efficiently and safely.
Here are some steps to follow to prepare your work area:
- Choose a flat, stable and clean surface to work on, such as a cutting board or countertop.
- Have a clean towel nearby to wipe your hands and knife to maintain hygiene.
- Ensure you have adequate lighting to clearly see what you are doing.
- Keep a container or bag nearby to dispose of any waste, such as skin or bones.
- Make sure you have a sharp fillet knife to work with.
By taking these steps to prepare your work area, you can ensure a clean and organized workspace, avoid cross-contamination, and make the filleting process easier and safer.
Position the Sole Correctly for Filleting
Before you start filleting the sole, it’s crucial to position the fish correctly. Place the flat fish on a cutting board with the dark side facing up and the head at the top.
The fish’s natural lying position is essential as it can make the process more comfortable and faster.
Once the fish is in the right position, make sure to hold it firmly in place before making the initial cut at the head. This step ensures that you get the most out of your fillet and that it’s of the right size.
Make the Initial Cut at the Head
The first step in filleting a sole is to make the initial cut at the head. Hold the sole firmly by its tail, then slice the blade of the fillet knife straight down through the flesh behind the gills and towards the head.
Be careful not to cut into the bones or head as you work your way down.
With the initial cut complete, the rest of the filleting process becomes much easier.
Slice Along the Backbone for the First Fillet
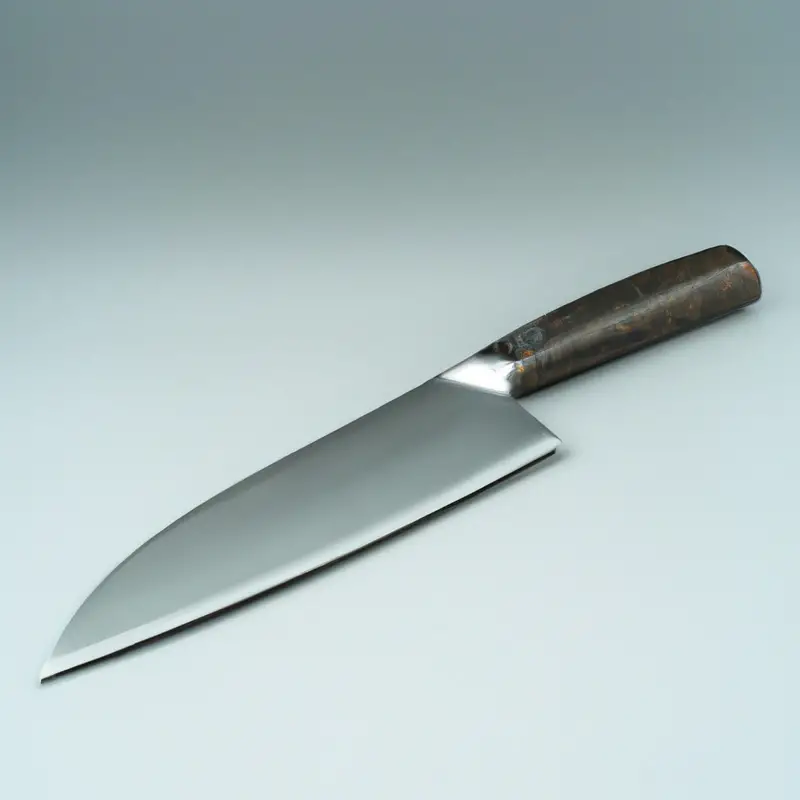
To begin filleting your sole, make an incision behind the head to the backbone. Then, angle your knife towards the tail and cut downward along the spinal column to remove the fillet from the bone.
Use a gentle sawing motion to separate the fillet from the bone, being careful not to cut through the skin.
Once the first fillet has been removed, repeat the process on the other side. The Backbone is the central part of the fish, and it is essential to follow it while making the cut.
With practice, you can master this technique and achieve professional-looking fillets every time.
Remove the Pin Bones Using Needle-Nose Pliers
After making the first fillet, it’s time to remove the pin bones using needle-nose pliers. These bones are tiny and can be challenging to take out with bare hands.
Therefore, you will need needle-nose pliers to grip and pull them out quickly.
First, run your fingers along the fillet to feel for any small bones that may have been missed. Once identified, take your needle-nose pliers and carefully grip the bone as close to the base as possible.
Then firmly pull the bone out in the direction of the fillet’s head.
Make sure not to pull too hard as it may damage the fillet. Be gentle and precise to avoid leaving any bones behind.
Repeat this process, ensuring all pin bones are removed from the fillet.
Removing the pin bones is crucial as they can be harmful if eaten. It may alter the texture of the fish or even cause choking when swallowed.
Therefore, it’s essential to use needle-nose pliers to ensure all of the small bones are taken out.
Once you have removed all the pin bones, move on to filleting the other side of the sole.
Repeat Filleting Process on the Other Side
After removing the first fillet, flip the sole over and repeat the filleting process on the other side. Position the fish in the same manner, cut along the head, and slice along the backbone to remove the second fillet.
Use needle-nose pliers to remove the remaining pin bones, trim off any skin or bones, and rinse the fillet thoroughly.
You should now have two beautifully filleted sole ready for cooking or storage.
Trim Any Remaining Skin or Bones from the Fillets
After filleting both sides of the sole, carefully trim any remaining skin or bones from the fillets. Using a pair of tweezers or fish bone pliers, remove any small bones that might have been left behind during the filleting process.
Also, remove any remaining skin using a sharp fillet knife.
Ensure that the fillet is flat and clean for a better presentation. Trim away any remaining dark flesh on the edges of the fillet, as it could give a bitter taste to the dish.
Once you are done trimming, rinse the fillets with cold water and pat them dry with a clean towel.
With this finishing touch, you’re all set to use your fresh sole fillets in your favorite recipe.
Rinse and Store Your Freshly Filleted Sole
After successfully filleting your sole, it is crucial to rinse and store it correctly, ensuring it stays fresh and free of any bacteria. Rinse the fillets under cold water, removing any debris or blood.
Dry them with paper towels, making sure to remove all moisture.
Next, wrap the fillets tightly in plastic wrap or place them in an airtight container. Label the container with the date of filleting and store them in the coldest part of your refrigerator.
Use the fillets within two to three days for optimal freshness.
Avoid storing them next to other strong-smelling foods as they may absorb unwanted flavors. By following these simple steps, you can ensure your filleted sole stays fresh and delicious until you are ready to prepare it for your next meal.
Tips for Maintaining and Sharpening Your Fillet Knife
Maintaining and sharpening your fillet knife is essential to ensure its longevity and maximum performance. Here are some tips to follow:
- Clean the blade and handle with warm soapy water and dry thoroughly after each use.
- Store the knife in a sheath or blade guard to prevent damage or dulling of the blade.
- Use a honing steel to straighten the edge of the blade before each use.
- Sharpen the blade using a sharpening stone or electric knife sharpener when it begins to dull. Follow the manufacturer’s instructions carefully.
- Consider professional sharpening services if you are not confident in your own sharpening skills.
- Do not use your fillet knife to cut through bones or other hard materials as it can damage the blade.
- Handle the knife with care and avoid dropping it or hitting it against hard surfaces.
- Replace the knife if the blade is heavily damaged or if it cannot hold a sharp edge even after sharpening.
By following these simple tips, you can keep your fillet knife in top condition for years to come and ensure a successful and effortless filleting experience every time.
Final Verdict
Learning how to fillet a sole using a fillet knife can be an easy and enjoyable culinary experience for seafood enthusiasts. With the right tools, preparation, and technique, anyone can produce restaurant-quality fillets from the comfort of their home.
Remember to always maintain and sharpen your fillet knife for optimal performance, and properly store your filleted sole for optimal freshness.
By following the steps outlined in this guide and using the tips provided, you can become a skilled sole fillet expert and impress your friends and family. Trust yourself and your abilities, and enjoy the delicious fruits of your labor.

