What Are The Key Factors To Consider When Sharpening a Serrated Knife At Home?
Key Takeaways:
- Use a serrated knife sharpener specifically designed for serrated blades.
- Follow the proper technique of sharpening each serration individually.
- Avoid sharpening too aggressively to prevent damage to the blade.
- Regularly clean and maintain your serrated knife to prolong its sharpness.
Have you ever struggled to slice through a tough loaf of bread or a juicy tomato, only to be met with a disappointing jagged mess? Well, fear not, because I am here to share with you the key factors to consider when sharpening a serrated knife at home.
In this article, I will guide you through the benefits of sharpening your serrated knife, the different types of serrated knife edges, and the essential tools and materials you’ll need.
I’ll even provide you with a step-by-step guide and some handy tips and tricks to ensure you achieve a razor-sharp edge every time. So, let’s dive in and bring back that effortless slicing power to your kitchen!
| Factors to Consider | Description |
| 1. Type of Sharpener | Choose a sharpener specifically designed for serrated knives. |
| 2. Grit Size | Use a fine or medium grit for serrated knives. |
| 3. Blade Angle | Determine the angle of the serrations and match it with the sharpener. |
| 4. Sharpening Technique | Follow the correct technique for sharpening serrated blades. |
| 5. Patience and Safety | Sharpening serrated knives requires patience and careful handling for safety. |
Why Sharpening a Serrated Knife at Home is Important
Benefits of Sharpening a Serrated Knife
When you sharpen a serrated knife, you enjoy several benefits. Firstly, sharpening restores the knife’s cutting performance, allowing you to effortlessly slice through ingredients.
Secondly, it improves safety by reducing the risk of slips and accidental cuts that can occur when using a dull knife.
Thirdly, sharpening prolongs the lifespan of your serrated knife, saving you money in the long run. Overall, regular sharpening ensures that your serrated knife remains a reliable and efficient tool in the kitchen.
Key Factors to Consider when Sharpening a Serrated Knife at Home
When sharpening a serrated knife at home, there are a few key factors to consider. Firstly, it’s important to choose the right sharpening tool.
Look for one specifically designed for serrated knives.
Secondly, maintain a consistent angle while sharpening. This will ensure an even and effective sharpening process.
Thirdly, take your time and be patient.
Sharpening a serrated knife requires more precision compared to a straight knife. Lastly, always follow the manufacturer’s instructions for the specific knife you’re sharpening.
By considering these factors, you can sharpen your serrated knife at home with confidence.
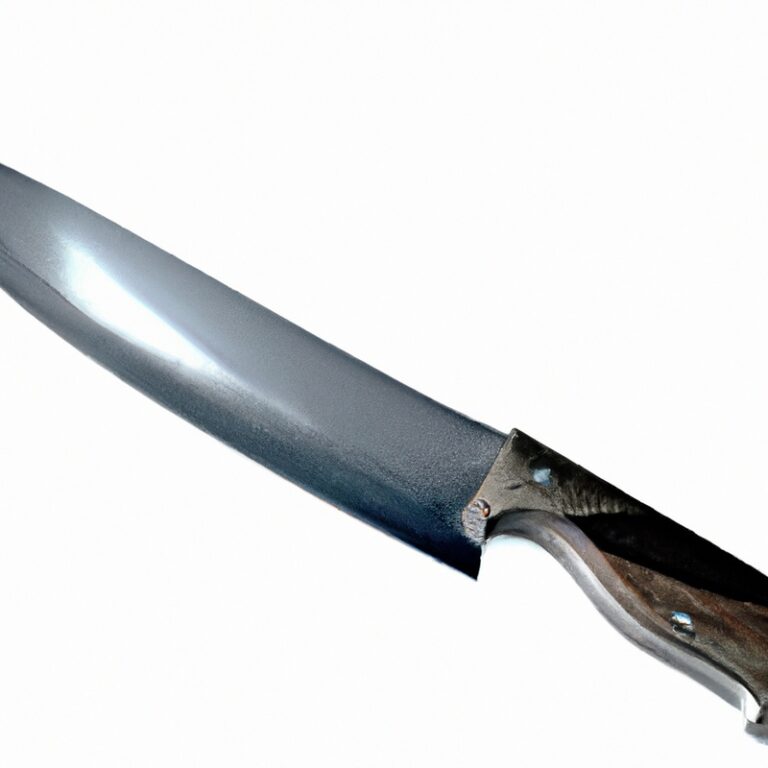
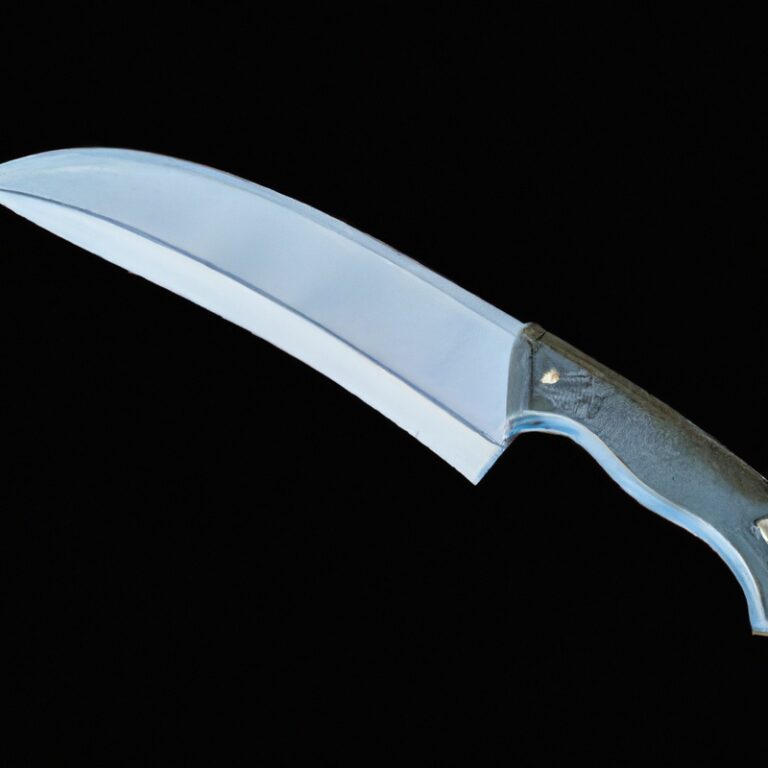
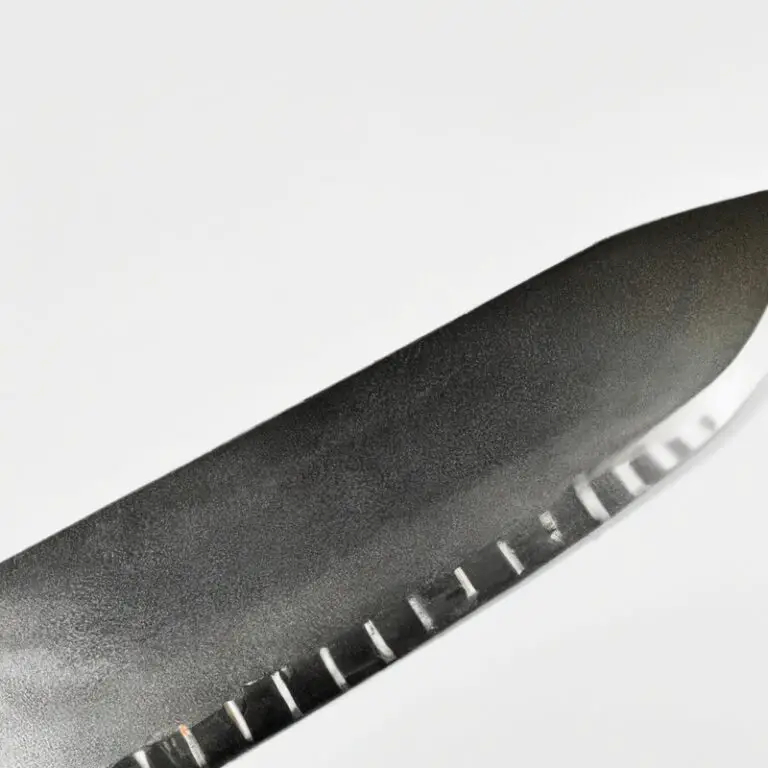
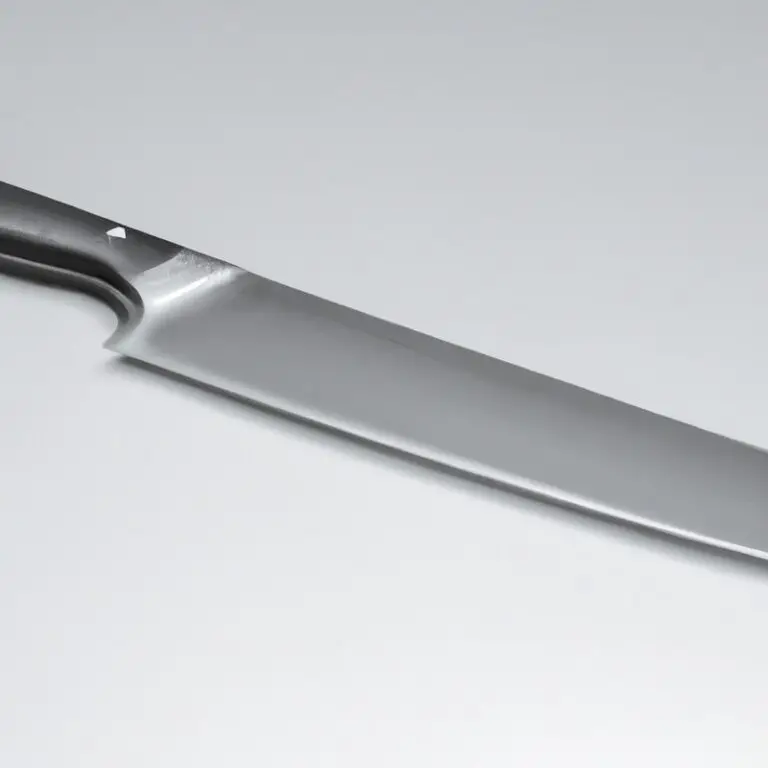
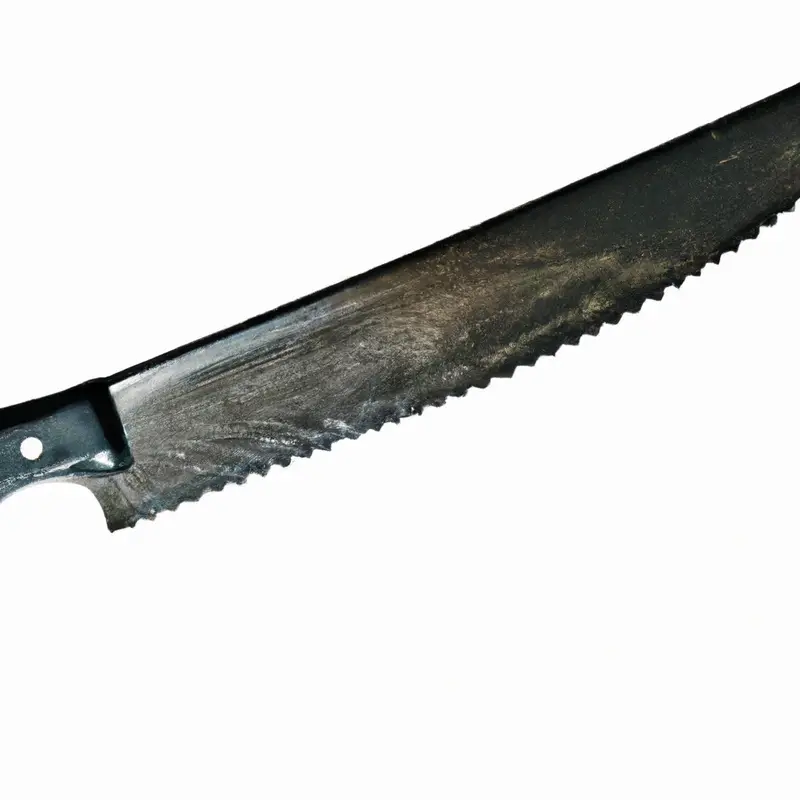
Understanding the Serrated Knife Edge
Different Types of Serrated Knife Edges
Serrated knife edges come in various types, each designed for specific culinary tasks. Here are some common types:
- Scalloped: These have large, rounded teeth that are ideal for slicing through food with tough exteriors and soft interiors, like bread and tomatoes.
- Wave: These blades feature a continuous wave pattern that helps to grip and cut smoothly through various types of food, such as crusty bread and delicate fruits.
- Granton: These blades have hollowed-out grooves along the edge, which reduce friction and prevent food from sticking. They are often used for slicing meats and reducing drag.
- Sawtooth: As the name suggests, these knives have small, uniform teeth that resemble a saw blade. They work well for cutting through tough materials like bone and frozen food.
It’s important to choose the serrated edge that best suits your needs and the type of food you’ll be cutting. Each type has its unique advantages, so consider your culinary preferences before making your selection.

How Serrated Knife Edges Differ from Straight Knife Edges
Serrated knife edges differ from straight knife edges in a few key ways. Firstly, a straight knife edge is smooth and flat, while a serrated knife edge has small, jagged teeth along the blade.
These teeth help the knife to grip and cut through tough materials, such as bread or tomatoes.
Secondly, while a straight knife edge relies on a slicing motion, a serrated knife can be used with a sawing motion. This makes serrated knives especially useful for tasks that require more aggressive cutting, like slicing through crusty bread or tough meats.
Lastly, because of their unique design, serrated knife edges tend to stay sharper for longer compared to straight knife edges.
This means that they may not require sharpening as frequently, but when they do, it’s important to use the right technique and tools to maintain their effectiveness.
Tools and Materials Required for Sharpening a Serrated Knife at Home
Honing Rods and Sharpening Stones for Serrated Knives
When it comes to sharpening serrated knives at home, honing rods and sharpening stones are essential tools. Honing rods, also known as sharpening steels, are used to align the teeth of the serrated edge and maintain its sharpness.
Simply run the rod along the edge to straighten any misaligned teeth.
On the other hand, sharpening stones are used to sharpen the individual teeth of the serrated knife. Gently glide the stone in a back-and-forth motion along each tooth to remove any dullness and create a sharp edge.
Make sure to choose a stone with a fine grit for the best results.
Other Essential Tools and Materials for Sharpening
Other Essential Tools and Materials for Sharpening:
- A sharpening guide or jig to maintain consistent angle during sharpening.
- Honing oil or lubricant to minimize friction and enhance the sharpening process.
- A cleaning brush or cloth to remove any metal shavings or debris after sharpening.
- a leather strop or honing rod to refine and polish the knife edge.
- A sharpening stone with a fine grit to achieve a sharp and polished edge.
- Protective gloves to ensure safety and prevent any accidents while handling the knife and tools.
Step-by-Step Guide to Sharpening a Serrated Knife at Home
Step 1: Cleaning and Inspecting the Knife
Step 1: Cleaning and Inspecting the Knife Before sharpening a serrated knife, it is important to clean it thoroughly. Start by wiping off any dirt or debris from the blade using a damp cloth or sponge.
Make sure to pay attention to the nooks and crevices of the serrated edges.
Next, inspect the knife for any signs of damage or wear. Look for chips, cracks, or bent teeth along the serrations.
If you notice any issues, it’s best to have the knife repaired or replaced before proceeding with sharpening.
Cleaning and inspecting the knife ensures that you have a clean, safe surface to work with and helps you identify any potential problems that could affect the sharpening process.
Step 2: Choosing the Right Sharpening Tool
When it’s time to sharpen a serrated knife at home, choosing the right sharpening tool is key. There are a few options to consider.
First, you can use a ceramic rod specifically designed for serrated edges.
These rods have a tapered shape to fit into the grooves of the knife. Another option is a diamond-coated sharpening rod, which is effective for both straight and serrated edges.
Lastly, you can use a handheld sharpener with a serrated slot.
Whichever tool you choose, make sure it is suitable for serrated knives and will provide the desired level of sharpness.
Step 3: Properly Holding the Knife and Tool
To properly hold a serrated knife and tool while sharpening, there are a few key things to keep in mind. First, make sure your grip on the knife is firm but relaxed.
You want to have control, but not too much tension in your hand.
Next, position your fingers on the handle and the blade of the knife. This will provide stability and control as you sharpen the serrated edges.
It’s important to be mindful of the position of your fingers to avoid accidents.
Finally, pay attention to the angle at which you hold the knife against the sharpening tool. This will depend on the specific tool you’re using, so refer to the manufacturer’s instructions for guidance.
Maintaining the correct angle is crucial for achieving the best sharpening results.
Step 4: Sharpening the Serrated Edges
To sharpen the serrated edges of your knife, you will need a tapered sharpening rod or a specialized serrated knife sharpener. Start by positioning the rod or sharpener at the base of the serrations and make short, gentle strokes along each serration.
Be sure to maintain a consistent angle throughout the process.
Repeat this for each serration until you have sharpened all the edges. Be patient and take your time to achieve the desired sharpness.
Finally, clean the knife and test its sharpness before using it.
Step 5: Testing and Fine-Tuning the Knife
Now that you’ve sharpened the serrated knife, it’s time to test and fine-tune it. Here’s what you need to do:
- Test the sharpness: Gently run your finger across the blade’s edge to check for any remaining dull spots. Be careful not to apply too much pressure to avoid accidents.
- Fine-tune if needed: If you find any areas that are not as sharp as desired, focus on those spots. Use a honing rod or sharpening stone to carefully touch up the serrated edges, applying light pressure and maintaining the proper angle.
- Repeat the test: After fine-tuning, run your finger along the blade again to check for improvement. Repeat the process until you achieve the desired sharpness.
Remember, patience is key during this step. It may take a few passes to achieve the perfect edge.
Once you’re satisfied with the result, your serrated knife is ready to slice through anything with ease!
Tips and Tricks for Sharpening Serrated Knives at Home
Maintaining the Correct Angle during Sharpening
Maintaining the correct angle during sharpening is essential for achieving optimal results with a serrated knife. It is important to hold the knife and tool in a way that allows you to maintain a consistent angle throughout the sharpening process.
This ensures that you remove equal amounts of metal from each serration, preventing an uneven edge.
To maintain the correct angle, hold the sharpening tool firmly and make smooth, controlled movements along the serrated edges. A steady hand and focus will help you maintain the angle and achieve a sharp and even edge.
Avoiding Common Mistakes while Sharpening
When sharpening a serrated knife at home, there are a few common mistakes that you should avoid to ensure a satisfactory result. Here are some things to keep in mind:
- Using the wrong sharpening tool: It’s important to choose a tool specifically designed for sharpening serrated knives, such as a ceramic honing rod or a diamond-coated sharpening rod. Using the wrong tool can damage the knife and make the sharpening process ineffective.
- Incorrect angle: Maintaining the correct angle while sharpening is crucial. Avoid tilting the knife too much or too little, as it can result in uneven sharpening or ineffective removal of burrs.
- Over-sharpening: Be careful not to over-sharpen the serrated edges of the knife. Serrated knives have angled teeth, and excessive sharpening can flatten the teeth, reducing their effectiveness in cutting.
- Neglecting cleaning and inspection: Before sharpening, make sure to thoroughly clean the knife and inspect it for any damage or loose parts. Sharpening a dirty or damaged knife can compromise the sharpening process and result in subpar performance.
Remember, by avoiding these common mistakes and following the proper techniques, you can effectively sharpen your serrated knife at home and maintain its optimal cutting capability.
How Often to Sharpen a Serrated Knife
Sharpening a serrated knife depends on how often you use it and the condition of the blade. As a general guideline, you should sharpen a serrated knife every 6-12 months or when you notice a decrease in its cutting performance.
However, it’s important to note that this can vary based on individual usage.
To determine if your serrated knife needs sharpening, look for signs such as difficulty in slicing or if it leaves behind crushed or torn edges. Regular maintenance and sharpening will ensure that your serrated knife remains sharp and effective.
Safety Precautions when Sharpening Serrated Knives at Home
Proper Handling and Stabilizing the Knife
Properly handling and stabilizing the knife is essential when sharpening a serrated knife at home. Remember to grip the knife firmly but not too tightly to maintain control during the sharpening process.
One method is to hold the handle with your dominant hand and use your other hand to support the blade near the serrations.
This helps stabilize the knife and allows for better control when applying pressure to the sharpening tool. Additionally, make sure to always keep your fingers away from the blade to avoid any potential accidents.
Using Protective Gear during Sharpening
Using protective gear during sharpening is extremely important for your safety. Make sure to wear a pair of cut-resistant gloves to protect your hands from accidental cuts.
Safety goggles or glasses are also essential to shield your eyes from any flying metal particles or debris.
Additionally, consider wearing a dust mask to prevent inhalation of any fine dust or particles that may be generated during the sharpening process. Taking these precautions will help ensure that you can sharpen your serrated knife safely and without any unwanted accidents.
Storing and Securing Sharpening Tools
When it comes to storing and securing your sharpening tools, there are a few key factors to consider. First and foremost, it’s important to keep your tools in a safe and dry location to prevent any damage or corrosion.
You can use a toolbox, knife roll, or dedicated storage case to keep them organized and protected.
Additionally, it’s crucial to store your sharpening tools separate from other kitchen tools to avoid any accidental injuries or damage. You can consider using blade guards or sheaths to further protect the sharp edges.
Finally, remember to keep your tools out of reach of children for their safety.
By implementing these storage and securing practices, you can ensure the longevity and safety of your sharpening tools.
Final Verdict
When sharpening a serrated knife at home, there are a few key factors to consider. Firstly, understanding the type of serrated edge on your knife is crucial to ensure the right sharpening technique is applied.
Secondly, choosing the right tools and materials, such as a honing rod or sharpening stone, is essential for achieving optimal results.
Lastly, following a step-by-step guide and practicing proper technique will help maintain the correct angle and avoid common mistakes. By considering these factors and implementing the necessary precautions, you can confidently sharpen your serrated knife at home and enjoy its benefits for years to come.