What Is The Best Way To Sharpen a Paring Knife At Home? Tips!
Key Takeaways:
- Use a sharpening stone for best results, following a consistent angle and pressure to ensure a sharp blade.
- Regular maintenance and honing can prolong the life of your knife and keep it in top condition.
- Avoid using electric sharpeners or serrated edges for paring knives, as they can cause damage to the blade.
- Remember to handle your knife with care and safety, and always ensure proper cleaning and storage after sharpening.
Are you tired of struggling with a dull paring knife in the kitchen? Properly sharpening your knife can make all the difference when it comes to preparing ingredients efficiently and safely.
But with so many sharpening tools and techniques out there, it can be hard to know where to start.
That’s why in this article, I’ll guide you through the best way to sharpen a paring knife at home, from understanding the knife’s anatomy to properly maintaining the blade. Say goodbye to dullness and hello to precision cutting in no time.
| Pros | Cons | |
| Sharpening Stone |
|
|
| Electric Knife Sharpener |
|
|
| Honing Rod |
|
|
Understand the anatomy of a paring knife
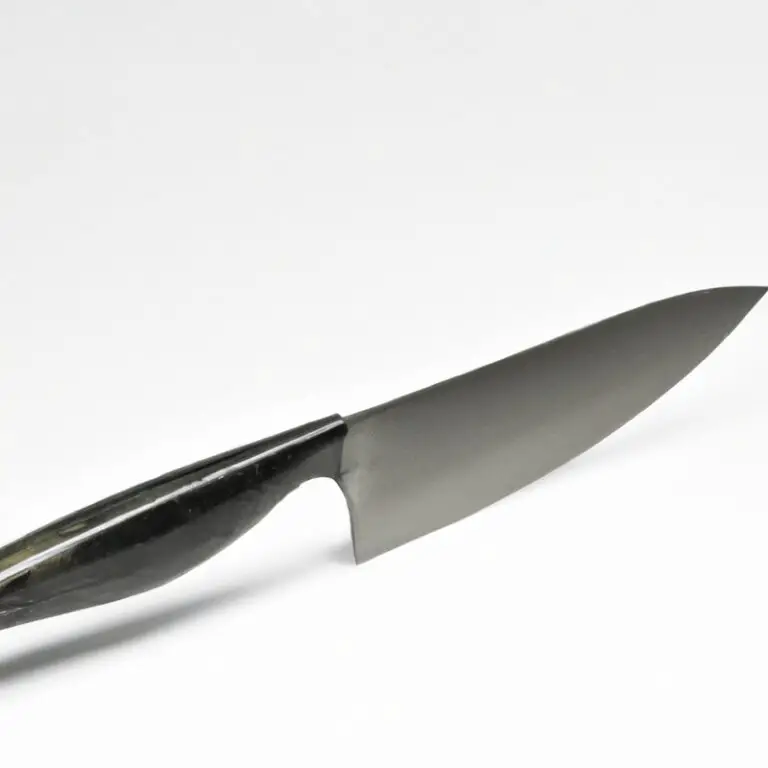
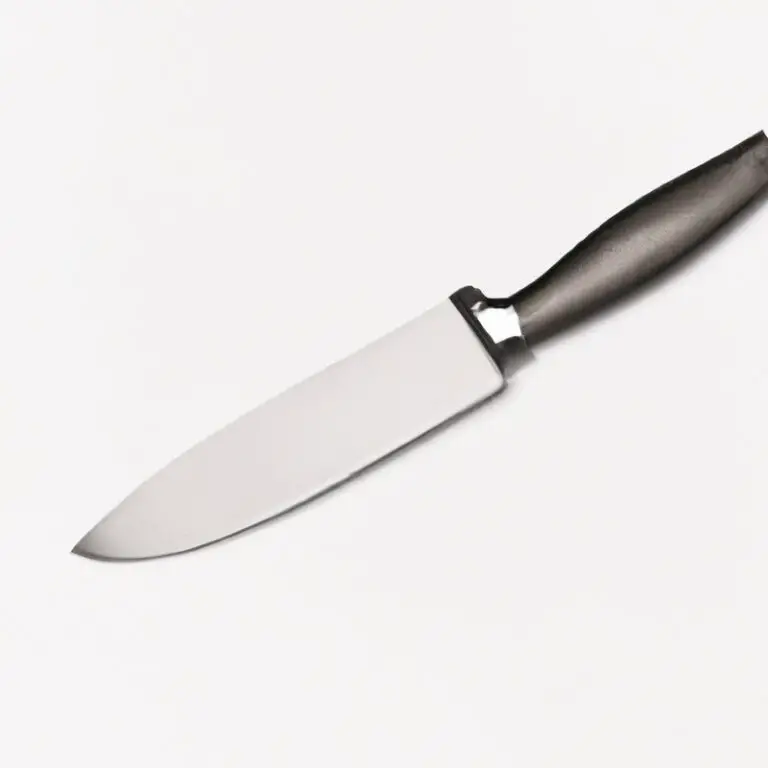
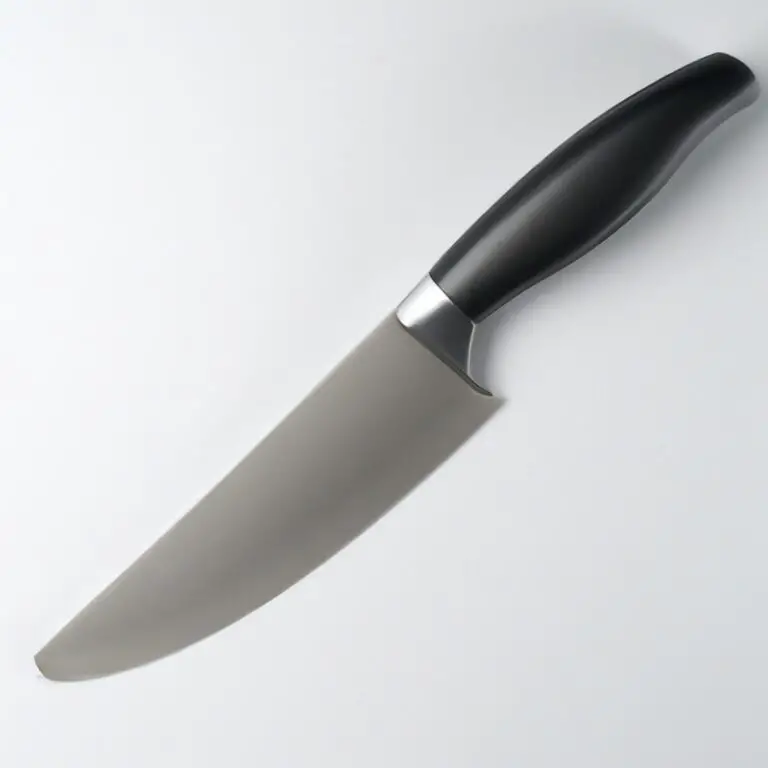
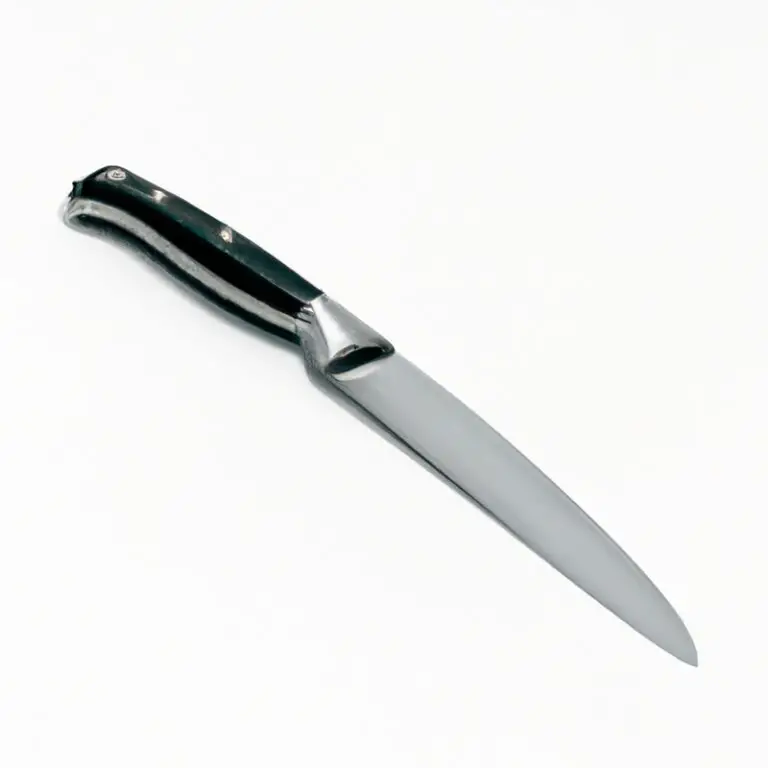
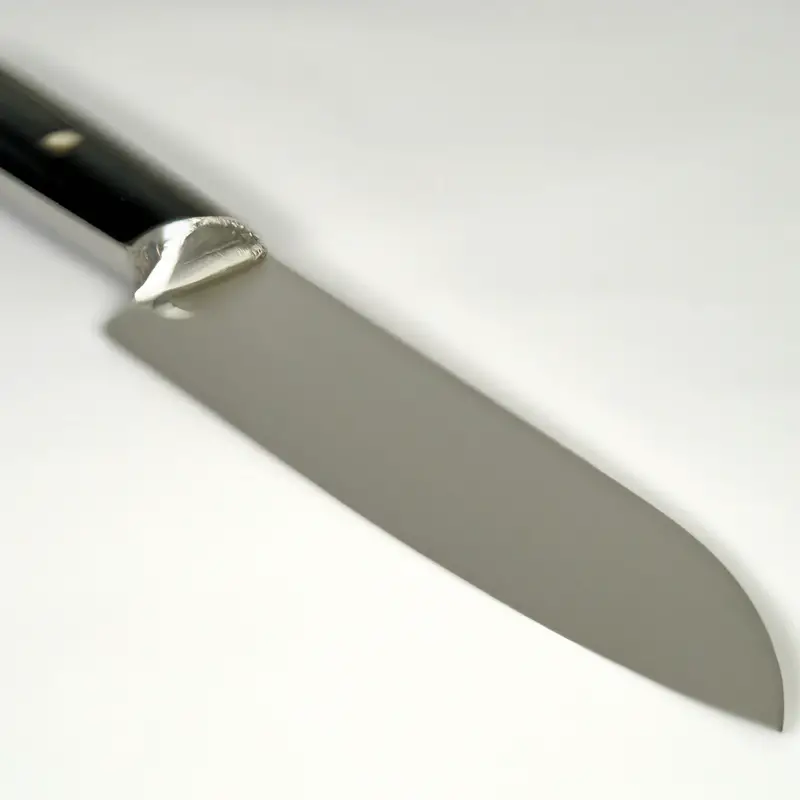
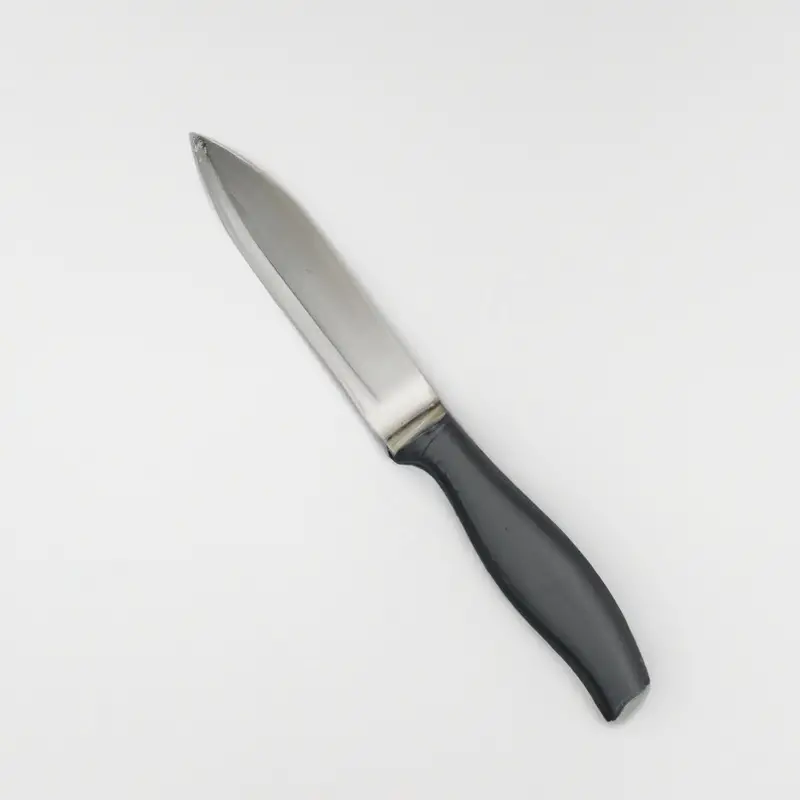
To effectively sharpen a paring knife, it is important to first understand its anatomy. A paring knife typically has a small, narrow blade that is about 3-4 inches in length.
The blade is usually made of high-carbon stainless steel, which is known for its durability and rust resistance.
The handle is generally made of a sturdy material such as polypropylene, wood, or composite materials. Understanding the anatomy of a paring knife will help you choose the right sharpening tool, set the correct sharpening angle, and properly maintain your knife after sharpening.
Choose the right sharpening tool
Choosing the right sharpening tool is crucial for keeping your paring knife sharp and effective. There are several options available, including sharpening stones, electric sharpeners, and honing rods.
Consider the following factors when choosing the right tool:
- Sharpening Stone: A sharpening stone is the most traditional and versatile sharpening tool. They come in different materials, including diamond, ceramic, and natural stones, and are available in various grits. Choose one based on your experience level and the level of sharpness your knife requires.
- Electric Sharpener: An electric sharpener is a quick and easy way to sharpen a dull knife. They feature abrasive belts or discs that remove steel from the blade. However, they are not suitable for thin-bladed knives like paring knives.
- Honing Rod: A honing rod is a long, slender steel rod used to realign the blade’s edge. It doesn’t sharpen the blade but helps to maintain sharpness between sharpening sessions.
Consider the above factors before choosing the right sharpening tool to keep your paring knife sharp and effective.
Prepare your sharpening surface
Preparing your sharpening surface is crucial to achieving a sharp and polished paring knife. Start by selecting a flat and stable surface, like a countertop or table, and cover it with a nonslip mat or towel to prevent movement.
Ensure there is enough light and ventilation for comfort and visibility.
Next, gather all necessary tools, including your sharpening stone or system, lubricant, and cleaning cloth. Adjust the height and position of your sharpening setup for ergonomics and safety.
Finally, double-check that the blade and edge are clean and dry before starting to sharpen.
Taking these steps will help you maintain consistency and focus during the sharpening process, leading to excellent results.
Set the right angle for sharpening
Set the right angle for sharpening: To achieve a sharp and efficient edge on your paring knife, it is essential to set the correct angle for sharpening. The angle at which the blade meets the sharpening stone determines how much metal will be removed, and ultimately, the sharpness of your knife.
The optimal angle for a paring knife ranges between 10 and 20 degrees, depending on the knife’s manufacturer and the shape of the blade.
A smaller blade will require a sharper angle, while a larger blade may be better suited for a less acute angle. To set the correct angle, consider using a sharpening guide or angle guide to help maintain a consistent sharpening angle, ensuring an even grind and a professional finish.
These guides are available in a range of materials, including plastic, brass, and stainless steel, and can be adjusted to suit your required angle.
It is important to note that sharpening a knife at the wrong angle can have adverse effects on the blade’s integrity, shortening its lifespan and potentially causing damage. Therefore, take the necessary care to set the right angle for sharpening before proceeding to sharpen your paring knife.
Overall, setting the correct angle is a crucial step towards sharpening your paring knife successfully.
It is worth taking the time to ensure that you set the right angle before beginning to sharpen your knife.
Begin sharpening with coarse grit
To begin sharpening your paring knife, it’s essential to use a coarse grit sharpening stone. This type of stone removes any knicks or chips on the blade’s edge.
Start by wetting the stone and placing it on a non-slip surface.
Hold the knife at the correct angle, usually between 15 to 20 degrees, and slide the blade across the stone in a back and forth motion, starting from the heel to the tip. Repeat this process until a burr forms on the other side of the blade.
Then move on to the other side and repeat the process.
Once you’re sure the burr has formed on both sides, move to the next grit stone, usually a medium grit sharpening stone, to refine the edge before honing it with a fine grit stone.
Move on to fine grit for honing
Move on to fine grit for honing: After sharpening with a coarse grit, it’s time to use fine grit for honing. Fine grit will remove any burrs left from the coarse grit, creating a smoother edge on your paring knife.
Honing the blade will remove any microscopic burrs or jagged edges created during sharpening.
This will further enhance the sharpness of your knife and make it last longer. You can use a honing rod or a sharpening stone with fine grit to achieve the desired sharpness.
Always maintain the same angle while honing as you did during sharpening.
Once done, test your blade for the perfect sharpness.
Test the blade for sharpness
After sharpening your paring knife, it’s important to test the blade’s sharpness before use. A simple and effective way to test the sharpness is by gently slicing through a piece of paper or a ripe tomato.
A sharp knife should glide easily through the material with little or no resistance.
If the blade struggles or tears the material, it may require further sharpening. Repeat the sharpening process and test the blade until it easily slices through the material without resistance.
Remember to handle the knife safely while testing its sharpness.
Strop the blade for the final touch
Stropping is the final step in sharpening a paring knife. It involves running the blade along a strip of leather or other material with a polishing compound to remove any remaining burrs and refine the edge of the blade.
Stropping helps to create a razor-sharp edge on the knife, making it ideal for intricate cutting tasks like peeling fruits and vegetables.
When stropping, maintain a consistent angle and apply light pressure. Experts recommend stropping after every use to maintain the sharpness of the blade.
Properly maintain your sharpened knife
Proper maintenance of a sharpened knife is crucial to ensuring its longevity and effectiveness. After sharpening, be sure to clean and dry the blade thoroughly to prevent rusting or corrosion.
Store the knife in a safe place, such as a knife block or sheath, to prevent damage to the blade or injury to others.
Avoid using the knife for tasks it is not designed for, as this can quickly dull the blade. Regularly check the sharpness of the knife and hone as needed to keep the blade in top condition.
With proper care and maintenance, your sharpened paring knife will be a reliable tool in your kitchen for years to come.
Tips for avoiding common mistakes
Tips for avoiding common mistakes:
- Don’t rush the process. Take your time and focus on the angle of the blade.
- Avoid using too much pressure on the knife while sharpening or honing. This may cause the blade to become uneven.
- Always ensure that the sharpening tool you choose is appropriate for the type of knife you are sharpening.
- Don’t neglect the importance of properly maintaining your knife after sharpening. Clean and oil it regularly to ensure a longer lifespan.
- Lastly, be patient and practice. It may take a few tries to perfect your sharpening technique, so don’t get discouraged if you don’t get it right the first time.
Final Verdict
Sharpening a paring knife at home can be a simple and rewarding task when approached with the right tools, technique, and mindset. By understanding the anatomy of the blade, choosing the right sharpening tool, setting the correct angle, and testing for sharpness, you can ensure a precise and efficient cut every time.
Additionally, using a strop and proper maintenance can help prolong the life of your blade.
Remember to avoid common mistakes such as rushing the sharpening process or using the wrong technique. By following these steps, you can elevate your culinary skills and gain confidence in your ability to sharpen your paring knife like a pro.
Trust in the reliability of this information and take action to sharpen your knife and take your cooking to the next level.