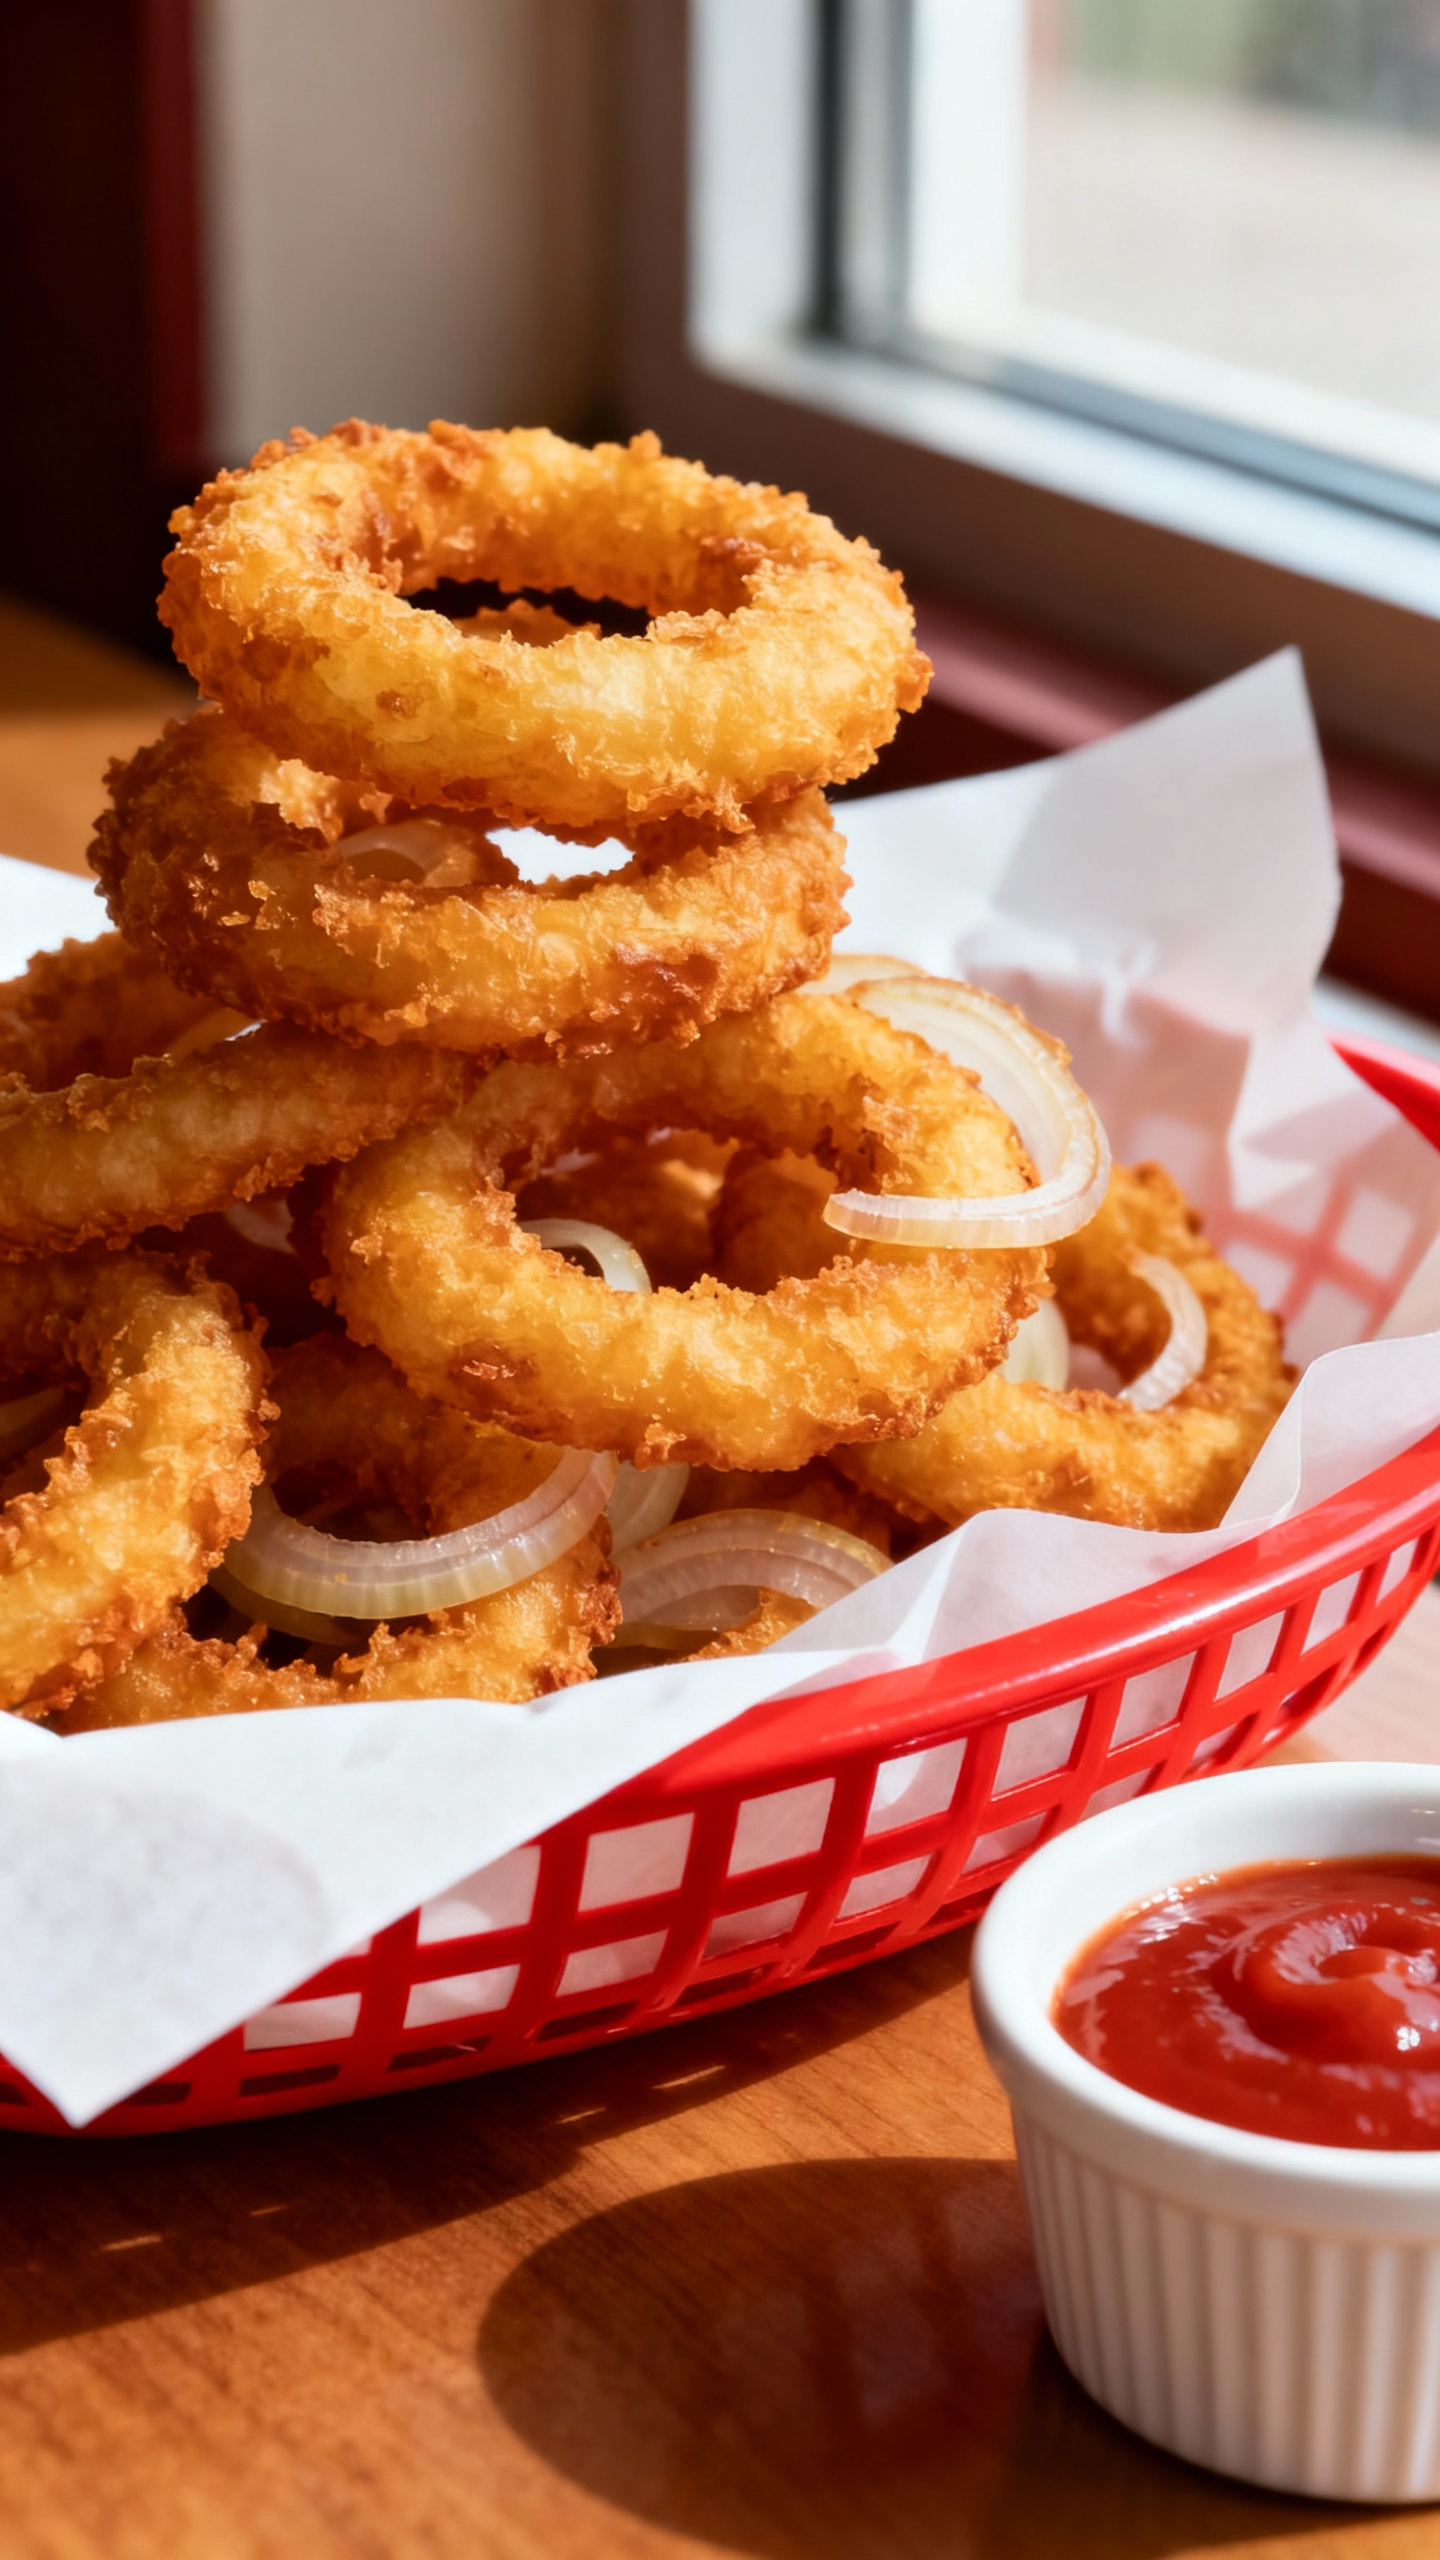
Crispy Onion Rings
After countless attempts at recreating those perfect diner-style onion rings, I finally cracked the code. The secret lies in my double-dip buttermilk technique and the exact flour-to-cornstarch ratio that creates an incredibly light yet shatteringly crispy coating every single time.
Why Sweet Onions Ruin Everything
Sweet onions might seem like the obvious choice, but they’re actually your worst enemy for crispy rings. Yellow onions have the perfect moisture content and natural bite that holds up against hot oil without becoming mushy. Sweet varieties release too much water during frying, creating steam pockets that make your coating soggy. Yellow onions also maintain their structure better, giving you that satisfying snap when you bite through the crust.
Our Best Picks


The Ice Water Bath That Saved My Coating
Soaking cut onion rings in ice water for exactly 20 minutes before breading changed everything about my success rate. The cold water firms up the onion’s cell walls and removes excess surface moisture that would otherwise create steam bubbles under your coating. Pat them completely dry after the bath – any lingering moisture will prevent proper buttermilk adhesion and create those frustrating bare spots where coating falls off during frying.
My Oil Temperature Obsession Pays Off
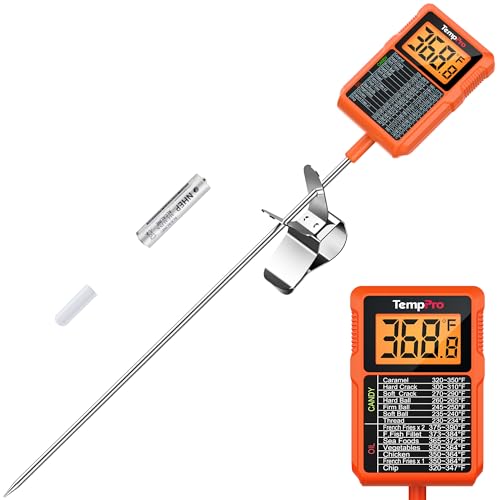
Most recipes tell you to fry at 350°F, but that’s too hot and creates burnt exteriors with raw centers. Starting at 325°F and maintaining it religiously gives the coating time to set properly while the onion cooks through. Use a thermometer – eyeballing oil temperature is the fastest way to ruin a batch. When oil gets too hot, your beautiful golden coating turns dark brown in seconds while the onion inside stays crunchy and sharp.
The Double-Dredge Method That Actually Works
Going flour-buttermilk-seasoned flour creates good rings, but adding a second buttermilk dip followed by final seasoned flour coating creates restaurant-quality thickness and crunch. The extra layers trap more air pockets during frying, creating that light, crispy texture everyone craves. Make sure each layer adheres completely before moving to the next – rushing this process guarantees coating that slides right off in the oil.
Frying Victories Born from Epic Failures
- Never salt the flour mixture more than 30 minutes before using – salt draws moisture from the air and creates clumpy, heavy coating that won’t stick properly.
- Keep your second batch of rings breaded and ready while the first batch fries, but don’t let breaded rings sit longer than 10 minutes or the coating gets soggy.
Frequently Asked Questions
Why does my coating fall off during frying?
Usually this means your onions weren’t dry enough after the ice water bath, or you didn’t press the coating firmly at each dredging step. Moisture is the enemy of adhesion, so pat those rings bone dry and really press that flour mixture into every surface.
Can I use regular milk instead of buttermilk?
Regular milk won’t give you the same tangy flavor or coating adhesion that buttermilk provides. The acidity in buttermilk helps the flour stick better and creates a more tender coating. If you must substitute, add 1 tablespoon lemon juice to regular milk.
Why are my onion rings greasy instead of crispy?
Your oil temperature dropped too low, usually from overcrowding the pot or not letting it come back to 325°F between batches. Greasy coating means the oil wasn’t hot enough to create proper steam that keeps grease out.
How thick should I cut the onion slices?
Exactly 1/2-inch thick gives you the perfect ratio of coating to onion. Thinner slices cook too fast and can disappear inside thick coating, while thicker slices stay raw while the coating burns.
Can I make the seasoned flour mixture ahead of time?
Mix dry ingredients up to 2 days ahead and store in an airtight container. Don’t add salt until the day you’re frying though, as salt attracts moisture and will make your flour mixture clump up.
Professional Grade


Crispy Onion Rings
Equipment Needed
- Large heavy-bottomed pot or deep fryer
- Digital thermometer
- Wire cooling racks
- Three shallow bowls for dredging
- Large slotted spoon or spider
Instructions
- Prepare onions: Separate onion rings and soak in ice water for exactly 20 minutes, then pat completely dry with paper towels.
- Mix dry coating: Combine flour, cornstarch, and all seasonings in a large bowl, whisking until evenly distributed.
- Set up breading station: Set up dredging station with seasoned flour in first bowl, 1 cup buttermilk in second bowl, and remaining seasoned flour in third bowl.
- Heat oil: Heat oil to exactly 325°F in heavy pot, maintaining temperature throughout frying process.
- Double-coat rings: Dredge each ring: flour, buttermilk, flour again, then second buttermilk dip, then final flour coating, pressing gently to adhere.
- Fry onion rings: Fry rings in small batches for 2-3 minutes until deep golden brown, never overcrowding the pot.
- Drain and season: Transfer to wire rack immediately and season with salt while still hot.
Nutrition Facts
Per Serving (1 serving (about 6-8 rings))