How To Fillet a Brill Using a Fillet Knife? Try It Now!
Key Takeaways:
- Use a sharp fillet knife to ensure clean cuts and remove as much flesh as possible from the bones.
- Position the brill on its side and locate the backbone, making a cut from the head to the tail along it.
- Follow the contour of the bones while removing the fillet, making sure to avoid cutting through the bones.
- Repeat the process on the other side of the fish and remove any remaining flesh from the bones with the knife.
Are you tired of struggling with filleting fish and ending up with uneven fillets? Look no further than the brill – a delicious and versatile fish that’s not only easy to prepare but also readily available.
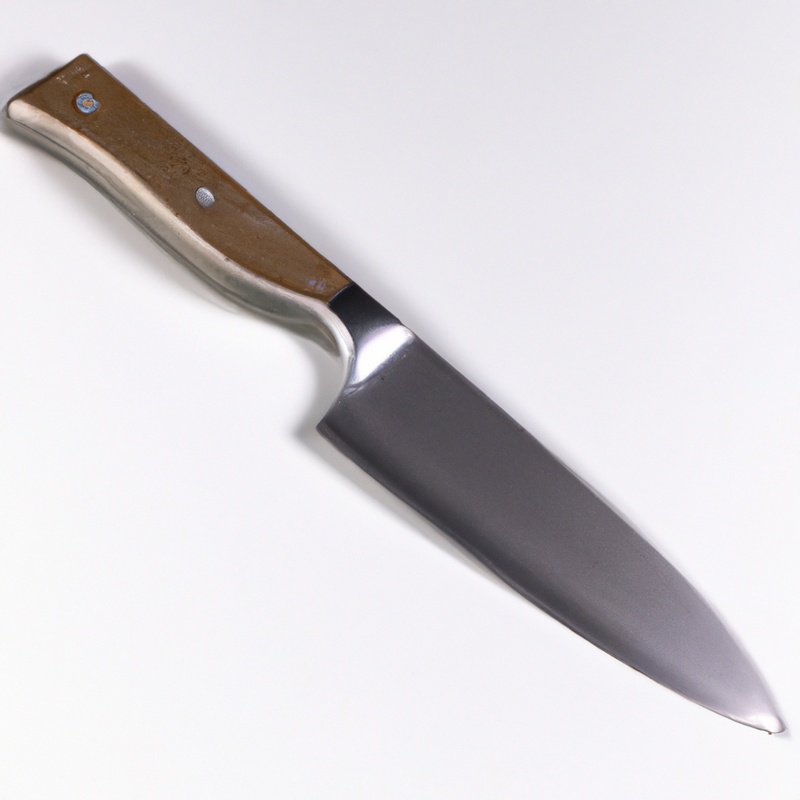
But before you start, you’ll need the right tool for the job – a sturdy fillet knife.
In this article, I’ll guide you through the step-by-step process of filleting a brill using a fillet knife, from preparing the fish to trimming the fillets for a clean finish. And don’t worry – I’ll also share tips and tricks for successful filleting and common mistakes to avoid.
So, let’s get started!
| Steps | |
| 1. | Place the brill on a cutting board and make sure it’s steady. |
| 2. | Insert the fillet knife behind the gill plate of the fish and cut towards the head. |
| 3. | Run the knife along the backbone of the fish, starting from the head and all the way down to the tail. Use a sawing motion to cut through any bones. |
| 4. | Cut the fillet away from the bone using a sweeping motion, while holding the skin down with your other hand. |
| 5. | Repeat steps 2-4 on the other side of the fish to remove the second fillet. |
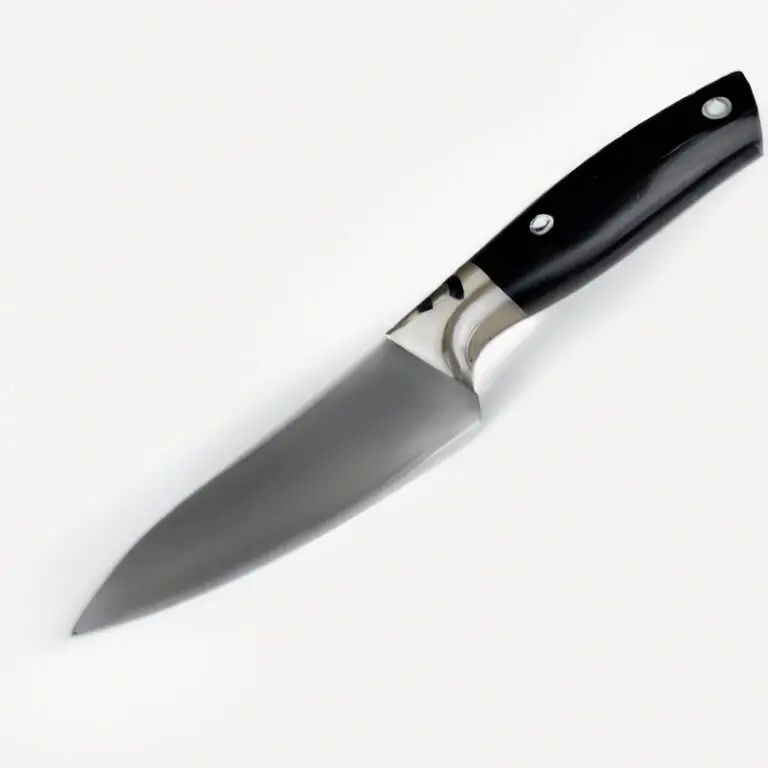
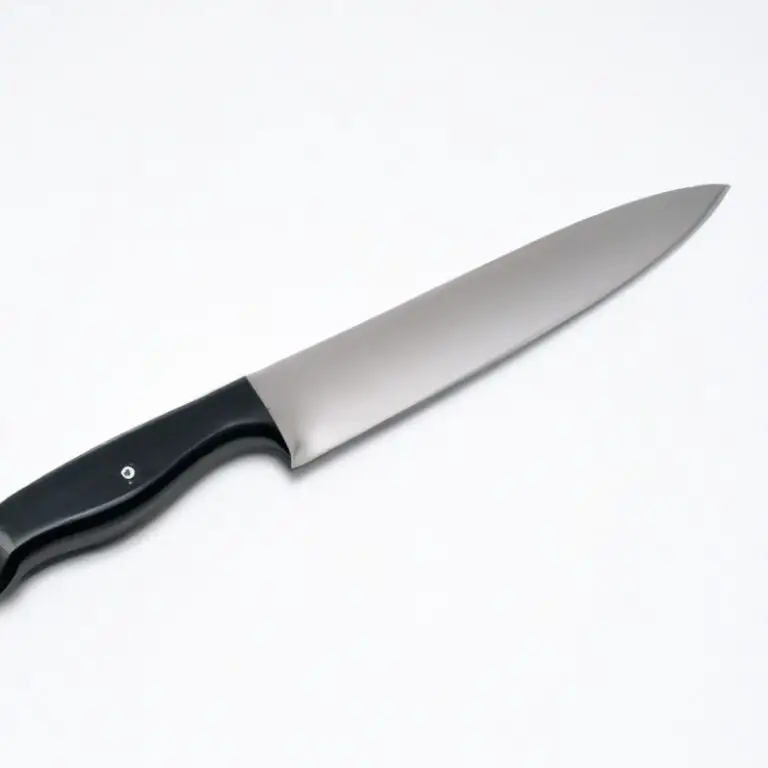
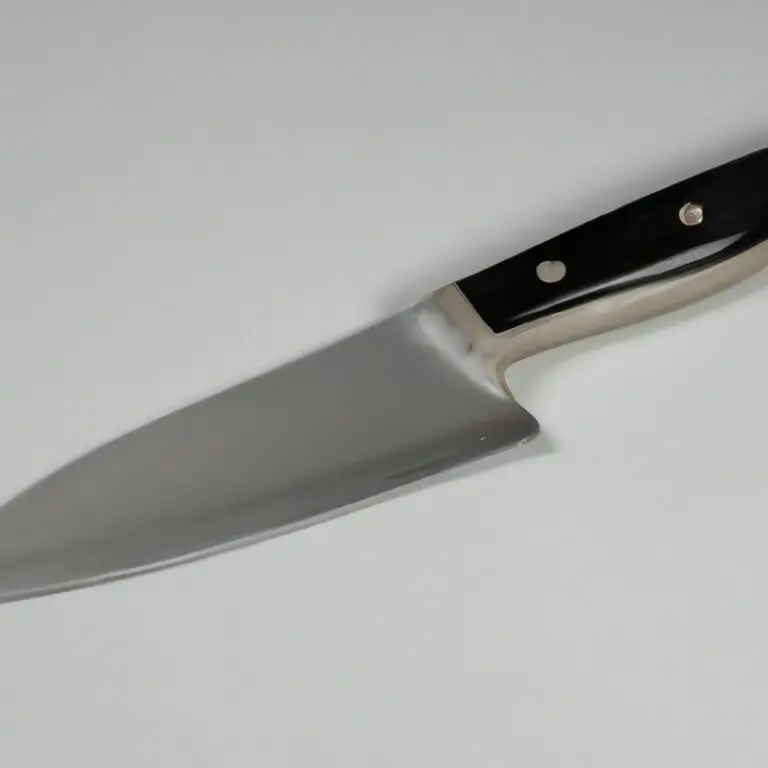
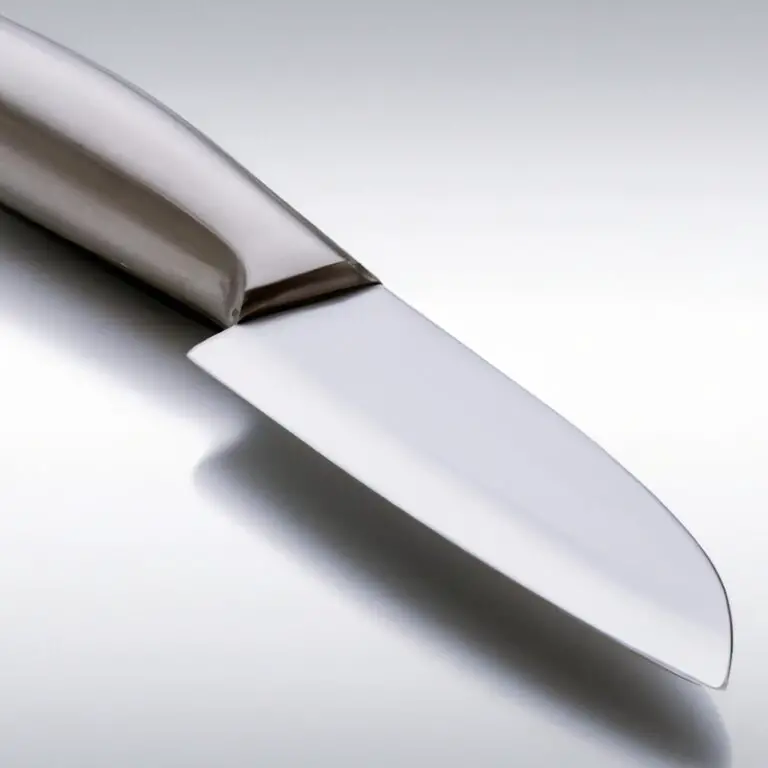
Choosing the right fillet knife for the job
When it comes to filleting fish, using the right knife is crucial for achieving a clean and precise cut. For brill, it is recommended to use a flexible fillet knife with a narrow, tapered blade.
This type of knife allows for easy maneuverability around the bones and contours of the fish.
When selecting a fillet knife, consider the length of the blade. For smaller fish like brill, a blade around 6-7 inches in length is suitable.
Additionally, look for a knife with a comfortable, nonslip handle, as this will provide better control and prevent accidents.
It’s important to invest in a high-quality fillet knife that’s specifically designed for fish filleting. A good fillet knife is an investment that will last for years and make your filleting much easier and more efficient.
Choosing the right fillet knife for the job is key to achieving a successful fish fillet.
Consider the blade length, flexibility, and handle when making your selection, and invest in a high-quality knife that’s designed for fish filleting.
Preparing the brill for filleting
Before you begin filleting a brill, it’s essential to prepare the fish properly. Start by cleaning the fish, removing any scales and washing it thoroughly.
Then, place the brill on a cutting board with its belly facing upwards, and its head towards the left side if you’re right-handed and vice versa if you’re left-handed.
Next, locate the head and make a shallow cut right behind it, about an inch deep. Gently twist it off, taking care not to tear the flesh.
Place the head aside and do the same for the tail.
With a sharp fillet knife, cut through the skin along the backbone from the head to the tail. Repeat the same on the other side of the fish.
Then, using a sharp knife, cut close to the bones along the backbone to remove the fillet.
Repeat on the other side to get two fillets. Remove any remaining bones, fins, and skin from the fillets with a pair of pliers or tweezers.
Finally, trim the edges for a clean finish.
The brill is now ready for cooking or storage. Properly preparing the fish ensures that the filleting process goes smoothly and that you end up with the best fillets possible.
Take your time, use a sharp fillet knife, and always work with care to avoid damaging the flesh.
Removing the head and tail of the brill
To begin, place the brill on a cutting board with its belly facing down. Use a sharp fillet knife to slice through the fish’s head just behind the gills, making sure to cut all the way through the spine.
Next, turn the fish around and cut through the tail, also cutting all the way to the spine.
Once the head and tail are removed, discard them or save them for making fish stock. With the head and tail removed, you will have better access to the fish’s backbone, making it easier to remove the fillet.
Cutting along the spine of the fish
To start, make a small incision through the skin of the fish, just above the gills. Then, angle your fillet knife towards the head and cut through the backbone with a slow and steady motion.
Follow the spine down towards the tail, using the backbone as a guide.
Use your other hand to hold the fillet down as you cut. Take care to cut as close to the spine as possible, but avoid cutting through the bone.
To ensure a clean cut, use a sawing motion if necessary.
Repeat the process on the other side of the fish, again starting at the head and angling towards the tail. Once you have cut along the spine, use your fillet knife to separate the fillet from the fish, clearing any remaining bones along the way.
Discard the spine and bones, or save them for fish stock or soup.
Again, focus on keeping your cuts even and close to the bone for the best results. Patience and a sharp fillet knife will help make this step of the process easier and more successful.
Removing the ribcage and pin bones
To remove the ribcage and pin bones from the brill fillet, use a gentle sawing motion with the tip of the fillet knife. Insert the blade under the ribcage and slide it down towards the tail, keeping the blade as close to the bones as possible.
Then, carefully lift the bones and remove them from the fillet.
Next, locate the pin bones that run perpendicular to the ribcage and use a pair of pliers or fishbone tweezers to extract them. Pin bones can be difficult to see, so be sure to run your fingers along the fillet to feel for any protruding bones.
Removing the ribcage and pin bones can be a delicate process, but with patience and practice, you will get the hang of it.
Once finished, your fillet should be clean and ready for trimming.
Trimming the fillet for a clean finish
Trimming the fillet for a clean finish is an essential step in filleting a brill fish. To achieve a professional and presentable fillet, use a sharp fillet knife to remove any remaining skin or bones.
Start by running the blade along the fillet’s edge, removing any unwanted parts while keeping the flesh intact.
For best results, hold the fillet firmly with one hand and use a smooth and gentle motion when trimming with the other. Remember to remove any remaining rib bones and pin bones, as these can spoil the eating experience.
With practice and precision, you can have a perfectly trimmed brill fillet ready to cook or store.
Saving the bones and trimmings for fish stock or soup
Don’t discard the bones and trimmings of the brill after filleting it. They can be put to good use in making flavorful fish stock or soup.
The bones are full of gelatinous goodness that adds a depth of flavor to the dish.
Fish stock or soup made from the brill’s bones and trimmings can be used as a base for various seafood dishes. To make fish stock, add the bones, trimmings, and aromatics like onions, celery, and carrots to a pot of water and let it simmer for a few hours.
Strain the liquid and discard the solids.
Store the fish stock in the freezer for later use or use it right away to make a delicious soup.
Storing or cooking the brill fillets
Once you’ve successfully filleted your brill, it’s time to decide how to store or cook the fillets. If you plan to use the fillets immediately, store them in the refrigerator and use within a day or two.
For longer storage, consider freezing the fillets.
Wrap each fillet tightly in plastic wrap or aluminum foil and then place them in a freezer-safe bag or container. When it comes to cooking brill fillets, there are numerous options.
The fillets can be grilled, baked, broiled, fried, or poached.
For a simple yet flavorful preparation, try brushing the brill fillets with olive oil, seasoning with salt and pepper, and baking in the oven until cooked through. Alternatively, coat the fillets in seasoned breadcrumbs and fry them in a pan until golden brown.
Regardless of how you choose to cook the fillets, it’s important to not overcook them.
Brill fillets are delicate and can become dry and tough if overcooked. Use a meat thermometer to ensure the fillets are cooked to the appropriate temperature.
The USDA recommends cooking fish to an internal temperature of 145°F.
Remember, the Brill bones and trimmings can be saved to make a delicious fish stock or soup, adding even more flavor to your meal.
Tips and tricks for successful filleting
Here are some tips and tricks for successful filleting:
- Keep your knife razor-sharp. This will ensure clean cuts and make the filleting process easier.
- Work on a clean, flat surface. A cutting board with a non-slip surface can help prevent accidents.
- Use gentle pressure when handling the fish. Applying too much pressure can damage the flesh and make filleting more difficult.
- Use the right technique when cutting along the spine. Make sure to keep the knife close to the bones and cut as close to the spine as possible.
- When removing the ribcage and pin bones, use a pair of pliers or tweezers for precision.
- Be patient and take your time. Rushing the filleting process can result in uneven cuts and wasted meat.
By following these tips and tricks, you can successfully fillet a brill using a fillet knife with ease and precision.
Common mistakes to avoid while filleting a brill
While filleting a brill can be a rewarding experience, it is important to avoid certain common mistakes to achieve a clean and professional finish. These common mistakes include:
- Using a blunt fillet knife: A sharp fillet knife is crucial in achieving neat fillets. A dull knife can result in ragged edges and uneven cuts.
- Not starting with a clean work surface: It is important to have a clean surface to fillet the fish on. Any debris on the work surface can mix with the fish and cause contamination.
- Cutting too close to the bone: It is recommended to leave a small amount of flesh on the bones to avoid accidentally scraping the bones, which can result in a lower yield and a tedious removal process.
- Removing too much flesh: Overtrimming the fillet can result in a smaller yield and uneven fillet pieces.
- Ignoring the pin bones: Pin bones are small, needle-like bones that can be difficult to remove. Ensure that you remove the bones completely by running your fingers along the fillet to detect any leftover bones.
By avoiding these common mistakes, you can ensure a successful and enjoyable filleting experience.
Final Verdict
In conclusion, filleting a brill can be a challenging task, but with the right fillet knife and technique, it can be done successfully. Remember to choose the right fillet knife for the job, remove the head and tail, cut along the spine, remove the ribcage and pin bones, and trim the fillet for a clean finish.
And don’t forget to save the bones and trimmings for fish stock or soup! By following these steps and avoiding common mistakes, you can achieve perfectly filleted brill every time.
Whether you’re a professional chef or a home cook, mastering the art of filleting fish can enhance your culinary skills and impress your guests. I hope these tips and tricks have been helpful in your quest for the perfect brill fillet.
Always remember to prioritize safety and precision when handling a fillet knife, and with practice, you’ll become an expert in filleting any type of fish.
Trust in your technique and knowledge, and happy filleting!