How To Fillet a Mullet Using a Fillet Knife? Easy And Quick!
Key Takeaways:
- Use a sharp fillet knife to safely and effectively fillet a mullet.
- Begin by cutting along the backbone and using the knife to separate the meat from the bones.
- Proper technique and patience are key when filleting a mullet for a delicious and nutritious meal.
- Practice makes perfect – the more you fillet, the more skilled you’ll become.
Are you tired of buying pre-filleted fish at the grocery store? Why not learn how to fillet a mullet yourself using a fillet knife?
Not only is it a rewarding skill to have, but it can also save you money.
In this article, I will guide you through the entire process, from choosing the right fillet knife to storing and using the filleted mullet. But before we dive into the details, let’s talk about safety measures to take before filleting.
So, grab your fillet knife and let’s get started!
| Fillet Knife | Mullet Fish | |
| Step 1 | Choose a sharp fillet knife with a flexible blade. | Choose a fresh mullet fish. |
| Step 2 | Place the fish on a cutting board with its head facing you. | Gut the fish and wash it thoroughly. |
| Step 3 | Make an incision behind the gills and along the backbone. | Hold the fish by the head and make the first cut behind the gills. |
| Step 4 | Insert the blade under the flesh and parallel to the rib bones. | Run the blade down towards the tail, keeping it near the bones. |
| Step 5 | Maintain a smooth motion and gently separate the fillet from the bones. | Repeat the process on the other side of the fish to get the second fillet. |
| Step 6 | Remove the skin from the fillet by starting at the tail end and sliding the blade between the skin and flesh. | Serve the fillets immediately or store in a sealed container in the refrigerator for later use. |
Choosing the Right Fillet Knife
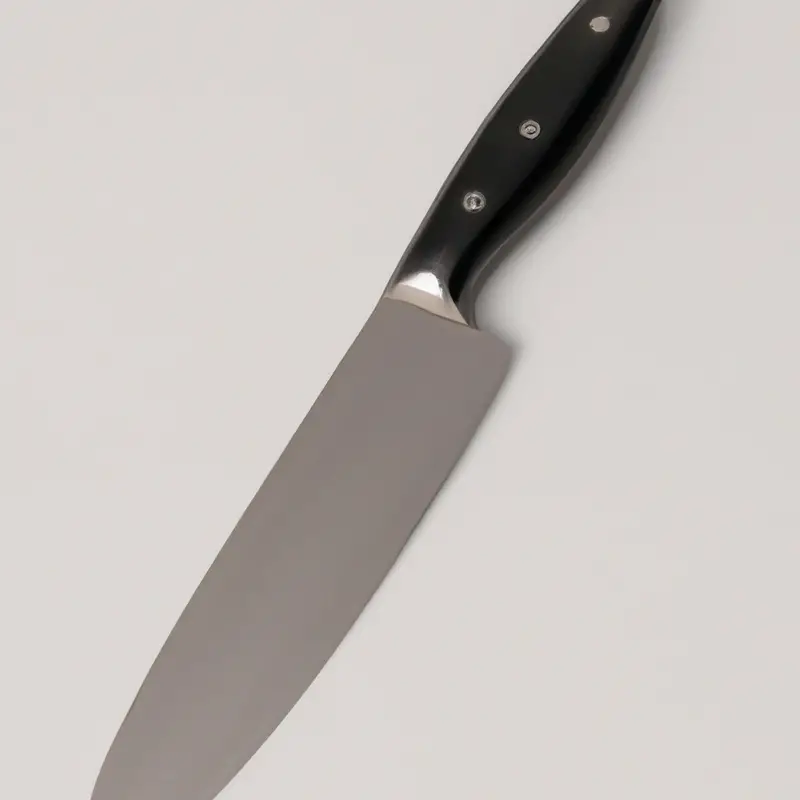
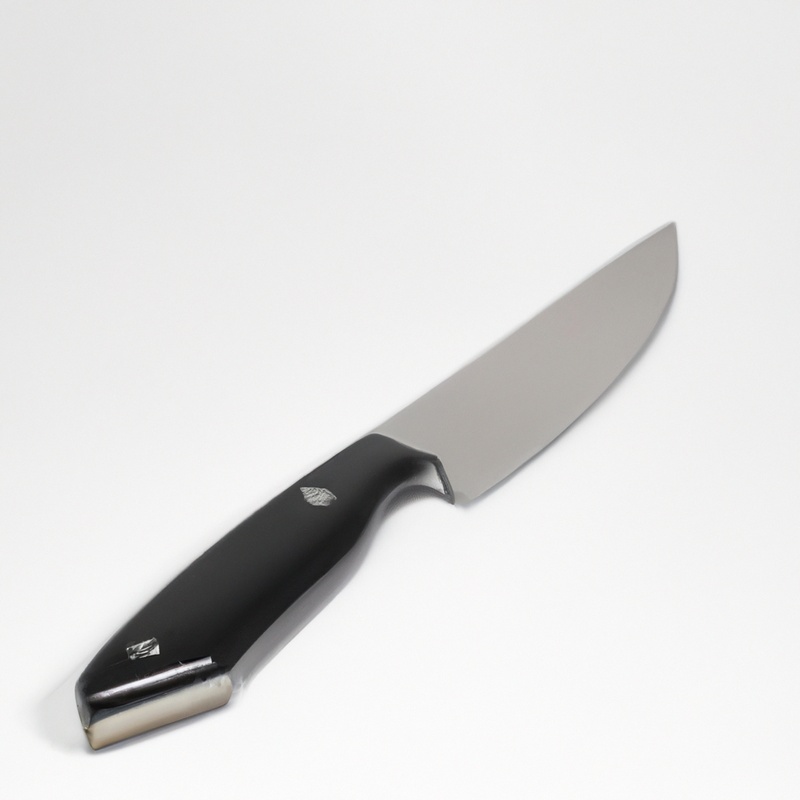
Choosing the right fillet knife is crucial for a successful fish filleting process. A good fillet knife has a flexible and sharp blade, which allows for easy maneuvering around the bones and contours of the fish.
A larger blade is best for bigger fish, while a smaller blade is suitable for smaller fish.
It is also important to choose a fillet knife with a comfortable and ergonomic handle. The handle should provide a non-slip grip and reduce hand fatigue during prolonged use.
Consider the material of the handle, as well as the shape and size, when choosing your fillet knife.
When purchasing a fillet knife, opt for high-quality stainless steel or carbon steel blades. These materials are durable and resistant to corrosion, making them ideal for long-term use.
Avoid low-quality, cheap knives, as they are prone to rusting and dulling quickly.
In summary, selecting the right fillet knife is crucial for successful fish filleting. Consider the size, shape, and material of the blade, as well as the comfort and design of the handle when choosing your fillet knife.
Opt for high-quality, durable options for a reliable and efficient filleting process.
Safety Measures to Take Before Filleting
Before starting the filleting process, it is crucial to take some safety precautions to avoid any injury. Here are some essential safety measures to consider:
- Check Your Fillet Knife: A sharp and well-maintained knife is the key to efficient and safe filleting. Ensure that the blade is rust-free, sharpened properly, and the handle is not slippery.
- Wear Protective Gear: Always wear a cut-resistant glove on your non-dominant hand to protect against accidental cuts. Also, use protective eyewear to shield your eyes from flying scales and debris.
- Secure the Cutting Surface: Place a non-slip mat or towel under the cutting board to keep it stable. Avoid using a glass or smooth surface, as it can be hazardous and result in knife-slippage.
- Keep the Work Area Clean: Clean the work surface and surrounding areas, making sure any obstacles or debris that may cause slips or falls is removed.
- Stay Focused: Avoid distractions and concentrate entirely on the filleting process. Keep your hands and fingers away from the blade’s path, and do not try to catch a falling knife.
By following these safety measures, you can ensure a safe and efficient filleting experience. Remember, it is always better to be safe than sorry.
Preparing the Mullet for Filleting
Before you start filleting your mullet, you need to prepare it properly. Begin by washing and gutting the fish and remove the head and tail.
Then, use a sharp knife to make a shallow incision around the gills and peel the skin down to the center of the fish.
Next, use a pair of pliers to grip the center bones and gently pull them out. This will create a cavity that makes it easier to cut into the fish.
Finally, rinse the mullet under cold water and pat it dry with a paper towel.
Preparing the mullet is an essential step in the filleting process, and taking the time to do it correctly will ensure that you end up with a beautiful fillet. Once you have prepared the mullet, you can move on to the next steps to fillet it properly.
Removing the Scales of a Mullet
To remove the scales of a mullet, place the fish on a flat surface and grip the tail firmly. Using a scaler or a dull knife, scrape the scales in a back and forth motion from the tail towards the head until all scales are removed.
Rinse the fish under cold water to remove any remaining scales.
Be sure to scale the entire fish, including the belly, and pay extra attention to the area near the head and fins. Removing the scales will make filleting easier and prevent any unpleasant scales from getting in the way while eating.
Cutting Along the Backbone of the Mullet
To begin cutting along the backbone of the mullet, make sure your fillet knife is sharp and in good condition. Using the tip of the blade, cut through the skin directly behind the gills of the fish.
Then, slowly slide the blade down the length of the backbone, taking care to separate the flesh from the ribs as you go.
Continue cutting along the backbone until you reach the tail of the fish. Repeat the process on the other side of the fish, making sure to keep the blade at a shallow angle to avoid wasting any of the meat.
Once you have completed both sides, you should have two fillets of meat still attached at the tail end.
To remove these fillets, make a cut down the middle of the tail and gently pull the fillets away from the bone. Keep in mind that cutting along the backbone of a mullet can be tricky, so take your time and be patient.
With practice and a steady hand, you’ll be able to get the most meat possible out of your fish.
Filleting the Mullet’s Flesh from the Ribs
To fillet the mullet’s flesh from the ribs, begin by first identifying the rib bones of the fish. Using a sharp fillet knife, make an incision from the top of the fish down to the backbone behind the gills.
With the tip of your fillet knife, carefully follow along the ribs until you reach the spine.
Next, place the blade against the spine, angling it towards the tail, and gently slice downwards while pulling the flesh away from the bone. Use long, smooth strokes to ensure a clean cut and preserve as much meat as possible.
Repeat this process along the length of the rib bones until you have separated the fillet from the fish completely.
Be sure to check for any stray bones that may have been left behind and remove them carefully. Filleting a mullet can be tricky, but with practice and a sharp fillet knife, you can master the art and enjoy delicious, boneless fillets for your next meal.
Removing the Skin from the Filleted Mullet
To remove the skin from the filleted mullet, place the fillet skin-side down on a cutting board. Start at the tail-end and make a shallow cut between the skin and flesh using the fillet knife’s blade.
Keep the blade angled slightly upwards towards the flesh.
Then, firmly hold the tail-end of the skin and use back and forth sawing motion with the knife, slowly working your way towards the head-end of the fillet. Continue to use gentle pressure and saw back and forth using the blade to keep the skin taut.
Be careful not to cut through the flesh or leave any skin behind.
If necessary, use kitchen tweezers or pliers to remove any remaining bones. Once the skin is completely removed, repeat the process with the other fillets.
Having properly removed the skin from the filleted mullet enhances the texture of the dish and makes it easy to eat.
Always take caution while using the fillet knife and handling the fish to avoid injuries.
Trimming the Edges and Pin Bones of the Filleted Mullet
After filleting a mullet, it’s important to trim the edges and remove the pin bones to ensure a smooth and enjoyable eating experience. To trim the edges, use a sharp knife to carefully remove any excess fat or unwanted bits of skin along the fillet’s edges.
When it comes to pin bones, use pliers or tweezers to gently locate and pull out any remaining bones from the flesh.
Be thorough but gentle to avoid breaking the bones and harming the filleted mullet’s texture. Once the edges are trimmed and pin bones removed, your filleted mullet is now ready to be cooked or stored.
Storing and Using the Filleted Mullet
Storing and using the filleted mullet is essential in preserving its quality and flavor. After filleting, rinse the flesh thoroughly with cold water and pat it dry with a paper towel.
Wrap the fillets tightly in cling wrap or place them in an airtight container before refrigerating them.
Ensure that you consume the filleted mullet within 2-3 days of refrigeration. For a longer shelf life, consider freezing the fillets.
Place them in freezer bags, remove as much air as possible, and label them with the date of freezing.
Frozen fillets can last up to six months in the freezer. When it comes to using filleted mullet, it is a versatile fish that can be prepared in various ways.
You can grill, bake, fry, or even pickle it.
Its delicate flavor pairs well with citrus, herbs, and spices. Try marinating the mullet fillets with lemon, garlic, and thyme before cooking them for added flavor.
Remember to remove any pin bones before cooking.
With proper storage and preparation, you can savor the delicious taste of filleted mullet any time of the year.
Tips and Tricks for Perfecting the Filleting Process
Here are some tips and tricks to perfect the filleting process:
- Keep your fillet knife sharp to make clean cuts through the flesh and bones.
- Use the right technique when cutting along the backbone to avoid injuring yourself or damaging the fillet.
- Work with a clean, flat surface to prevent slipping or uneven cutting.
- When removing the skin from the fillet, start at the tail end and use a gentle sawing motion with your knife.
- Use tweezers or pliers to remove any pin bones left on the fillet after trimming.
- For storage, wrap the fillet tightly in plastic wrap or place it in an airtight container in the fridge for up to three days.
By using these tips and tricks, you can ensure a successful and efficient filleting process for your mullet or any other types of fish.
Final Verdict
Filleting a mullet may seem daunting, but with the right tools and techniques, it can be a rewarding and delicious process. Remember to choose the right fillet knife, take safety measures, and follow the steps of preparing, scaling, cutting, filleting, skinning and trimming before storing and using the filleted mullet.
By practicing these steps and applying the tips and tricks provided, you can perfect your filleting skills and impress your guests with a flawless fillet.
Trusting in your expertise and investing in the right equipment will ensure that your filleting journey is both safe and enjoyable. So, embrace the challenge, and let your culinary skills shine.

