How To Fillet a Flounder Using a Fillet Knife? – Like a Pro!
Key Takeaways:
- Choose a sharp, flexible fillet knife for easier and more efficient filleting.
- Position the flounder properly and use the knife to make precise cuts along the spine and fillet the fish.
- Remove any remaining bones or skin from the fillet using tweezers or pliers.
- Practice makes perfect- filleting flounder may require some practice, but with time and patience, it can become a quick and effortless task.
Ready to upgrade your culinary skills and learn how to fillet a flounder using a fillet knife? If so, you’ve come to the right place! As a seasoned chef and fisherman, I’m excited to share with you the basic techniques of filleting a flounder that will turn you into a pro in no time.
From understanding the anatomy of the fish, choosing the right knife, to the step-by-step process of filleting this delicious fish, we’ll cover everything you need to know.
So, roll up your sleeves, grab your fillet knife, and let’s dive into the world of flounder filleting!
| Step | Description |
|---|---|
| 1 | Place the flounder on a cutting board and secure it with one hand. |
| 2 | Insert the fillet knife behind the gills and cut down to the spine, following the natural curve of the fish. |
| 3 | Cut all the way down to the tail, separating the fillet from the bone. |
| 4 | Flip the fish over and repeat the process on the other side. |
| 5 | Remove any remaining bones or skin with the fillet knife or tweezers. |
The Basics of Filleting Flounder: Understanding the Fish Anatomy
To successfully fillet a flounder, it is important to understand the fish anatomy. Flounders have a flat, oval-shaped body with both eyes on one side of the head.
The top side of the flounder is typically brownish-green, while the underside is white.
The fish has a central backbone and a series of bones that run perpendicular to the backbone. The fillet is the meaty portion of the fish that is removed from the bones.
Knowing the basic anatomy of the flounder will help in choosing the right fillet knife, making accurate cuts, and ultimately producing a quality fillet.
Preparing the Fish: Scaling, Gutting, and Cleaning
Before filleting a flounder, it’s important to prep the fish properly. The first step is to scale the fish with the back of a knife or a fish scaler, working from tail to head.
Then, cut off the head behind the gills and remove the guts by slicing through the belly from the head to the tail.
Rinse the fish under cold running water, making sure to get rid of any remaining blood and guts. Use your fingers to check for any remaining bones by running them along the backbone.
Once the fish is cleaned and prepped, it’s ready to be filleted with a sharp fillet knife.
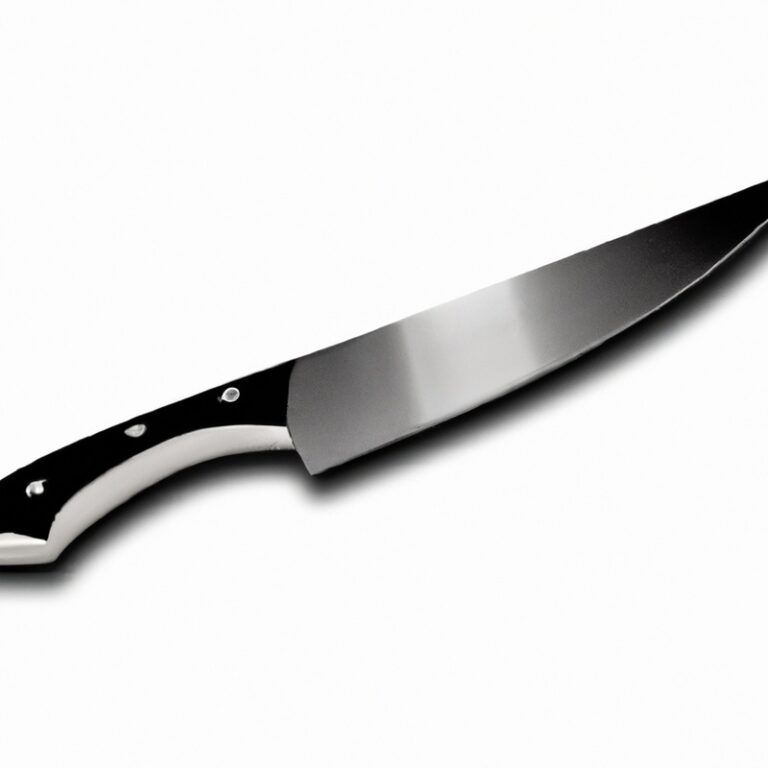
Choosing the Right Fillet Knife for Flounder Filleting
When it comes to filleting a flounder, choosing the right fillet knife is crucial for achieving the desired results. A flexible, thin-bladed knife with a sharp edge is ideal for this task.
The blade should be long enough to handle the length of the fish and narrow enough to maneuver around the bones.
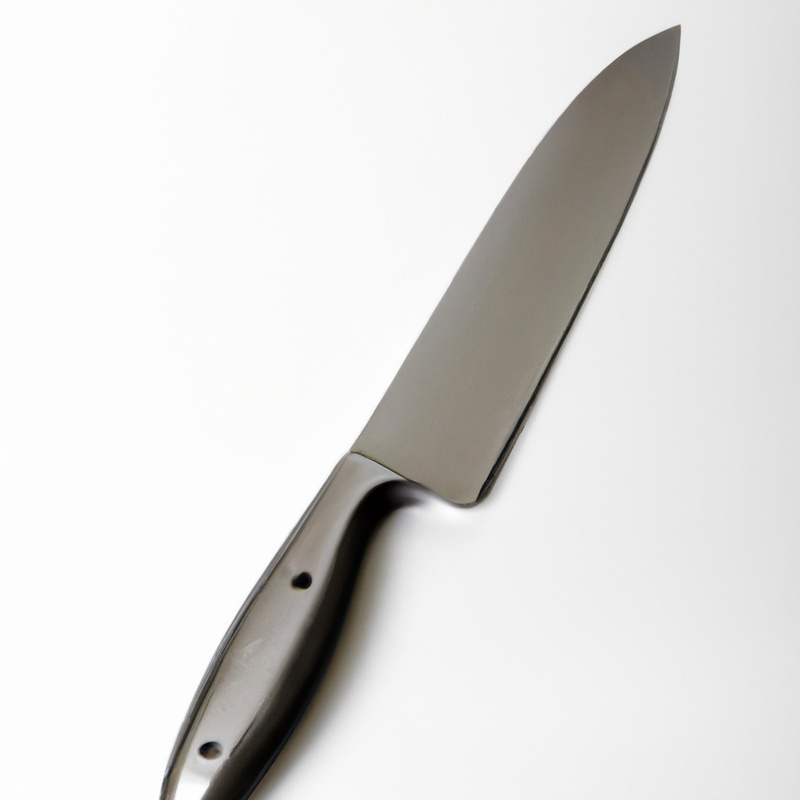
Electric fillet knives can also be used but are not necessary. When selecting a knife, consider the handle’s grip, as a comfortable grip allows for better control and reduces hand fatigue.
Look for a handle made of a non-slip material, such as rubber or silicone.
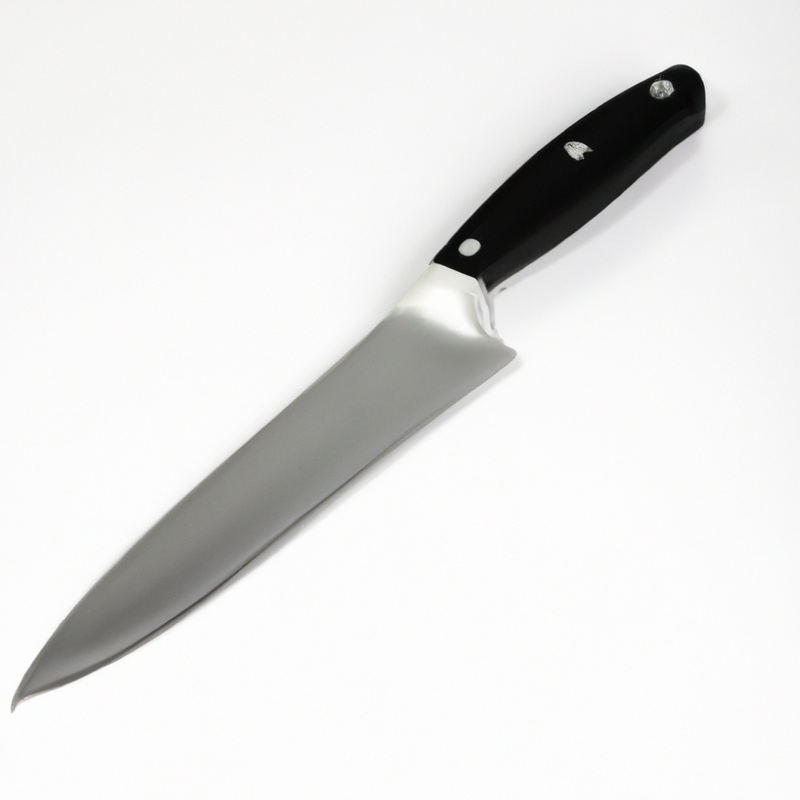
Additionally, a full-tang blade, where the blade extends into the handle, provides a more balanced weight distribution, making it easier to fillet. Remember to maintain the knife’s sharpness to make filleting easier and efficient and invest in a knife sharpener or honing tool to keep it sharp.
Avoid using a dull knife as it can easily slip and cause injury.
Choosing the right fillet knife is essential for successful filleting, so take the time to research and invest in the correct tool for the task at hand.
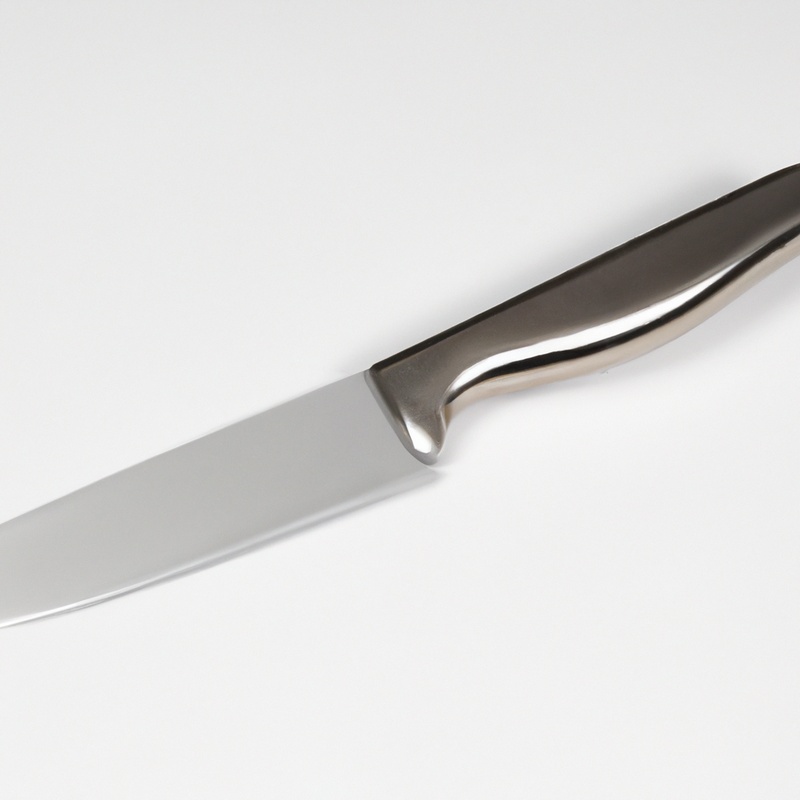
Basic Filleting Techniques: Removing the Head, Tail, and Fins
The first step in filleting a flounder is to remove the head, tail, and fins. This can be done using a sharp fillet knife.
Be sure to hold the flounder firmly by the head to prevent it from slipping as you cut.
To remove the head, make a vertical cut behind the gills and down to the spine. Turn the knife and cut towards the head.
Repeat on the other side.
To remove the tail, make a horizontal cut just above the tail, cutting through the backbone. Bend the tail backwards until it snaps, then cut through the remaining flesh.
To remove the fins, make diagonal cuts along the edges of the fins and then gently pull them away from the fish.
Once the head, tail, and fins have been removed, you can begin to fillet the flounder.
Making the First Cut: Separating the Flesh from the Bones
To make the first cut when filleting a flounder, start by placing the fish on a cutting board with its belly facing up. Locate the head and tail ends of the fish, and use a sharp fillet knife to make a shallow incision along the backbone, just behind the head.
This cut should extend from the dorsal fin down to the belly of the fish.
Once you’ve made the initial cut, continue using the fillet knife to separate the flesh from the bones. Make sure to carefully follow the contours of the fish’s body, using the blade to pry the fillet away from the rib bones without damaging the meat.
It’s important to use short, precise strokes and to keep the blade at a consistent angle in order to get the best results.
As you work your way down the fish, be sure to remove any remaining small bones that may still be attached to the fillet. These bones are typically easy to spot, and can be pulled out with a pair of needle-nose pliers or tweezers.
By mastering this initial cut, you’ll be well on your way to achieving perfectly filleted flounder.
With practice and patience, you’ll become more efficient and confident with your filleting technique, resulting in tasty and visually appealing fillets that are sure to impress your dinner guests.
Following the Contour: Running the Blade along the Rib Cage
Following the contour of a flounder and running the blade along the rib cage is the most important step in filleting a flounder. To do this, you need to make a shallow cut from the head towards the tail, keeping the blade just along the top of the rib cage.
Then, working from the head towards the tail, slowly angle the blade down towards the backbone while keeping it close to the bones.
This will allow you to remove the fillet in one piece without losing any meat. Repeat this process on the other side of the flounder.
With practice, you’ll find it easier to follow the contour and get the most meat out of your flounder.
Removing the Skin: Using Short Strokes to Peel off the Flesh
To remove the skin from the flounder, you need to use short strokes. Begin by making a small cut into the flesh near the tail.
Hold the skin tightly and use the knife to slice through the flesh, angling it slightly downwards towards the skin.
As you cut, move the knife back and forth in short, controlled strokes. Pull the skin gently with your other hand to keep it taut.
Repeat this process along the length of the fillet until all the skin is removed.
Remember, it’s important to use short strokes to avoid cutting through the flesh and ruining the fillet. With a bit of practice, you’ll be skinning flounder like a pro in no time.
Mastering the Technique: Practice, Practice, Practice
Mastering the technique of filleting a flounder with a fillet knife takes practice, practice, practice. It’s not only about having the right equipment and knowing the basic techniques, but it’s about honing your skills through repetition.
Start by filleting smaller fish and work your way up to larger ones like flounder.
Take your time, and don’t rush the process. It’s important to focus on accuracy and precision so that you can get the most meat out of the fillet.
When practicing, try filleting the fish in different ways.
Experiment with different angles and techniques to find what works best for you. Watch videos or ask more experienced filleters for tips and feedback to improve your technique.
It’s also important to stay safe while practicing.
Keep your hands clean and dry, and always use a sharp knife to prevent accidents. Consider using a cutting glove or other protective gear if you’re not comfortable with your knife skills yet.
The more you practice, the more efficient and confident you’ll become at filleting flounder with a fillet knife.
So keep at it, and soon enough, you’ll be able to fillet a flounder like a pro.
Safety Tips: Protecting Your Hands and Keeping the Work Area Clean
When filleting a flounder, it is crucial to prioritize safety by taking necessary precautions to protect your hands and keep your work area clean. To avoid injuries, always handle the fillet knife with care by holding it correctly and keeping your fingers away from the blade.
Additionally, use a cutting board that is clean, dry, and stable to prevent the fish from slipping and causing accidents.
After filleting, discard any fish scraps and clean your work area with soap and water to prevent the growth of harmful bacteria. By following these safety tips, you can ensure a safe and efficient filleting process.
Storing and Cooking the Fillets: Tips and Tricks for Optimal Flavor
Storing and cooking flounder fillets properly can make a huge difference in their taste and texture. Here are some tips for optimal flavor:
- Refrigerate the fillets as soon as possible after filleting to prevent spoilage. Keep them in an airtight container or wrap them in plastic.
- Cook the fillets within two days of refrigerating them.
- When cooking, use a gentle heat and don’t overcook the fillets. Flounder is a delicate fish that can become dry and tough if it’s overcooked.
- Add flavors to the fillets by seasoning them with herbs, garlic, lemon, or butter before cooking.
- Try different cooking methods such as baking, grilling, or pan-frying to vary the taste and texture of the fillets.
- If you have filleted more fish than you can eat at once, you can freeze the fillets. Wrap them in plastic or freezer paper, then store them in a freezer-safe container for up to three months.
By following these tips, you can ensure that your filleted flounder tastes its best and is enjoyed by everyone at the dinner table.
Final Verdict
Filleting a flounder may seem like a daunting task, but with the right tools and techniques, it can be a simple and enjoyable process. Remember to always select the appropriate fillet knife for the task and to properly prepare and clean the fish before beginning.
Take your time when making cuts, allowing the natural contours of the fish to guide your movements.
Practice regularly to hone your skills and ensure safety by protecting your hands and keeping your work area clean. By following these steps, you will be left with delicious and perfectly filleted flounder that will impress even the most discerning of palates.
Trust in your skills and enjoy the fruits of your labor with a delicious home cooked meal.
Happy filleting!