
How To Fillet a Perch Using a Fillet Knife Like a Pro?
Key Takeaways:
- Use a sharp fillet knife to make precise cuts and avoid damaging the delicate flesh of the perch.
- Begin by cutting along the spine, using the rib bones as a guide, and then use your fingertips to separate the flesh from the bones.
- Take your time and work methodically, being careful not to leave any bones or scales behind.
- With practice and patience, filleting a perch with a fillet knife can become a straightforward and satisfying process for any angler.
Have you ever found yourself with a freshly caught perch but didn’t know where to begin when it comes to filleting it? Fear not! With the right technique and a good fillet knife, filleting a perch can be a simple and rewarding process.
In this article, I will guide you through the step-by-step process of filleting a perch using a fillet knife.
From choosing the right knife to cooking your freshly filleted perch, you’ll be a pro in no time! So, let’s dive in and get started.
| Steps | Description |
|---|---|
| Step 1 | Place the perch on a clean cutting board or surface. Make sure the fish is properly cleaned and scaled. |
| Step 2 | Hold the fish by the tail and insert the fillet knife behind the gills, tracing the natural curve of the fish’s backbone. Make a small incision and cut through the rib bones towards the tail, keeping the blade parallel to the spine. |
| Step 3 | Angle the knife towards the tail of the fish and make a shallow cut through the skin along the backbone, without cutting through the fillet. Hold the skin with your non-knife hand to ensure that it doesn’t slip. |
| Step 4 | Insert the knife at the top of the fillet, near the tail, and slide it along the rib cage towards the fish’s head. Use gentle, even strokes to separate the meat from the bones. Repeat on the other side of the fish. |
| Step 5 | Remove any bones or pin bones from the fillets using fish tweezers or pliers. Trim any dark meat or stray scales from the fillets. |
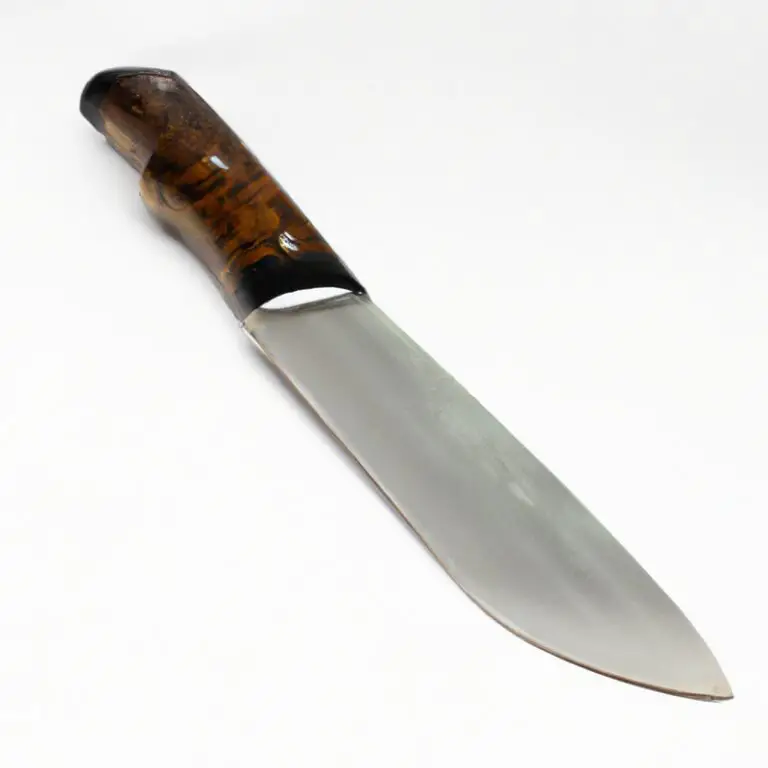
Choosing the Right Fillet Knife for Perch
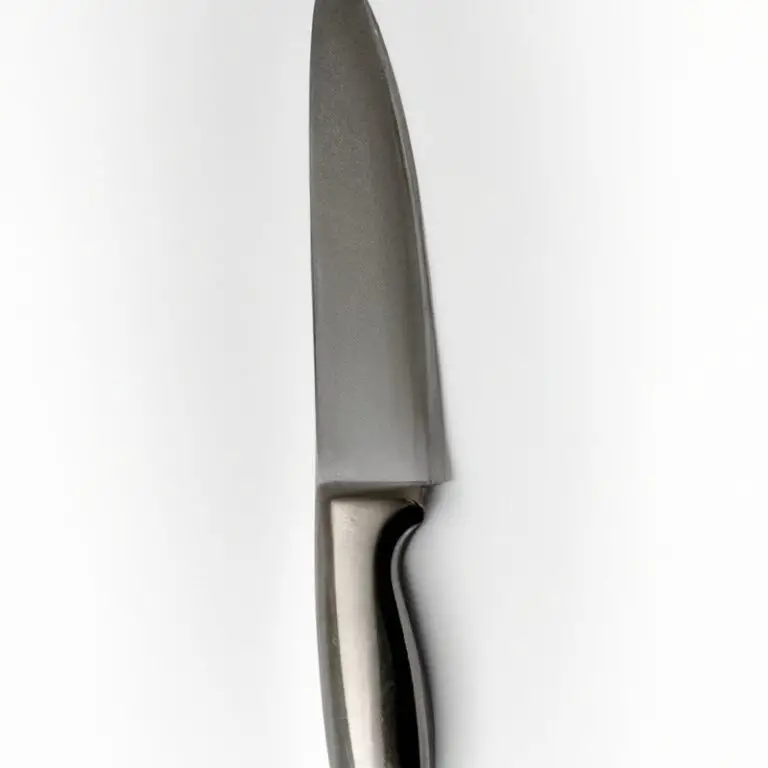
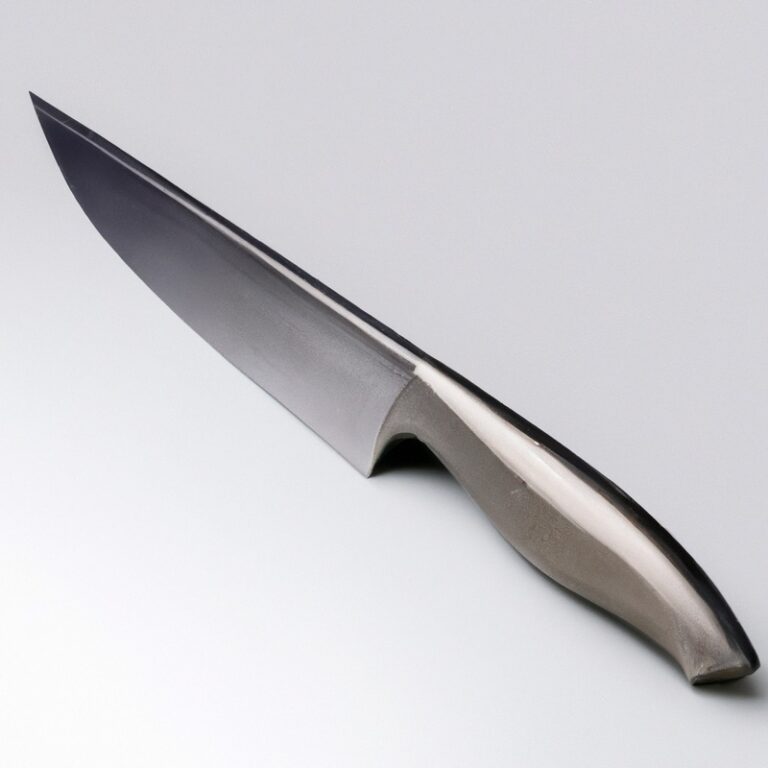
Choosing the right fillet knife for perch is crucial for a successful filleting process. The blade of the knife should be thin and flexible, allowing for precise cuts.
A blade length of 6-8 inches is ideal for perch filleting.
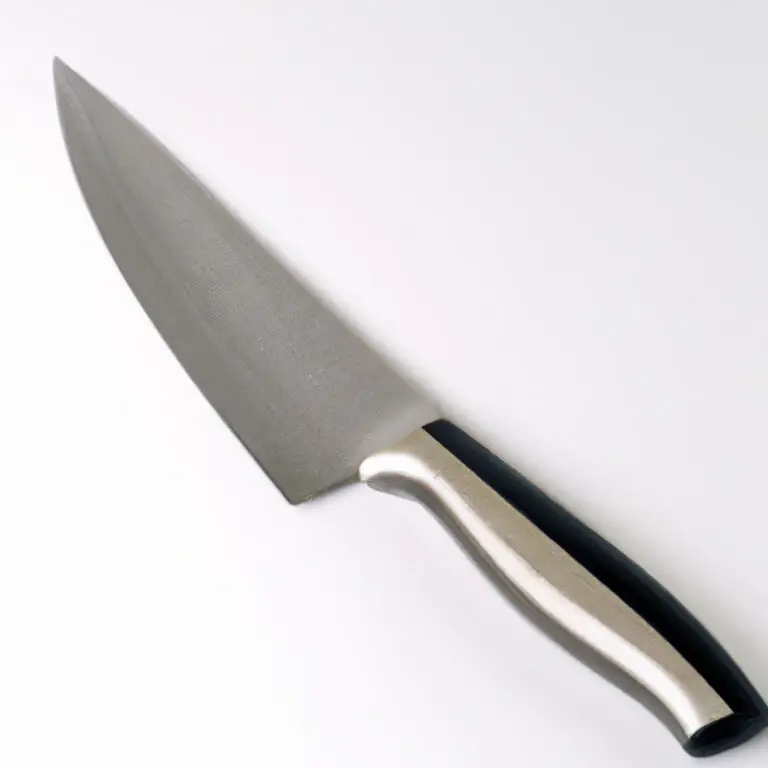
Avoid using serrated blades, as they tend to tear the flesh of the fish. The handle of the knife should be comfortable to grip, with a non-slip surface to prevent accidents.
Look for a handle that fits your hand size and provides a secure grip.
Another factor to consider is the quality of the knife. Investing in a high-quality fillet knife can save you frustration and money in the long run.
A rusty or dull knife can damage the fish and make the filleting process challenging.
Overall, choose a fillet knife with a thin and flexible blade, comfortable handle, and high-quality construction to ensure a successful perch filleting experience.
Preparing Your Perch for Filleting
To prepare your perch for filleting, start by cleaning the fish to remove any dirt or debris. Rinse the fish under cold running water and pat it dry with a clean towel.
Place the perch on a flat surface and use a sharp knife to make a shallow cut behind its gills.
Cut down to the bone, but do not cut through it. Next, cut along the spine towards the tail.
Use the tip of the knife to follow the rib bones, and cut the flesh away from the bones gently.
Remove the fillet from the fish, and repeat the process on the other side. Once you have filleted the perch, trim any remaining bones, then wash the fillets under running water and pat them dry.
Your perch fillets are now ready to be cooked or stored in the fridge for later use.
Removing the Scales from Your Perch
To remove the scales from your perch, place the fish on a flat surface. Use the back of a knife or a fish scaler to gently scrape the scales in a back-and-forth motion, moving from the tail towards the head.
Be sure to remove all the scales.
Rinse the fish thoroughly under cold running water. Pat it dry before filleting.
Removing the scales ensures that no scales end up in your fillet and that you have a clean and scale-free fillet.
Making the Initial Cut along the Backbone
To make the initial cut along the backbone, begin by placing the perch on its side and inserting the tip of the fillet knife just above the gills and behind the head. Cut downward along the backbone, stopping just before the tail.
Then, turn the fillet knife and slice through the rib bones, separating the fillet from the body.
It is essential to make a clean, precise cut to avoid wasting any of the perch meat. Hold the knife perpendicular to the fish and apply gentle pressure.
Use the backbone as a guide to help keep the cut steady.
Once you have completed this step, you can move on to removing the fillet from the perch’s rib bones.
Removing the Fillet from the Perch’s Rib Bones
To remove the fillet from the perch’s rib bones, start by cutting through the fish’s flesh just behind the head and down towards the backbone. Continue your cut down the fish’s spine to the tail, using the backbone as a guide.
At this point, your knife will reach the fish’s rib bones.
Slowly angle your blade and continue cutting downward, following the rib bones until the fillet is completely separated from the bones. Repeat this process on the other side of the fish.
Be careful not to cut through any bones or scales, as this can lead to a less visually appealing fillet.
Once you have removed the fillets, use your fingers to check for any leftover bones or pieces of bone that may have been left behind.
Removing the Pin Bones from Your Perch Fillet
To remove the pin bones from your perch fillet, you first need to locate them. They run vertically down the center of the fillet, so you’ll have to run your finger along that area to feel for them.
Once you locate the bones, use a pair of clean, fine-tipped pliers or tweezers to gently pull them out in the direction that they run.
Be sure to remove all of the pin bones to prevent any unpleasant surprises when eating your perch. If you have difficulty locating the pin bones, you can also try lightly scoring the fillet with a fillet knife alongside them to make them more visible.
Overall, removing the pin bones from your perch fillet is a simple but crucial step in the filleting process that will greatly improve the quality of your finished dish.
Trimming the Final Edges of Your Perch Fillet
To trim the final edges of your perch fillet, you’ll need a sharp fillet knife. Start by removing the skin from the fillet by placing the knife at the edge of the skin and making a small incision.
Hold onto the skin and slowly run the blade across the fillet, using a back and forth motion to remove it completely.
Next, remove any remaining bones or fatty tissue from the fillet. Using short, concise strokes, trim away any excess meat or dark spots from the fillet’s edges.
Be sure to keep the knife angled downwards, following the fillet’s contours, to produce neat, uniform slices.
Finally, rinse the fillet thoroughly with cold water and pat dry with a clean paper towel. With this straightforward trimming process, you can ensure that your perch fillet is clean, appealing, and ready to cook to perfection.
Repeat the Process on the Other Side of the Perch
Once you have finished filleting one side, it’s time to repeat the process on the other side of the perch. Make sure to flip the perch over and begin with the initial cut along the backbone.
Filleting the second side should be easier now that you have gone through the process once.
Be sure to pay close attention to any differences in the shape or size of the perch as each fish can vary slightly. Take your time and carefully remove the fillet from the rib bones.
Once you have removed the pin bones and trimmed the edges, your second perch fillet should be ready for washing and storage.
Remember, practice makes perfect when it comes to filleting perch using a fillet knife. Don’t get discouraged if your first attempt doesn’t look perfect.
Keep practicing and you’ll surely improve over time.
Washing and Storing Your Perch Fillets
Once you have filleted your perch, gently rinse each fillet under cold running water to remove any remaining scales or debris. Pat them dry with paper towels to remove excess water.
Properly stored perch fillets can last for up to six months in the freezer.
Wrap each fillet individually in plastic wrap before placing them in a freezer-safe container, or in heavy-duty freezer bags. Label each package with the date of freezing.
To ensure optimal quality, store your perch fillets at 0°F (-18°C) or below.
When ready to cook, allow your fillets to thaw slowly in the refrigerator overnight before preparation. Never refreeze previously frozen fish unless it is cooked first.
Properly stored and handled, your freshly filleted perch can be enjoyed many delicious ways.
Cooking Your Freshly Filleted Perch to Perfection
Now that you have successfully filleted your perch, it’s time to move on to the next step – cooking it to perfection. The best way to cook freshly filleted perch is to keep it simple.
A popular method is to coat the fillets in seasoned flour or breadcrumbs and then fry them in a pan with oil or butter until they are golden brown.
Another great option is to bake the fillets in the oven with some butter, lemon, salt, and pepper. This method will give you a healthier and more flavorful meal.
You can also add some herbs such as thyme, dill, or parsley to enhance the taste even further.
It is important to note that perch fillets are delicate and can easily overcook, so it is important to keep an eye on them while cooking. A good indicator of readiness is when the flesh turns flaky and opaque.
Overall, cooking your freshly filleted perch is easy and simple.
Just make sure to keep it light and flavorful, and always cook it just right. Enjoy your meal!
Final Verdict
Filleting a perch using a fillet knife may seem daunting at first, but it is a skill that can be easily acquired with practice and patience. By choosing the right fillet knife and following the step-by-step process outlined in this guide, you can quickly and efficiently fillet your perch for a delicious meal.
Remember to always prioritize safety and hygiene when handling raw fish, and to properly store and cook your perch fillets.
With these tips and tricks, you can become an expert perch fillet chef in no time. Trust in the knowledge and expertise presented in this guide and enjoy the fruits of your labor!