How To Fillet a Hake Using a Fillet Knife? Master The Technique!
Key Takeaways:
- Use a sharp fillet knife for clean and precise cuts when filleting a hake.
- Start by making a cut behind the gills and use a gentle sawing motion along the spine to remove the fillet.
- Remove the skin by placing the fillet skin side down and sliding the knife between the flesh and skin.
- Take your time and practice to perfect your filleting technique for a delicious and professional-looking dish.
Have you ever tried to fillet a fish, only to end up with a pile of bones and wasted meat? Filleting a hake can seem daunting at first, but with the right technique and tools, it becomes a breeze.
Using a fillet knife is a must, but not just any fillet knife will do.
In this article, I’ll guide you step-by-step on how to fillet a hake using a fillet knife, from cleaning and scaling the fish to storing the fillets. By the end, you’ll have a delicious and boneless hake fillet ready to be cooked to perfection.
So grab your fillet knife and let’s get started!
| Steps for Filleting Hake using a Fillet Knife |
| Step 1: Clean your workspace and hake fish thoroughly. Step 2: Place the fish on a cutting board. Use a sharp fillet knife to make a cut from the front of the fish’s head to the base of its tail, along the spine. Step 3: Turn the fish over and repeat the first cut on the other side of the fish. Step 4: Make a cut from the top of the fish’s head to the base of the first cut, following the fish’s spine. Step 5: Using the fillet knife, start at the head and glide the blade along the bones to remove the fillet of the fish. Repeat on the other side. Step 6: Cut away any remaining bones or skin from the fillets. Step 7: Rinse the fillets and pat them dry with a clean towel. |
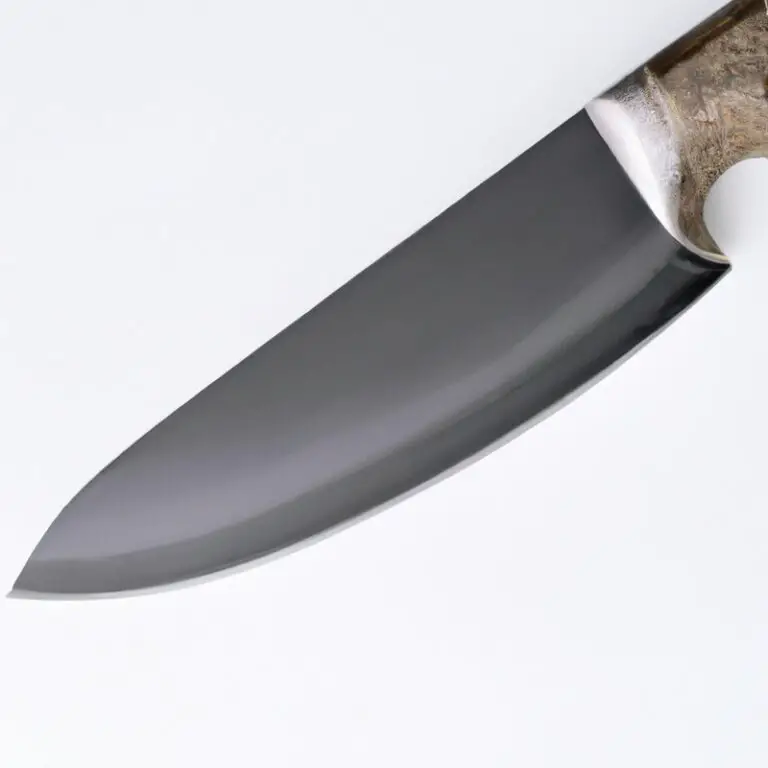
Buy a sharp and sturdy fillet knife
For successful filleting, it is essential to invest in a sharp and sturdy fillet knife. A good fillet knife should be long, narrow and flexible, with a comfortable handle that makes it easy to grip and maneuver.
A sharp knife will enable you to make smooth and precise cuts and minimize the risk of injuring yourself or damaging the delicate fish flesh.
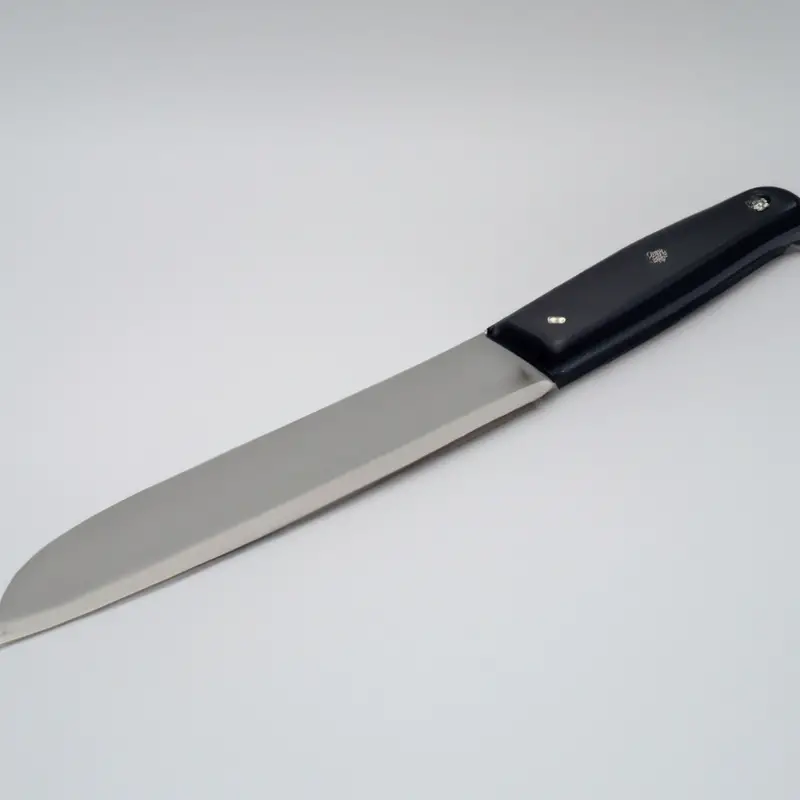
You can find fillet knives made of different materials such as stainless steel, high-carbon steel, and ceramic blades. High-carbon steel blades are usually more durable and retain sharpness longer than stainless steel.
On the other hand, ceramic blades are extremely sharp but relatively fragile, and they require careful handling and storage.
It’s essential to consider the quality of the knife before making a purchase if you want to get an excellent value for your money. A good quality fillet knife can last for years, provided it receives proper care and maintenance.
Look for a fillet knife that comes with a protective sheath to prevent the blade from becoming dull or damaged while stored.
Make sure to take proper care of the knife, such as hand washing and drying it immediately after use, and sharpening it regularly to keep it in optimal condition.
Clean and scale the hake
Before filleting a hake, cleaning and scaling the fish is a crucial step that helps produce a clean and boneless fillet. Scale the fish using a scaling tool or the back of a knife by scraping the scales from the tail to the head.
Hold the fish firmly under cold running water and remove any scales that may have fallen off.
To clean the fish, slice along the belly of the fish from head to tail, removing the guts and any remaining debris. Use running water to rinse the cavity thoroughly.
Pat the fish dry with a paper towel before beginning the filleting process to ensure a clean and hygienic workspace.
Remove the head and tail of the fish
To remove the head and tail of the fish, place the hake on a flat surface and secure it in place. Using a sharp fillet knife, cut off the head by making a horizontal cut just below the gills and pulling it away from the body.
Next, remove the tail by slicing it off where it connects to the body.
Be sure to discard the head and tail properly. Removing them will make the filleting process easier and more efficient.
Cut along the backbone of the fish
To begin the filleting process of a hake, it’s important to make a cut along the backbone of the fish. This will separate the fillet from the bones, making it easier to remove the flesh.
To do this, start at the head of the fish and insert the tip of your fillet knife into the flesh along the backbone.
Using a gentle sawing motion, cut through the flesh until you reach the rib bones. Once you reach the ribs, angle the knife slightly downward and continue to cut through the flesh until you reach the tail of the fish.
Repeat this process on the other side of the fish until you have two fillets.
Proceed to separate the flesh from the bones using the knife.
Separate the flesh from the bones using the knife
To separate the flesh from the bones of the hake, use the tip of the fillet knife to make a shallow cut along the rib bones. Then, using a smooth, sweeping motion, slide the knife between the flesh and the bones, moving the blade towards the tail of the fish.
Be careful not to cut too deeply or you may damage the flesh.
Repeat this process on the other side of the fish, removing the skin and any remaining bones.
Remove any remaining bones from the fillet
After separating the flesh from the bones, check for any remaining bones. Use your fingertips to detect any small bones that may have been left behind.
You can also use a pair of tweezers or fish pliers to remove them.
Run the tweezers or pliers along the flesh of the fillet to locate and pull out any remaining bones. Be sure to work carefully to avoid damaging the fillet.
Once you have removed all the bones, your fillet is ready to trim and rinse before storage.
Repeat the process on the other side of the fish
After removing the fillet from one side of the fish, you must repeat the process on the other side. Turn the fish over, and position it with its belly facing you.
Begin by cutting behind the head of the fish, just as you did with the first fillet.
Cut along the backbone, and separate the flesh from the bones, working slowly and carefully to avoid damaging the fish. Remove any remaining bones using the knife, and trim off any excess skin or fat.
Rinse the fillets with cold water and store them in a clean and dry container.
Trim off any excess skin or fat from the fillets
Trim off any excess skin or fat from the fillets to ensure that you get a clean cut. This step is crucial as it enhances the fillet’s appearance, taste, and texture.
To do this, use a sharp fillet knife and run it carefully along the surface of the fillet, cutting off any unwanted skin or fat.
You can do this by holding the fillet with one hand and using the other hand to guide the knife. Make sure you do this with precision and accuracy, so you don’t end up cutting off too much of the flesh.
Afterward, rinse the fillets with cold water and pat them dry with a clean towel.
This step prepares the fillets for storage or cooking, providing you with delicious and healthy fish for your dining pleasure.
Rinse the fillets with cold water
After removing any remaining bones from the fillet, it is important to rinse the fillets with cold water. This serves two purposes: to remove any excess scales or debris and to cool down the fish.
Cold water rinsing helps to prevent bacterial growth and keep the fish fresh for longer.
Additionally, it removes any fishy odors and ensures that the fillets are clean and ready for cooking. To rinse the fillets, simply hold them under running cold water and gently massage them to remove any remaining debris.
Once they are thoroughly rinsed, pat them dry with a paper towel or clean cloth.
Make sure to use cold water instead of warm or hot water since warm or hot water can start cooking the fillets and make them tough and rubbery. After rinsing, transfer the fillets to a clean and dry container and store them in the refrigerator until you are ready to cook them.
By rinsing the fillets with cold water, you ensure that your hake fillets are ready to cook and provide a safe and delicious meal for you and your loved ones.
Store the fillets in a clean and dry container
After filleting the hake, it is crucial to store the fillets in a clean and dry container to maintain their quality and freshness. If the fillets are stored in a damp or dirty environment, they may spoil quickly and develop a foul odor, making them unsuitable for consumption.
Hence, make sure to choose a container that is free from any residue or moisture.
Also, cover the container tightly with a lid or plastic wrap. Store the container in the fridge at a temperature of 32°F to 38°F to prevent bacterial growth.
This step ensures that the hake fillets remain fresh and flavorful until you’re ready to cook them.
Final Verdict
Filleting a hake is an easy and enjoyable task that can be accomplished with the right tools and knowledge. By following the simple steps outlined in this article, you can save money and enjoy the freshest fish possible.
Remember to always use a high-quality fillet knife, properly clean and scale the fish, and remove any remaining bones for a delicious and perfectly filleted hake.
With these tips and techniques, you’ll be well on your way to becoming a master in the kitchen. So, go ahead and impress your friends and family with your newfound expertise, and enjoy the delicious perks of a perfectly filleted hake!