How To Fillet a Herring Using a Fillet Knife? Perfectly!
Key Takeaways:
- The key to successfully filleting a herring is using a sharp and flexible fillet knife.
- Removing the rib bones and pin bones is essential for a boneless and enjoyable eating experience.
- Mastering the correct technique takes practice, so patience and persistence are necessary.
- From using the right grip to understanding the anatomy of the fish, following proper filleting steps will yield the best results.
Do you love herring but always hesitated to fillet your own? Filleting a herring is easier than it sounds, especially if you choose the right fillet knife and follow some simple steps.
As someone who has filleted countless herrings, I can guide you through the process, from removing the head to discarding the remains.
Follow my instructions and you’ll have beautifully filleted, boneless, and skinless herring fillets in no time. Ready to take on the challenge?
Let’s dive into the art of filleting a herring using a fillet knife.
| Steps | Tools Needed |
|---|---|
| Step 1: Remove head and tail | Fillet knife, cutting board, scissors, fish scaler |
| Step 2: Make the first cut | Fillet knife, cutting board |
| Step 3: Remove the fillet | Fillet knife, cutting board |
| Step 4: Remove the skin | Fillet knife, cutting board |
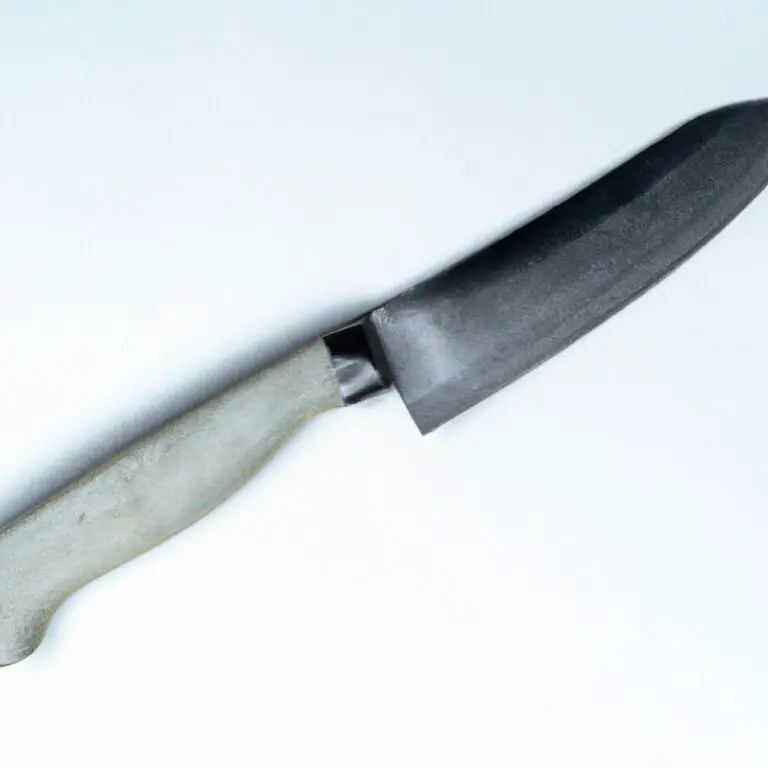
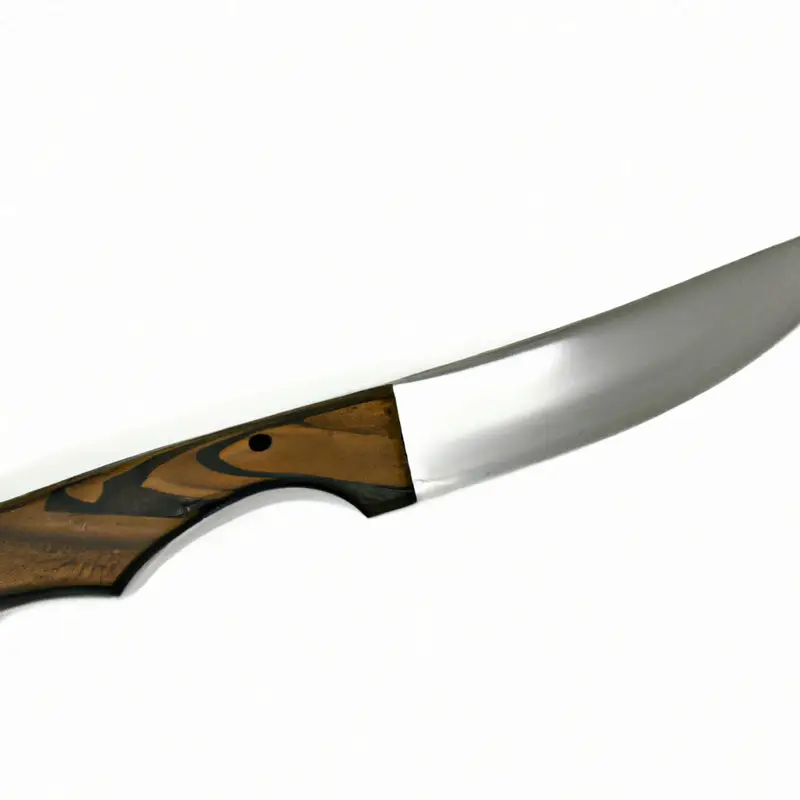
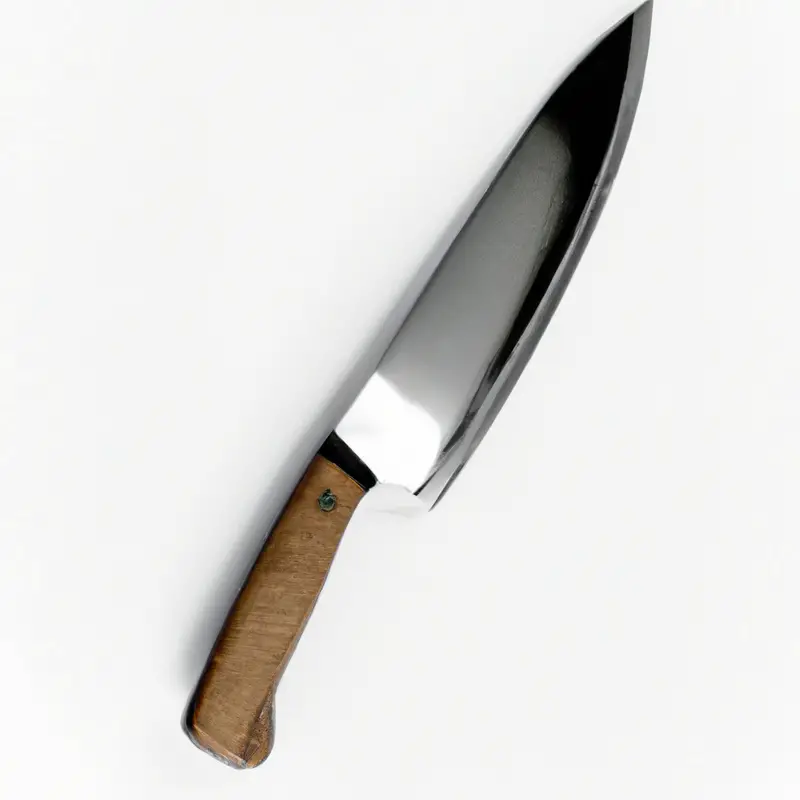
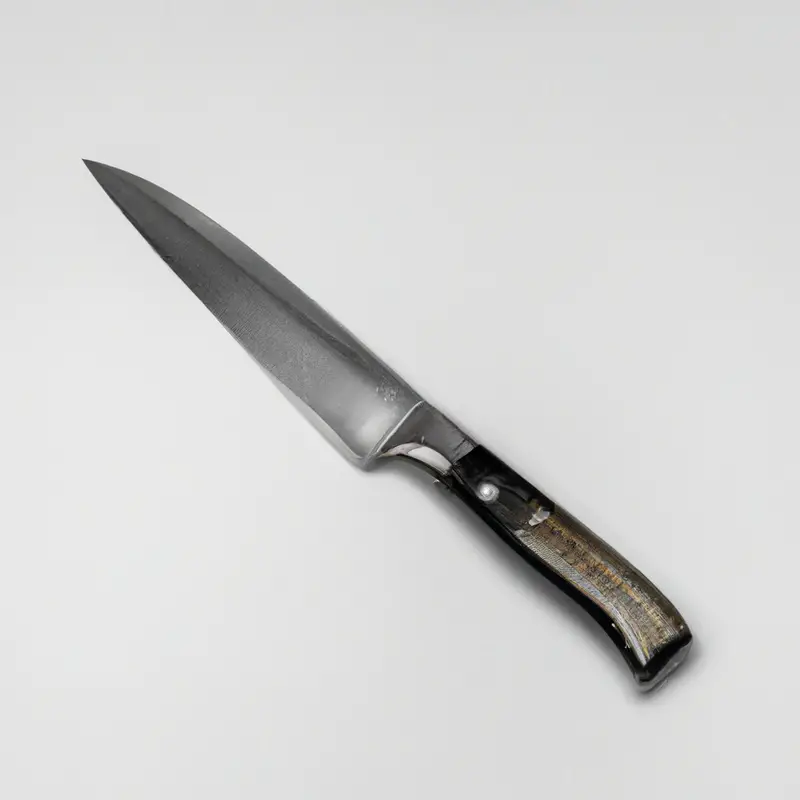
Preparing for the task: Choosing the right fillet knife and sharpening it
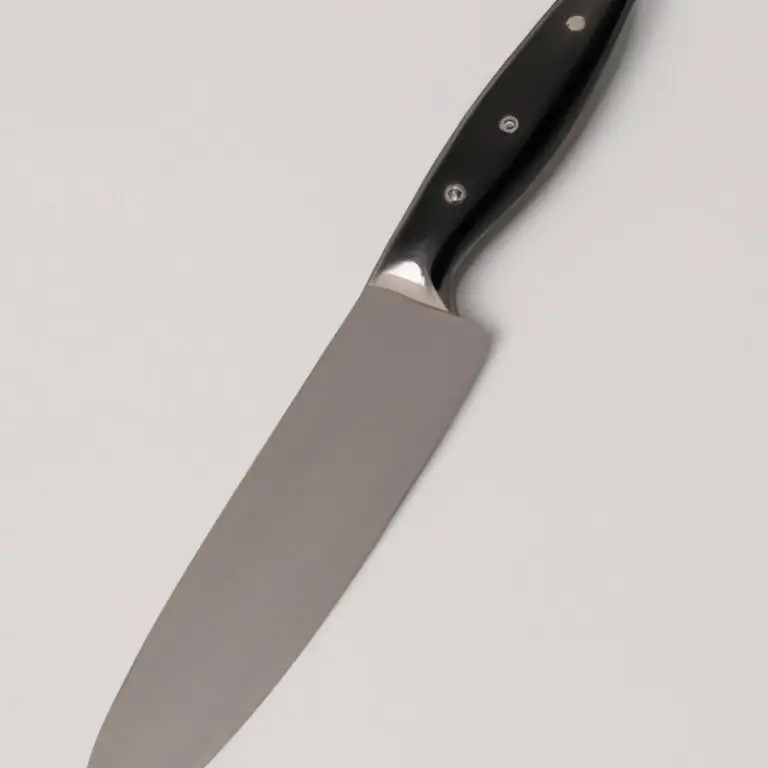
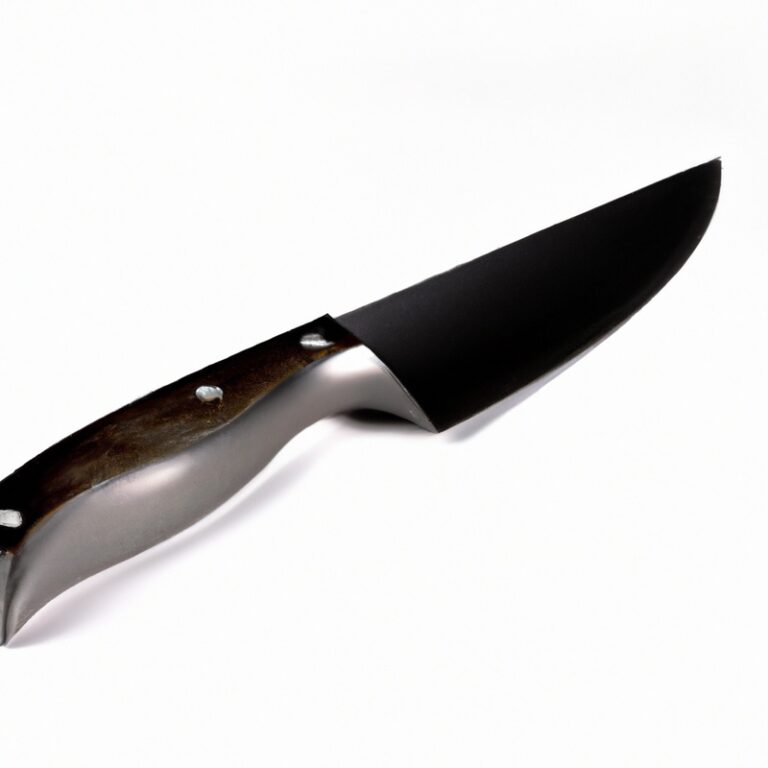
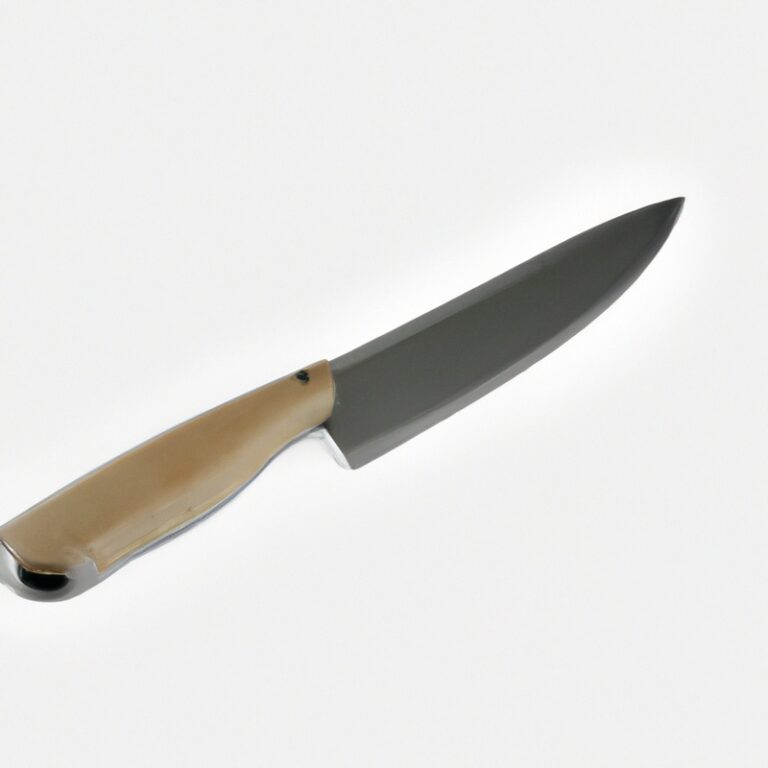
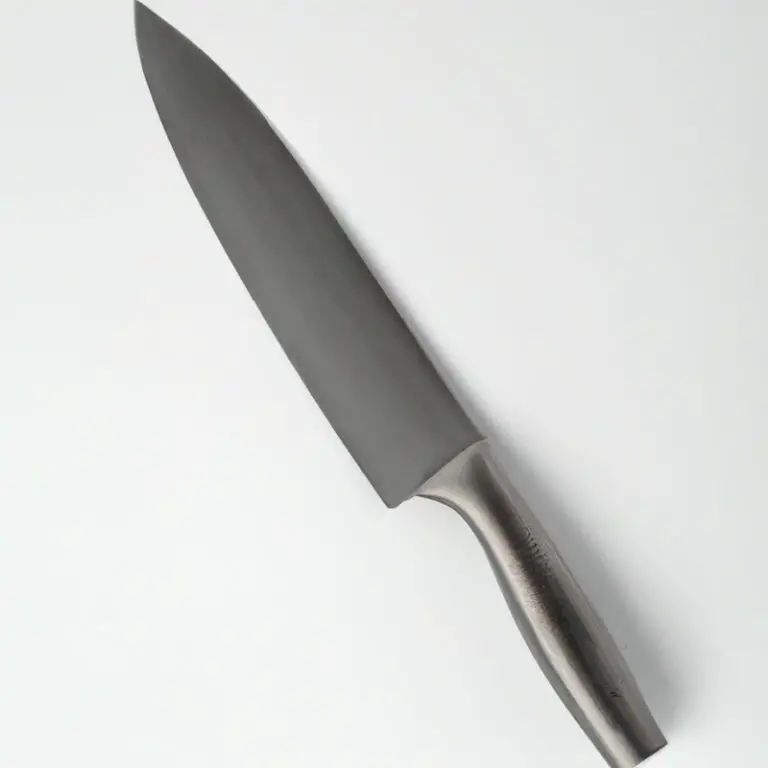
Choosing the right fillet knife is crucial when it comes to filleting a herring. Make sure to choose a fillet knife that is sharp, flexible, and has a thin blade that can easily maneuver around the fish’s bones.
A dull knife can make the process more difficult and increase the risk of injury.
Before starting the filleting process, it’s important to sharpen the knife properly. Use a sharpening stone or a honing steel to sharpen the blade at a 20-degree angle.
A sharp knife will not only make the process easier, but it will also provide clean cuts resulting in a better fillet.
Also, make sure to maintain the knife’s sharpness in between filletings. Regularly hone the blade to keep it sharp and store the knife in a safe place to prevent any damage.
Overall, choosing the right fillet knife and sharpening it well is the first step in successfully filleting a herring.
Removing the head: Cutting through the gills and separating the head from the body
To remove the head of the herring, start by placing the fish on a flat surface with its belly facing upwards. Using the fillet knife, run the blade along the gills and cut through them until the head is detached from the body.
Then, discard the head.
Next, flip the fish over and repeat the process on the other side. Cutting through the gills will also release any blood and gunk from the fish.
This step is crucial as it allows for easier gutting and also helps to improve the overall quality and taste of the fillet.
Opening up the belly: Placing the fish on its side and cutting the belly from the tail to the head
To begin filleting a herring, place the fish on its side and cut open the belly from the tail to the head using a sharp fillet knife. Be sure to make a shallow cut at the belly’s base to avoid piercing the innards.
Once you have cut through the skin and flesh, pull back the flaps of skin and expose the innards.
Use a spoon or your finger to scoop out the guts and any remaining dark matter. Discard these parts of the fish properly.
You can now move on to removing the bones and cleaning the fillet.
Removing the guts: Scraping out the innards and any remaining dark matter
To remove the guts of the herring, place the fish on its side and make a cut from the tail to the head using the tip of the knife. Use your fingers to open the belly, pull out the innards, and remove any remaining dark matter using a spoon or the back of the knife.
Discard the guts and any other unused parts properly.
Removing the bones: Cutting along the spine and using the tip of the knife to separate the bones from the flesh
To remove the bones from the herring fillet, start by cutting along the spine with your fillet knife. Use the tip of the knife to separate the bones from the flesh gently.
Be careful not to remove too much flesh, as herring bones are notoriously small and delicate.
Once you have removed all the bones, flip the fillet over and repeat the process on the other side. This step is essential to ensure that the fillet is bone-free, making it easy to cook and eat.
Take your time during this step to avoid any injuries and ensure a clean fillet.
Removing the skin: Holding the tail and making a cut between the skin and flesh to peel the skin off
To remove the skin of the herring, hold the tail firmly with one hand and make a small incision between the skin and flesh near the tail using the fillet knife. Gently peel the skin back towards the head while holding onto the skin to avoid damaging the flesh.
Use a back and forth motion to loosen the skin from the flesh if necessary.
Once the skin is removed, repeat the process on the other side of the fish. Taking your time here will result in a clean and nice-looking fillet.
Finishing touches: Trimming any remaining bones and rinsing the fillet under cold water
After removing the bones as much as possible, take a close look at the fillet to see if any bone is remaining. Use your fillet knife to carefully remove any remaining bones and trim any unwanted parts.
Then, rinse the fillet under cold water to remove any debris or small bones that might still be present.
This step is essential to ensuring that your fillet is clean and ready for storage or cooking. Make sure not to overdo it with the trimming as you don’t want to waste the precious meat of the fillet.
Discarding the remains: Properly disposing of the head, guts, and any other unused parts
Properly disposing of the remains is important for hygiene and the environment. The head, guts, and any other unused parts should be collected and discarded in a sealed bag and placed in the garbage bin.
Alternatively, some people may choose to use the leftover parts for bait or compost.
Avoid disposing of the remains in open water, as this can attract scavengers and cause pollution. By taking the time to discard the remains properly, you ensure that you are maintaining a clean workspace and doing your part for the environment.
Storing the fillets: Wrapping the fillets and storing them in the freezer or fridge
Storing the fillets properly is crucial to maintain the quality and freshness of the fish. After filleting the herring, wrap each fillet tightly in plastic wrap or aluminum foil.
Label the package with the date of storage and place it in the freezer or fridge.
If you plan to freeze the fillets, store them in airtight freezer bags to prevent freezer burn. Fillets can be stored in the fridge for up to two days and in the freezer for up to three months.
When ready to cook, thaw the frozen fillets in the fridge overnight for the best results.
Properly storing your fillets will ensure they are fresh and delicious when you’re ready to enjoy them.
Cleaning up: Washing the knife and workspace to maintain hygiene and safety
After filleting a herring using a fillet knife, it’s crucial to clean up properly to maintain hygiene and safety. First, rinse the fillet and the knife under cold water to remove any leftover scales or debris.
Then use a mild soap and warm water to clean the knife and the workspace thoroughly.
Make sure to pay attention to crevices and areas that are hard to reach. After washing, rinse everything again with cold water and dry them with a clean towel or cloth.
Sanitize the knife and the workspace by using a solution of one tablespoon of bleach per gallon of water.
Let the tools and workspace air dry completely before storing them. Remember, proper cleaning and sanitation are crucial to prevent the spread of bacteria and reduce the risk of contamination.
So make sure to clean up after every use to ensure safe and hygienic filleting in the future.
Final Verdict
Filleting a herring using a fillet knife may seem daunting at first, but with the proper technique and preparation, anyone can accomplish the task with ease. Remember to choose the right knife, sharpen it before use, and follow the proper steps for removing the head, opening up the belly, removing the guts, bones, and skin, and trimming the fillets for a clean and delicious finish.
By following these steps and properly disposing of any unused parts, you can ensure a safe and enjoyable filleting experience.
With practice, this skill can become a valuable addition to any home cook’s repertoire, providing fresh and flavorful herring fillets for all sorts of culinary adventures. Trust in the techniques presented here, and take the first steps towards mastering the art of filleting herring with confidence and skill.