How To Fillet a Smallmouth Bass Using a Fillet Knife And Get The Most Out Of Your Catch!
Key Takeaways:
- A sharp fillet knife is essential for filleting smallmouth bass effectively and efficiently.
- Proper positioning of the smallmouth bass and the fillet knife can make the task easier and safer.
- Removing the pin bones and skin from the fillet can enhance the taste and presentation of the dish.
- Practice and patience are crucial in mastering the art of filleting smallmouth bass with a fillet knife.
Imagine catching a fresh smallmouth bass and getting ready to prepare a delicious meal. The thought of fresh fish on your plate can be tantalizing, but the process of filleting can be daunting if you don’t have the right tools or know-how.
Fear not, I’m here to share my expertise on how to fillet a smallmouth bass using a fillet knife.
From preparing your workspace to cleaning up after, I’ll guide you through each step of the process in a way that’s easy to understand and follow. With this guide, you’ll be able to fillet a smallmouth bass like a pro in no time!
| Steps | Tools Needed |
|---|---|
| 1. Gut the fish by making a small incision from the anus to the gills and removing the guts. | Sharp fillet knife, gutting scissors, cutting board, paper towel |
| 2. Make a shallow cut behind the gills right down to the backbone. | Sharp fillet knife, cutting board |
| 3. Run the blade along the backbone. Start from the head and slide the knife towards the tail in a sawing motion until you reach the bones at the tail. | Sharp fillet knife, cutting board |
| 4. Turn the fish over and repeat step 3 for the other side of the fish to remove the second fillet. | Sharp fillet knife, cutting board |
| 5. Remove the skin of each fillet by running the blade between the flesh and the skin. Start at the tail and hold the skin carefully with your other hand, pulling it towards you as you slide the knife down the fillet. | Sharp fillet knife, cutting board |
| 6. Trim any remaining bones, scales, or fat from the fillet. Rinse the fillet under cool water and pat dry with a paper towel. | Sharp fillet knife, cutting board, paper towel |
Preparing for the Process: Necessary Tools
To prepare for filleting a smallmouth bass, there are a few necessary tools you will need. These include a fillet knife, cutting board, pliers, and a scaler or a spoon.
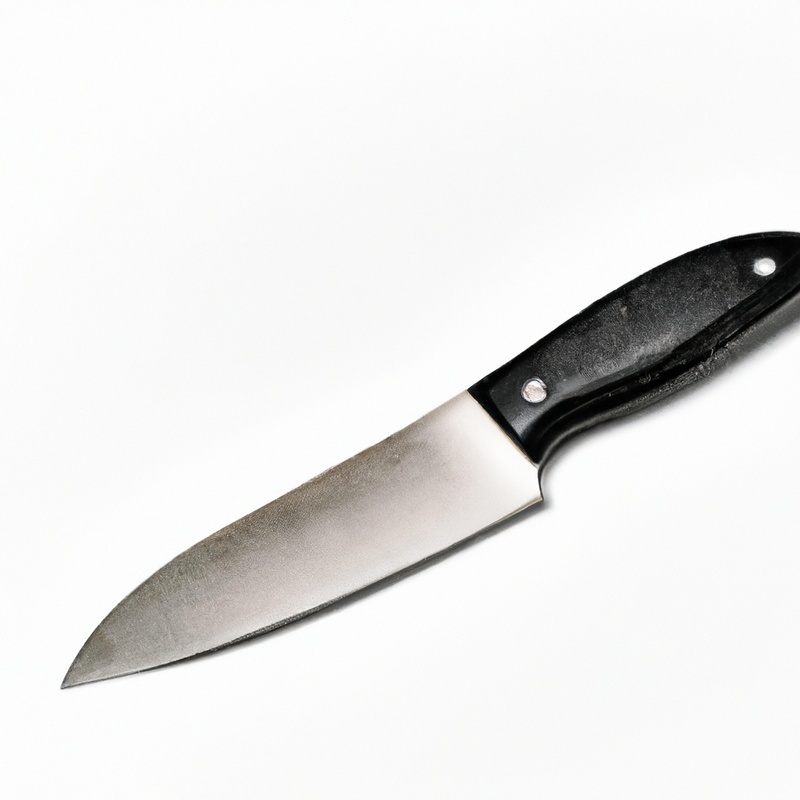
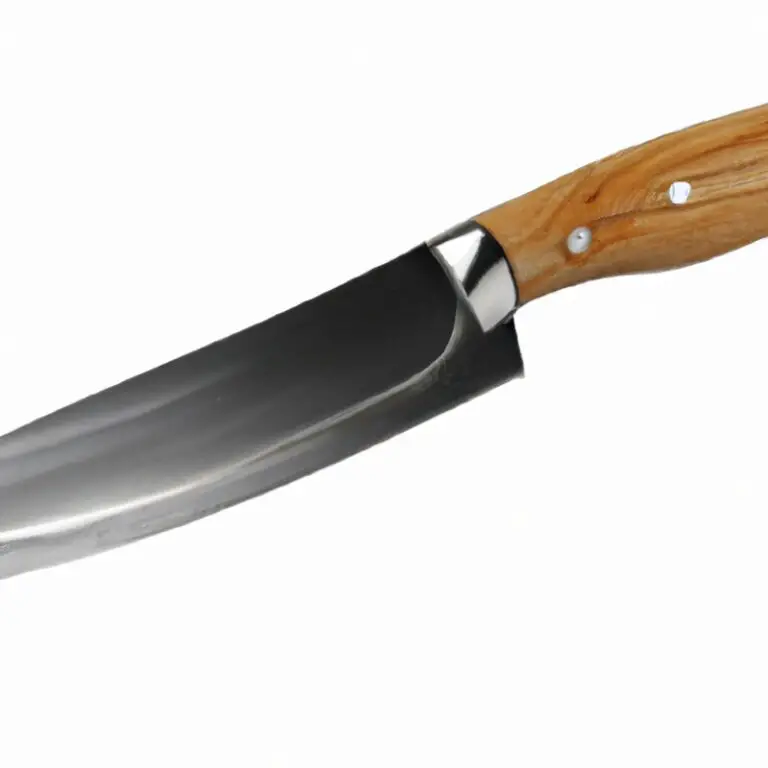
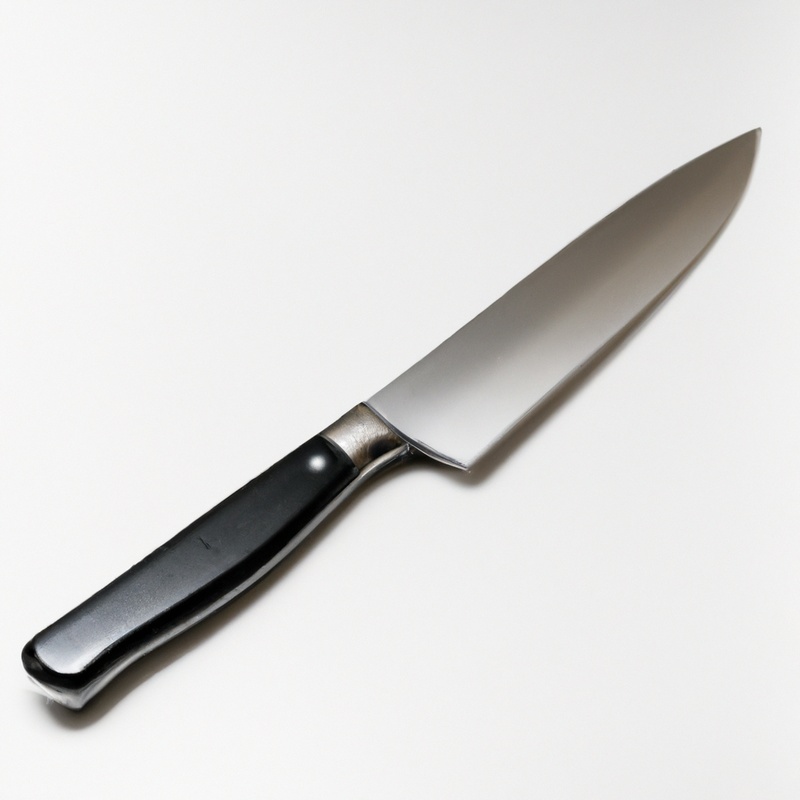
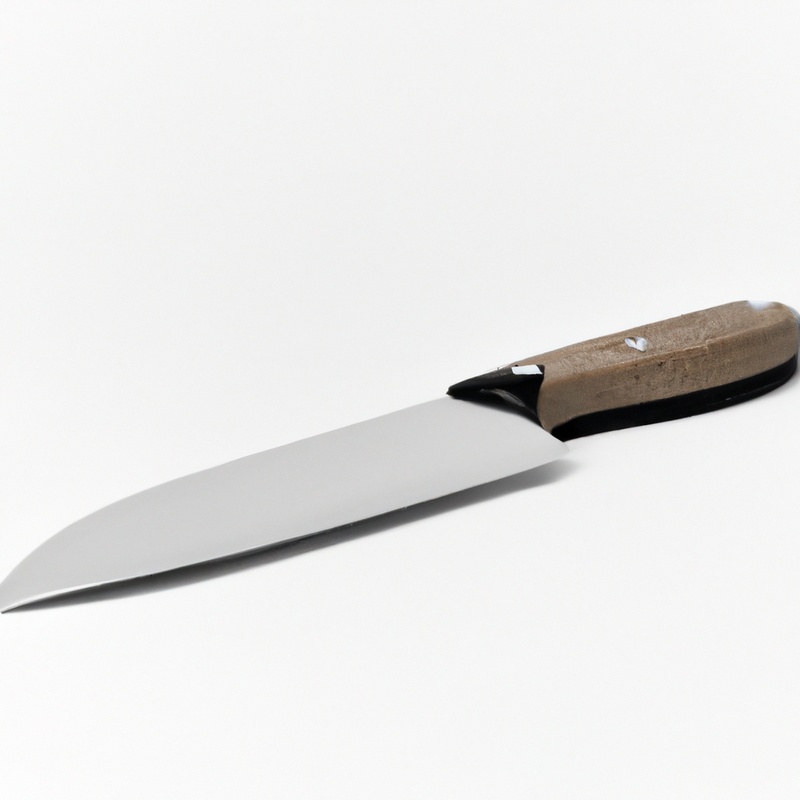
It is important to choose a good quality fillet knife which is sharp and flexible enough to make clean cuts through the fish.
Additionally, a sturdy cutting board will provide a stable surface for filleting. Pliers are useful for gripping the fish and removing any bones that may be difficult to remove with just a knife.
A scaler or spoon can help remove scales before filleting.
It is important to have all of these tools present and in good condition before beginning the filleting process.
Cleaning the Fish: Removing Scales and Guts
When it comes to cleaning a fish, removing scales and guts is a crucial first step to ensure that the fillet is clean and safe to eat. To remove scales, use a scaling tool or the back of a knife and scrape the fish’s skin from tail to the head until all scales are removed.
Next, take a sharp knife and cut open the belly of the fish, starting from the vent and working your way up to the head.
Remove the guts carefully and discard them. Rinse the fish thoroughly with cold water to remove any remaining blood or debris.
Once the fish is thoroughly cleaned, you are ready to begin the filleting process using a sharp fillet knife.
Cutting the Head: Removing the Skull
To start the process of removing the smallmouth bass head, place the fish on a flat surface and hold the head firmly with one hand. With the fillet knife in the other hand, make a cut along the base of the skull, just behind the gills.
Next, hold the fish by the tail and use the knife to cut through the spine and sever the head from the rest of the body.
Be careful when performing this step, as the spine can be tough and difficult to cut through. A sharp fillet knife makes this step easier and safer.
Once the head is removed, you can dispose of it appropriately.
Removing the head is an important step in the filleting process, as it allows you to access the meat of the fish more easily. It also helps to prevent contamination and improves the overall appearance of the fillet.
Remember to use caution and a steady hand to make sure this step is done properly.
Preparing the Fillet Knife: Sharpening and Honing
To ensure a clean and efficient filleting process, it is crucial to prepare the fillet knife properly by sharpening and honing. A dull knife can damage the flesh and make the process harder than it needs to be.
Before starting, make sure your fillet knife is in good condition.
If it’s been a while since you’ve used it, you may need to sharpen it first using a sharpening stone or electric knife sharpener. Once it’s sharpened, honing the blade with a honing rod will realign any microscopic breaks in the blade and make the blade sharper.
This step is important because it’ll help the blade last longer and keep it in good condition.
Don’t forget to rinse the blade after sharpening and honing and before filleting the fish. Properly preparing the fillet knife beforehand will make filleting the smallmouth bass easier and more efficient.
Starting the Filleting: Picking the Right Angle
When starting the filleting process, it’s important to pick the right angle to ensure clean and precise cuts. Hold the fish by the tail and use a sharp fillet knife to make an incision just behind the gills.
Then, angle the blade towards the head and carefully slice down to the backbone, following the natural shape of the fish.
Next, turn the fish over and repeat the process on the other side. It’s essential to keep the knife angled correctly to minimize wasted meat and ensure even fillets.
A good rule of thumb is to keep the blade approximately parallel to the bones as you make the cuts.
Finally, remove any remaining bones from the fillet before continuing with the next steps of the process. Picking the right angle when starting the filleting process sets the foundation for perfectly filleted fish.
The First Cut: Removing the Skin and Separating the Flesh
To begin filleting the smallmouth bass, the first cut involves removing the skin and separating the flesh from the bones. Start by making a small incision just behind the gills and run the knife down the length of the fish’s backbone.
Using the fillet knife, run the blade along the ribs until the fillet is completely separated from the bones.
Repeat the process on the other side of the fish. Be sure to cut as close to the bones as possible to avoid losing any meat.
Following the Bones: Removing Bones from the Flesh
To follow the bones of the smallmouth bass, start by running the knife along the spine, making a cut from head to tail. Once the spine is exposed, carefully slide the knife beneath the ribs, using a sawing motion to cut the flesh away from the bones.
Use caution when reaching the belly area, as the bones become thinner and more fragile.
Remove any remaining bones using small pliers or tweezers. Repeat the process on the other fillet.
Once complete, the smallmouth bass should be free of bones and ready to cook.
Second Fillet: Repeating the Process for the Second Side
Once you have finished filleting the first side of the smallmouth bass, it’s time to repeat the process for the second side. Start by placing the fish on its side and hold it firmly.
Using the same technique as before, run the knife along the backbone from the head to the tail to make an incision.
Cut along the spine while holding the flesh tightly and gradually separate the meat from the bones. Once you have removed the fillet, repeat the process on the other side.
Remember to adjust your angle and pressure based on the thickness of the fish.
With practice, the second fillet should be as easy as the first. Once both fillets are done, proceed to trim and clean up the remaining pieces using a sharp knife.
Trimming the Edges: Cutting the Belly and Tail Fins
After completing the second fillet, the next step is to trim the edges by cutting the belly and tail fins. Using your fillet knife, cut along the belly from the pelvic fins to the anal fin.
Be cautious not to puncture the intestine.
Remove the intestines as well as the tail fin by cutting through the spine with a pair of scissors. Trimming these edges helps to remove any remaining fishy taste and improves the presentation of the fillet.
Be sure to dispose of these pieces properly.
Cleaning Up: Disposing of the Remaining Pieces
Once you have filleted the smallmouth bass, it’s important to properly dispose of the remaining pieces. The head, tail, bones, and scraps can be discarded in an environmentally-friendly manner.
You can use them as compost for your garden or feed them to your pets.
Alternatively, you can dispose of them in a garbage bag and place them in a trash bin. It’s important to properly dispose of the remaining pieces to avoid attracting unwanted animals and preventing environmental pollution.
By following proper disposal methods, you can reduce waste and do your part in protecting the environment.
Final Verdict
Filleting a smallmouth bass is a skill that requires practice and patience. By following the steps outlined in this article, you can approach the process with the necessary tools and techniques.
Remember to stay safe by using a sharp fillet knife and removing the guts and bones carefully.
With some practice, you can master the art of filleting and enjoy the delicious taste of fresh fish. By implementing these practical takeaways, you can impress your friends and family with your newfound expertise.
Trust in the information presented and feel confident in your ability to fillet a smallmouth bass like a pro.
Happy fishing!

