How To Fillet a Tuna Using a Fillet Knife? Get Your Sushi Game On Point!
Key Takeaways:
- Choose the right fillet knife with a flexible, sharp blade for smoother and cleaner cuts.
- Place the tuna on a cutting board and use a steady hand to follow the natural contours of the fish when filleting.
- Remove the skin and bones carefully to avoid wasting any meat and improve the taste and texture of the final dish.
- Practice proper safety measures when handling a fillet knife, such as keeping your fingers and other body parts away from the blade, to prevent accidents and injuries.
Ready to learn a skill that will impress all of your foodie friends? Look no further than mastering the art of filleting a tuna.
Whether you’re a home cook or a professional chef, knowing how to properly fillet a tuna is a valuable technique that can take your culinary creations to the next level.
In this guide, I’ll take you through the step-by-step process of filleting a tuna using a fillet knife. From choosing the right knife to properly storing your filleted tuna, you’ll learn everything you need to know to become a pro at this impressive technique.
So sharpen your knives and let’s dive in!
| Steps | Description |
|---|---|
| Step 1 | Start by laying the tuna fish on a flat surface like a cutting board. Make sure it is clean and dry. |
| Step 2 | Use a sharp fillet knife to make the first cut behind the pectoral fin. |
| Step 3 | Run the knife down the backbone, keeping the blade flat against the bones. |
| Step 4 | Continue cutting until you reach the tail. |
| Step 5 | Flip the fish over and repeat the process on the other side. |
| Step 6 | Remove the rib cage and belly fat by cutting underneath them with the knife. |
| Step 7 | Trim away any remaining bones and unwanted parts, and you’re done! |
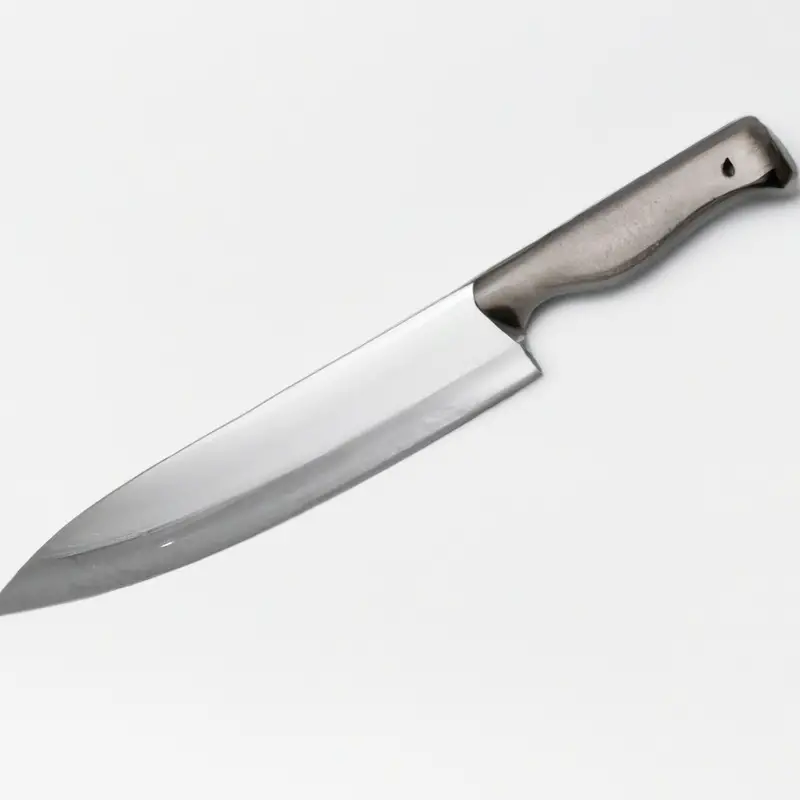
Choosing the right fillet knife for the job
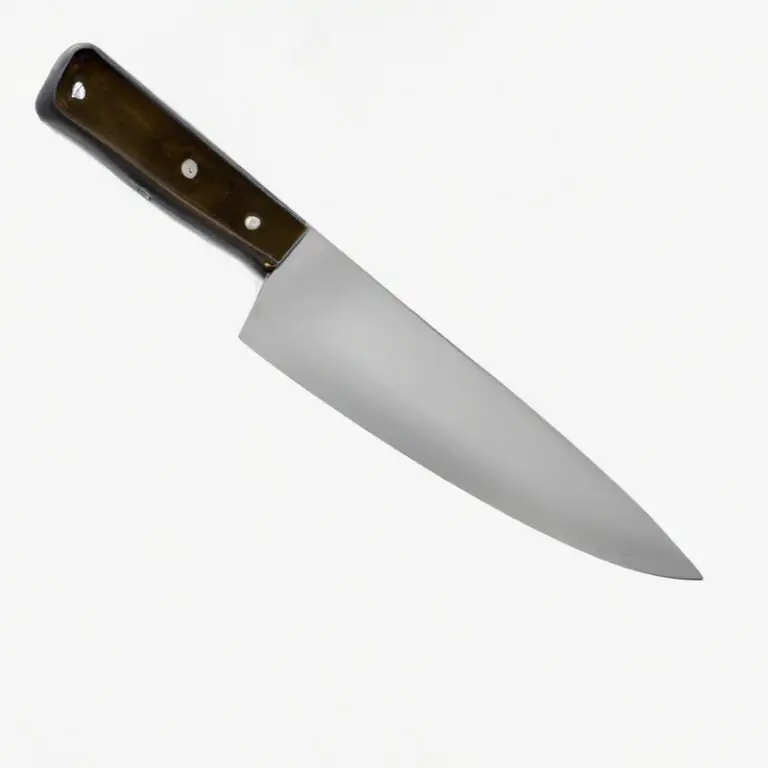
Choosing the right fillet knife is crucial when it comes to filleting a tuna. The ideal fillet knife should have a flexible and sharp blade, and the handle should provide a secure grip.
It is recommended to choose a fillet knife that is longer than the width of the fish you are filleting, as this will allow for smoother, more effective cuts.
When it comes to the blade material, stainless steel or high-carbon steel are excellent choices due to their corrosion resistance and longevity. Consider the weight and balance of the knife as well, as a heavy knife may cause fatigue during longer filleting sessions.
Ultimately, investing in a high-quality fillet knife will make the filleting process safer, efficient, and more enjoyable.
Preparing the tuna for filleting
Before you start filleting your tuna, it’s essential to prepare it properly. Here are the steps to prepare the tuna for filleting:
- Rinse the tuna under cold running water to remove any dirt or debris.
- Lay the tuna on a flat surface and remove any remaining scales with a scaler or the back of a knife.
- Use a sharp knife to make a shallow cut around the collar of the tuna, separating the head from the body. Repeat on the tail end.
- Use a pair of pliers or a sharp knife to remove the gills and internal organs, being careful not to puncture the intestines.
- Rinse the tuna again under cold water and pat it dry with a clean towel.
Once you’ve completed these steps, you can start filleting your tuna. Taking the time to properly prepare the tuna will make the filleting process easier and ensure you get the most meat out of your fish.
Removing the head and tail of the tuna
To remove the head and tail of the tuna, first, lay the tuna on a steady surface. Hold the head and use a sharp fillet knife to cut along the neck bone towards the gills.
Then, remove the head.
To remove the tail, cut around the tailbone, and discard it. Remember to dispose of these parts responsibly.
Removing the head and tail will give you easier access to the flesh and facilitate the filleting process.
Cutting along the spine to remove the fillet
To cut along the spine and remove the fillet of the tuna, make a shallow cut along one side of the spine from the head to the tail. Then, make a second cut from the tail to the head on the other side of the spine, creating a V-shaped incision.
Next, use the fillet knife to carefully remove the fillet by sliding it along the bones towards the tail.
Repeat the process on the other side of the tuna. Be cautious not to cut through the ribcage and to remove any remaining bones from the fillet before moving on to the next step of the process.
Removing the skin from the fillet
To remove the skin from the fillet, use the same approach as removing the skin from other fish fillets. Begin by laying the fillet skin-side down on a clean work surface.
Next, take the fillet in your non-dominant hand, and starting at the tail end, slip the blade of your fillet knife just under the skin at a slight angle.
Once the blade is under the skin, use a gentle sawing motion to cut between the skin and the flesh of the fillet. Be sure to keep the blade flat against the skin to minimize the amount of flesh that’s removed.
As you work your way toward the top of the fillet, use your other hand to pull the skin taut.
This will make it easier to keep the blade flat against the skin surface as you work. Once the skin is completely removed, you can trim any remaining fat or connective tissue from the fillet with your knife.
Then, your fillet will be ready to cook or store.
Remember, filleting tuna requires a sharp and flexible fillet knife. Don’t rush the process, take your time, and keep the blade flat against the skin to minimize the loss of valuable meat.
Trimming the fillet for desired thickness
Trimming the fillet for desired thickness is an essential step in filleting a tuna. To do this, use a sharp fillet knife and hold the fillet firmly in place.
Begin by cutting off any uneven edges or thin areas of the fillet.
For thicker cuts, slice the fillet horizontally, starting at the thickest part and moving towards the thinner end, until you reach the desired thickness. For thinner cuts, simply leave the fillet as is or make a small horizontal cut to remove excess meat.
Always take your time and make precise cuts to avoid wasting any meat.
Once you’ve trimmed the fillet, you can proceed to remove the bloodline from the fillet.
Removing the bloodline from the fillet
To remove the bloodline from the fillet, start by locating the bloodline running down the center of the fillet. Use a sharp fillet knife to carefully cut along one side of the bloodline, separating it from the rest of the meat.
Continue to cut the bloodline away, using a back-and-forth motion to free it from the fillet.
Once the bloodline is removed, discard it and inspect the fillet for any remaining bones. Remove any bones using tweezers or a fish bone plier.
After removing the bloodline and bones, the fillet is ready for storage or preparation.
Removing the bloodline not only creates a more visually appealing fillet, but also improves the flavor and texture of the meat.
Checking for any remaining bones in the fillet
Once you have filleted the tuna and removed the bloodline, the next important step is to check for any remaining bones in the fillet. Even the smallest bone left in the fillet can potentially harm someone’s experience of enjoying it.
To check for bones, run your fingertips along the fillet, feeling for any hard or sharp edges.
Use a pair of tweezers to carefully remove any bones you find. It’s important to be thorough and take your time during this process.
If you notice any bones that are too small to remove with tweezers, you can use a clean toothbrush or a soft-bristled brush to gently brush over the fillet.
This will help to reveal any remaining bones that are hidden from your fingertips. Once you have finished removing any bones, you can proceed to store your filleted tuna in an airtight container in the refrigerator or freezer.
Properly checking for bones not only improves the taste and presentation of the fillet but also ensures safety for those consuming it.
Properly storing the filleted tuna
Once the tuna has been filleted, it’s essential to store it properly to maintain its freshness and quality. Here are some tips for storing your filleted tuna:
- Wrap the fillets tightly in plastic wrap or aluminum foil to prevent air exposure. Alternatively, you can store the fillets in an airtight container or plastic bag.
- Place the wrapped fillets in the coldest part of your refrigerator, ideally at a temperature of 32-39°F (0-4°C. Do not freeze it before storing it in the fridge.
- If you’re not planning to use the fillets within two days, consider freezing them in an airtight container or wrapped in multiple layers of plastic wrap. This will keep the fillets fresh for up to three months.
- Before cooking, remove the fillets from the refrigerator and let them sit at room temperature for 15-20 minutes. This will allow the fish to reach room temperature, making it easier to cook evenly and reducing the risk of overcooking.
By storing your filleted tuna correctly, you can ensure that your fish stays fresh and maintains its flavor and texture. Proper storage reduces wastage as the fish would remain in good condition for a longer time.
Tips for practicing and improving your filleting skills
Here are some tips on practicing and improving your filleting skills:
- Choose the right knife: The first step to becoming a good fillet-maker is choosing the right knife. A flexible, sharp, and sturdy fillet knife is the best option for filleting fish.
- Practice on different types of fish: Filleting requires practice and experience, so practice on a variety of fish to get comfortable with different textures and shapes.
- Use a cutting board: Use a non-slip cutting board and keep the fish as steady as possible. This will help you make accurate and precise cuts.
- Watch tutorials and get tips from experts: Watch tutorials, read books, and seek tips from experts to improve your filleting technique.
- Be patient and take your time: Take your time to ensure you make clean cuts and remove all bones. Rushing the process can lead to accidents and a poor-quality fillet.
- Keep your knife sharp: Sharpen your knife regularly to ensure clean and smooth cuts.
- Properly store your filleting equipment: Proper storage and care of your filleting equipment, such as cleaning and oiling your knife, will ensure it lasts longer and performs better.
By following these tips, you can improve your filleting skills and produce high-quality fillets consistently.
Final Verdict
In conclusion, filleting a tuna can seem daunting, but with the right tools and techniques, it can be a rewarding experience. Choosing the right fillet knife for the job and following the step-by-step instructions on how to properly prepare and fillet the tuna will help ensure a successful outcome.
Remember to always exercise caution and follow proper safety protocols when working with sharp knives and raw fish.
By incorporating these tips into your filleting routine, you can enhance your skills and become more confident in your ability to handle this challenging task. As with any culinary skill, practice makes perfect.
So, keep at it, and you’ll soon be filleting like a pro! Above all, it’s important to trust in the knowledge and expertise provided in this guide.
By following these guidelines, you can rest assured that you’ll end up with a delicious, perfectly filleted tuna every time. So get out your fillet knife and start practicing.
Your taste buds (and dinner guests) will thank you!