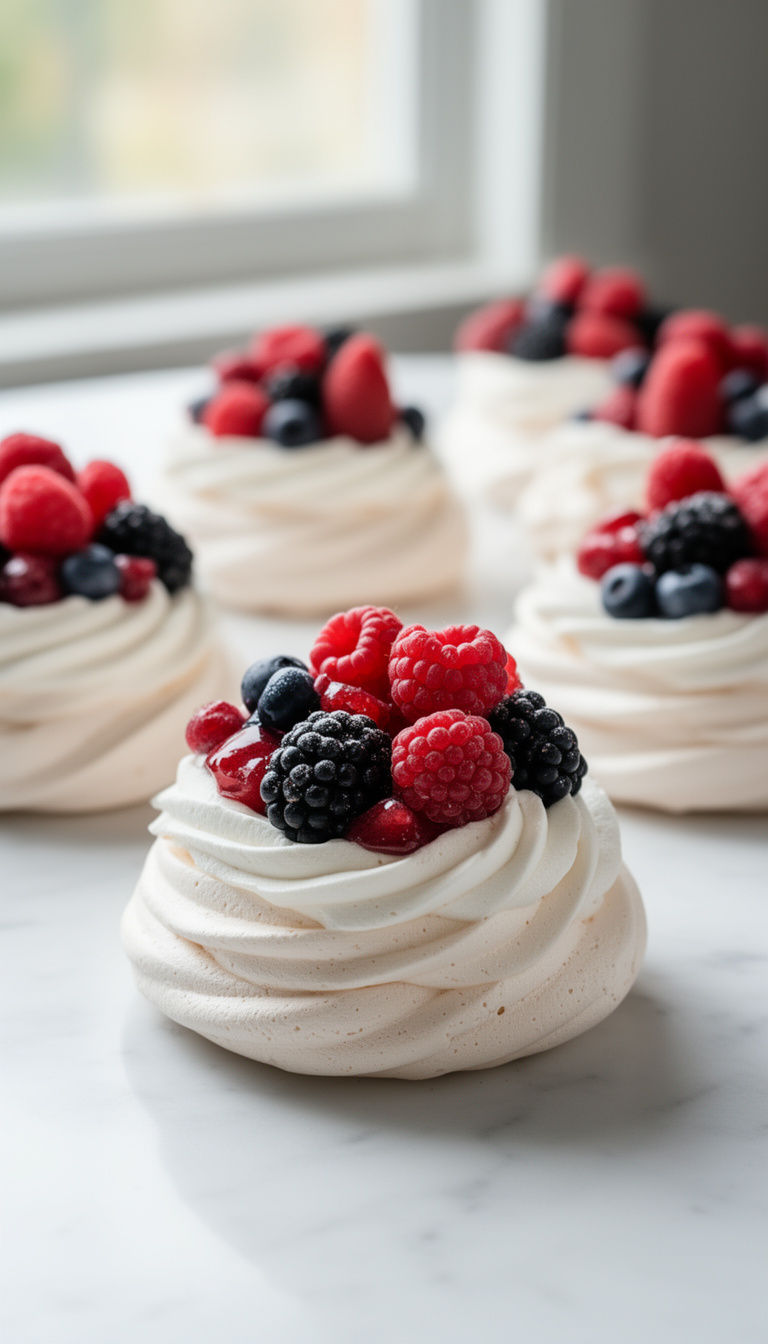
Mini Pavlovas with Berries
Crisp on the outside, marshmallowy soft in the center, and topped with whipped cream and fresh berries — pavlova is one of Australia and New Zealand’s most beloved desserts. Making them in individual portions means no messy slicing and everyone gets their own perfectly intact shell.
They’re a genuinely impressive dessert that you can prep almost entirely ahead of time. The meringue bases bake and rest overnight, and assembly takes just minutes before serving.
Getting Your Egg Whites to Behave
Meringue is unforgiving about fat. Even a trace of egg yolk or a greasy bowl will prevent your whites from whipping to stiff peaks. Wipe your bowl and whisk with a little white vinegar on a paper towel before you start — it strips any residual grease.
Room temperature whites whip faster and to greater volume than cold ones. Separate your eggs straight from the fridge (cold yolks break less easily), then let the whites sit out for 30 minutes before whipping. Add sugar slowly, one tablespoon at a time, once you’ve reached soft peaks.
Shop Our Must-Haves


Why Pavlovas Crack and How to Avoid It
Cracking usually comes from two things: opening the oven door during baking or pulling the pavlovas out into a cold kitchen too quickly. Once baking is done, turn off the oven and leave the door slightly ajar with a wooden spoon. Let them cool completely inside — at least an hour, ideally longer.
Some cracking on the surface is completely normal and won’t affect texture. Whipped cream and berries will cover most imperfections anyway. Don’t refrigerate untopped meringues — humidity softens them fast.
Mini Pavlovas with Berries
Meringue
Topping
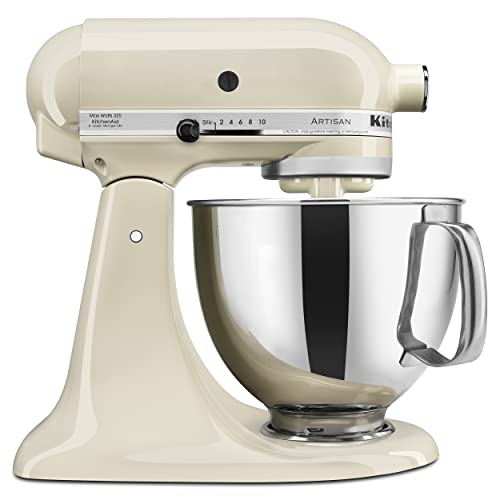
- 🔪Stand mixer or hand electric mixer with whisk attachment
- 🥣Large mixing bowl, grease-free
- ⚡2 large baking sheets
- 🍳Parchment paper
- 🥄Pencil and compass or round cutter for tracing circles
- 📏Rubber spatula
- 🔧Piping bag with large star tip (optional)
- 🍰Fine mesh sieve
Prep Oven Sheets
Position oven racks in the upper and lower thirds of the oven and preheat to 250°F (120°C). Line two large baking sheets with parchment paper.
Using a 3-inch (7.5cm) round cutter or glass as a guide, trace 4 circles on each sheet with a pencil, spacing them at least 2 inches apart. Flip the parchment over so the pencil marks face down — you’ll still see them through the paper.
Whip Egg Whites
Wipe the inside of your mixing bowl and whisk attachment thoroughly with a paper towel dampened with white wine vinegar. Add the 4 room-temperature egg whites and beat on medium speed until foamy and opaque, about 2 minutes.
Increase speed to medium-high and beat until soft peaks form — the whites should hold a peak that gently folds over when you lift the whisk, about 3-4 more minutes.
Add Sugar Slowly
With the mixer running on medium-high, add the caster sugar one tablespoon at a time, waiting about 15 seconds between each addition. Once all the sugar is incorporated, increase to high speed and beat for 4-5 minutes until the meringue is thick, glossy, and holds stiff peaks.
To check if the sugar has dissolved, rub a small amount between your fingers — it should feel smooth, not gritty. If it’s still gritty, keep beating for another minute.
Fold in Cornstarch
Sift the cornstarch over the meringue, then add the 1 teaspoon vanilla extract and 1 teaspoon white wine vinegar. Fold everything in gently with a rubber spatula using 6-8 large strokes — don’t overmix.
The vinegar and cornstarch work together to create that signature soft, marshmallow-like interior.
Shape the Nests
Divide the meringue evenly among the 8 traced circles, about 1/2 cup per pavlova. Using the back of a spoon, spread each mound to fill the circle, then create a shallow well in the center by pressing down gently — this is where the cream and berries will sit.
Build the edges up slightly higher than the center. You can also pipe the meringue using a large star tip for a more decorative look.
Bake Low and Slow
Slide both baking sheets into the preheated oven. Bake for 1 hour and 15 minutes, rotating the pans top-to-bottom and front-to-back halfway through at the 37-minute mark.
The pavlovas are done when the exterior feels dry and crisp to a light touch, the color is a pale ivory (not white, not golden), and they lift cleanly off the parchment without sticking. Don’t open the oven before the 37-minute mark.
Cool in Oven
Turn off the oven. Prop the door open about 2 inches using a wooden spoon and leave the pavlovas inside to cool completely for at least 1 hour, or up to 4 hours.
Cooling slowly in the oven prevents the dramatic cracking and collapse that happens when meringue hits cold air. Once fully cooled, store uncovered at room temperature for up to 2 days if not serving immediately.
Whip the Cream
When ready to serve, pour the cold heavy cream into a chilled bowl. Add the icing sugar and 1/2 teaspoon vanilla extract.
Whip on medium-high speed until the cream holds soft-to-medium peaks, about 2-3 minutes — it should mound gently and not feel stiff or grainy. Stop before it looks too firm; it’ll stiffen slightly as you spoon it.
Assemble and Serve
Spoon a generous dollop of whipped cream into the well of each meringue nest. Pile the mixed berries on top — strawberry halves, blueberries, and raspberries.
Add a few mint leaves if using. Serve within 30 minutes of assembling; the cream will start to soften the meringue shells if they sit too long.
The finished pavlovas should have a crisp shell that gives way to a soft, chewy center when you press down lightly with a spoon.
Per serving (1 mini pavlova with cream and berries) — values are estimates