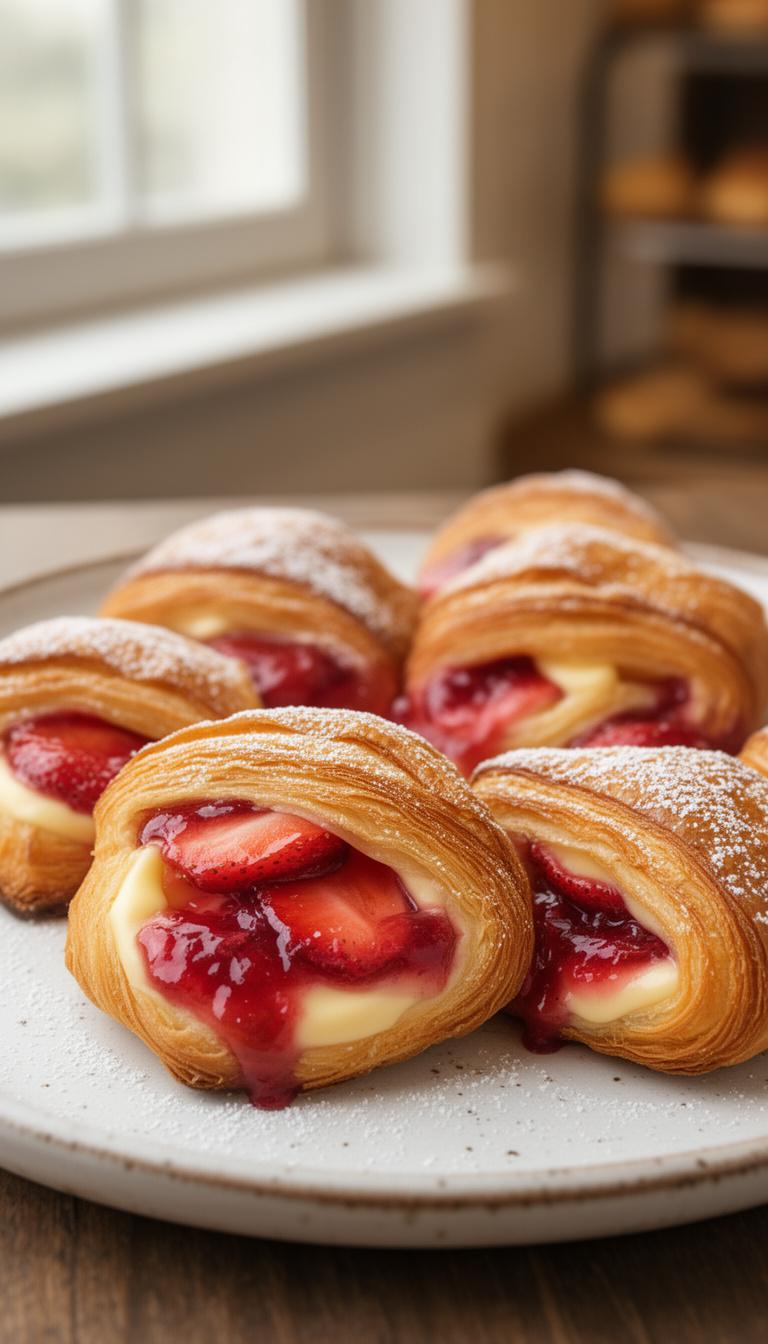
Homemade Laminated Strawberry Cream Cheese Danish from Scratch
A strawberry cream cheese Danish is a yeasted, butter-laminated pastry with hundreds of flaky layers wrapped around a tangy cream cheese filling and bright strawberry jam. It’s the kind of bake that takes real time and patience — but the payoff is a pastry that’s genuinely better than most bakery versions you’d buy.
Making laminated dough at home sounds intimidating, but it’s mostly about keeping things cold and not rushing. You’ll work through a few rounds of folding butter into dough over a couple of hours, and the rest practically takes care of itself.
Keeping the Butter Block Cold and Pliable at the Same Time
The single most common failure point in laminated dough is temperature. If your butter gets too warm, it melts into the dough instead of staying in distinct layers — and you lose all that flakiness. But if it’s too cold and rigid, it shatters and breaks through the dough instead of bending with it.
You want the butter block at around 60°F (15°C) — cool enough to hold its shape, but pliable enough to bend without cracking. If you press a finger into it and it gives slightly without sticking, it’s ready. Work quickly between folds and return everything to the fridge the moment it starts feeling soft or greasy.
Most Loved Products


Choosing the Right Strawberries for the Filling
Fresh strawberries release too much water during baking and can make the filling soggy, so a cooked strawberry jam or compote is the better route here. Store-bought strawberry jam works in a pinch, but a quick homemade compote with fresh or frozen berries, sugar, and a squeeze of lemon gives you more control over sweetness and consistency.
Aim for a compote that’s thick enough to hold its shape on a spoon — almost like a soft set jam. Runny filling will seep out during baking and burn on the pan. If yours seems loose, simmer it a few extra minutes until it mounds slightly.
Lamination and Timing Notes
- European-style butter (such as Kerrygold or Plugrá) has a higher fat content and lower water content than standard American butter, which means less steam during lamination and more distinct, crisp layers. It’s worth seeking out for this recipe.
- If the dough springs back aggressively when you roll it, it needs more rest. Cover it and let it sit for 10 minutes before continuing — forcing it will tear the layers.
- You can freeze the shaped, unbaked Danishes (before proofing) on a parchment-lined tray. Once solid, transfer to a zip-lock bag. To bake from frozen, thaw overnight in the fridge, then proof at room temperature for 2-3 hours before egg washing and baking.
- If your kitchen is warm (above 75°F / 24°C), do all your rolling and folding steps on a marble slab or a chilled baking sheet placed on the counter to keep the dough cold longer.
Homemade Laminated Strawberry Cream Cheese Danish from Scratch
Détrempe (Dough)
Butter Block
Cream Cheese Filling
Strawberry Compote
Egg Wash
Glaze
- 🔪Stand mixer with dough hook attachment
- 🥣Rolling pin
- ⚡Large baking sheet (18×13 inch / half-sheet pan)
- 🍳Parchment paper
- 🥄Plastic wrap
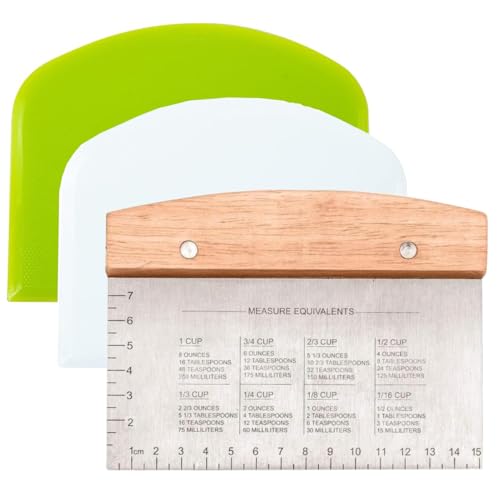
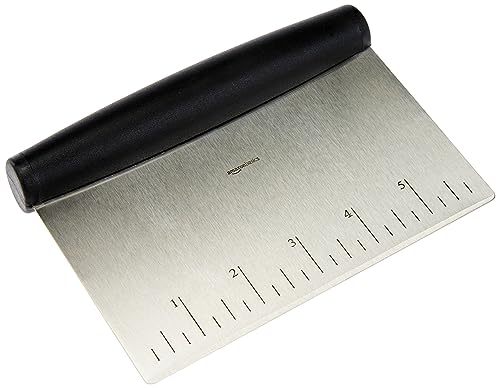
- 📏Bench scraper
- 🔧Small saucepan
- 🍰Fine mesh strainer (optional)
- 🫙Ruler or tape measure
- 🌡️Sharp chef’s knife or pastry wheel
- 🔪Instant-read thermometer
- 🥣Wire cooling rack
- ⚡2 large mixing bowls
- 🍳Piping bag or zip-lock bag with corner snipped
Make Strawberry Compote
Combine the chopped strawberries, 3 tbsp sugar, and lemon juice in a small saucepan over medium heat. Cook, stirring occasionally, for 8-10 minutes until the berries break down and the mixture bubbles steadily.
Stir in the cornstarch slurry and cook for another 1-2 minutes until the compote thickens noticeably and coats the back of a spoon. Pour into a bowl, press plastic wrap directly onto the surface, and refrigerate until completely cold — at least 1 hour.
It should be thick and jammy, not pourable, before you use it.
Mix the Dough
In the bowl of a stand mixer fitted with the dough hook, combine the flour, instant yeast, sugar, and salt. Whisk briefly to distribute.
Add the cold milk, cold water, and cold eggs. Mix on low speed for 2 minutes until a shaggy dough forms, then add the 2 tbsp softened butter.
Increase to medium speed and knead for 4-5 minutes until the dough is smooth, slightly tacky, and pulls cleanly from the sides of the bowl. It won’t be fully developed — that’s intentional.
Shape into a flat rectangle, wrap tightly in plastic wrap, and refrigerate for at least 1 hour or up to overnight.
Form Butter Block
Cut the cold 1 cup (225g) butter into ½-inch slabs and arrange them in a single layer on a sheet of plastic wrap, forming roughly a 7×7-inch square. Fold the plastic wrap over the butter and use a rolling pin to pound and roll it into an even 6×6-inch square, about ¼ inch thick.
The butter should be cool but pliable — it should bend without snapping when you flex a corner. If it cracks, let it sit at room temperature for 3-5 minutes, then try again.
Refrigerate the butter block for 15 minutes while you prepare the dough.
Encase the Butter
On a lightly floured surface, roll the chilled dough into a 12×12-inch square. Place the butter block in the center at a 45-degree angle so the corners of the butter point toward the midpoints of the dough’s sides — like a diamond inside a square.
Fold each dough flap over the butter, overlapping the edges like an envelope, and pinch the seams firmly to seal. You should have a neat butter-filled parcel about 6×6 inches.
Flip it seam-side down and gently press with the rolling pin to start flattening before the first fold.
First Letter Fold
Roll the dough package on a lightly floured surface into a rectangle roughly 8×20 inches, working from the center outward and applying even, steady pressure. If the butter starts to break through, dust lightly with flour and keep going — don’t stop.
Fold the dough into thirds like a business letter: fold the bottom third up, then the top third down over it. You now have a 3-layered rectangle about 8×7 inches.
Wrap in plastic wrap and refrigerate for 30 minutes. Mark the dough with one finger indent so you remember you’ve done one fold.
Second and Third Folds
Remove the dough from the fridge and orient it so the open flap faces right (like a book). Roll it again into an 8×20-inch rectangle and repeat the letter fold.
Wrap and refrigerate for another 30 minutes. Repeat this process one more time for a total of three letter folds.
After the third fold, wrap the dough tightly and refrigerate for at least 1 hour, or up to 8 hours. The dough should feel firm, slightly springy, and you should see faint layering at the cut edges when you trim a corner.
Make Cream Cheese Filling
Beat the softened cream cheese with 3 tbsp sugar using a fork or hand mixer until completely smooth with no lumps — about 2 minutes. Add the egg yolk, vanilla extract, and lemon zest, and mix until combined and creamy.
The filling should be thick enough to pipe or spoon without spreading on its own. If it seems loose, refrigerate it for 20 minutes to firm up slightly.
Don’t overmix once the egg yolk is added, as you don’t want to incorporate too much air.
Shape the Danishes
Line two baking sheets with parchment paper. On a lightly floured surface, roll the chilled laminated dough into a 12×18-inch rectangle, about ¼ inch thick.
Using a sharp knife or pastry wheel and a ruler, cut the dough into 12 equal squares, roughly 4×4 inches each. To shape each Danish, fold the four corners toward the center and press firmly in the middle to seal — or simply press a well into the center of each square with your fingers and two thumbs.
Arrange them 2 inches apart on the prepared baking sheets.
Fill and Proof
Spoon or pipe about 1 ½ tablespoons of cream cheese filling into the center of each shaped Danish, then add a rounded teaspoon of the cold strawberry compote on top of the cream cheese. Don’t overfill — the filling should sit within the borders of the dough.
Loosely cover the baking sheets with plastic wrap or a clean kitchen towel and let the Danishes proof at room temperature (68-72°F / 20-22°C) for 1 to 1 ½ hours, until they look noticeably puffed, feel airy when gently pressed, and have grown about 50% in size.
Preheat the Oven
About 20 minutes before baking, position oven racks in the upper-middle and lower-middle positions and preheat to 400°F (200°C). A hot oven is critical for laminated pastry — it creates steam quickly inside the layers, which is what drives them apart and creates flakiness.
If you have a convection setting, use it at 375°F (190°C) instead. Whisk together the egg and 1 tbsp milk for the egg wash.
Egg Wash and Bake
Gently brush the exposed dough edges of each Danish with egg wash, being careful not to let it drip down the cut sides — that can glue the layers together and prevent them from puffing. Bake for 18-22 minutes, rotating the pans halfway through, until the Danishes are a deep golden brown on top and the sides look fully set and caramelized.
The bottoms should be golden and sound hollow when tapped. An instant-read thermometer inserted into the dough (not the filling) should read at least 190°F (88°C).
The filling may puff slightly during baking and will settle as they cool.
Cool and Glaze
Transfer the Danishes to a wire rack and let them cool for at least 20 minutes before glazing — glazing hot pastry makes the glaze absorb rather than set on top. Whisk together the powdered sugar, 2-3 tbsp milk, and vanilla until smooth and pourable, like a thin icing.
Add milk a teaspoon at a time to reach a consistency that drizzles off a spoon in a steady ribbon. Drizzle the glaze over the cooled Danishes in a back-and-forth motion.
Let the glaze set for 10 minutes before serving. Danishes are best eaten the day they’re baked.
Per serving (1 Danish) — values are estimates