How To Fillet a Rock Bass Using a Fillet Knife? Master The Technique!
Key Takeaways:
- Use a sharp fillet knife to cleanly and effectively remove the flesh from a rock bass.
- Begin by removing the head and tail, then make a cut down the backbone to create two fillets.
- Always practice safe handling techniques and use caution to avoid injury while filleting.
- Properly filleting a rock bass can enhance the taste and quality of the fish for cooking.
Are you tired of buying expensive pre-cut fish fillets? Why not learn how to fillet your own fish?
It’s easier than you might think! In this article, I’ll walk you through the step-by-step process of filleting a rock bass using a fillet knife.
From choosing the right knife to removing any remaining bones, I’ll cover everything you need to know to get the job done right. Plus, I’ll share some handy tips for safe handling and proper storage of your fillets.
So, grab your fillet knife and let’s get started!
| Steps | Description |
| Step 1 | Cut off head Use fillet knife to cut off the head just behind the gills, slice down to the spine but do not cut through it. Discard the head. Note: This step can be skipped if the fish has already been headless. |
| Step 2 | Cut along spine Holding fish by the tail, insert the blade at the top of the fish’s back behind the gills, and slice down along the spine, following the curve of the fish’s body and cutting through the rib bones. Tip: Keep the knife angled away from you for safety purposes. |
| Step 3 | Remove fillet At the tail, cut through the skin and gently work the knife beneath the meat while pulling the fillet away from the bones. Note: Be sure to keep the knife blade close to the bones to get the most meat out of the fish. |
| Step 4 | Repeat on other side Flip fish over and repeat the process to remove the second fillet. Tip: Keep the freshly-cut fillets in a cooler bag or on ice to maintain their freshness until ready to cook. |
Choose the right fillet knife for the job
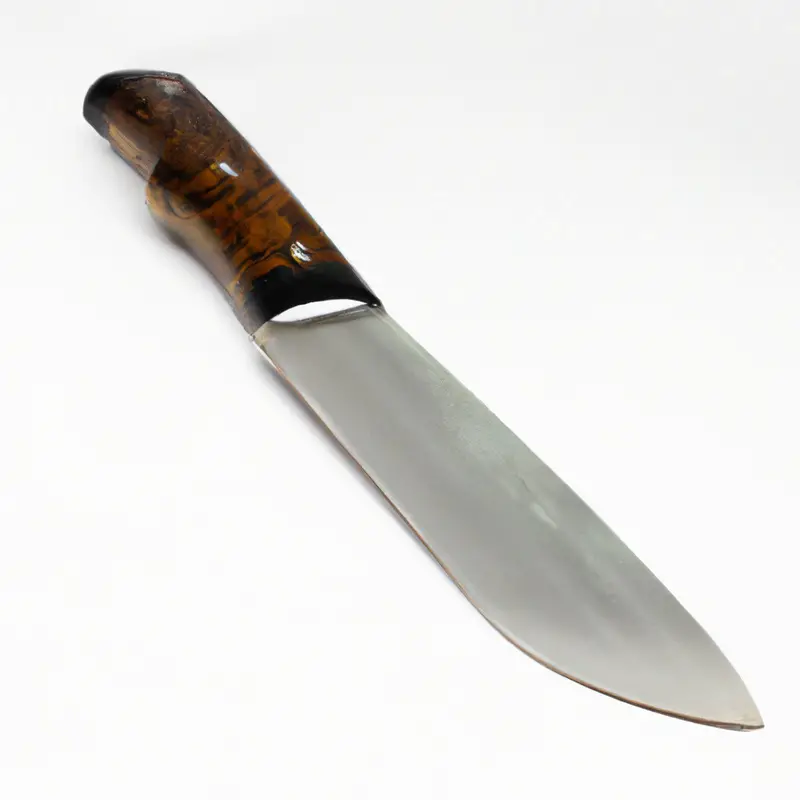
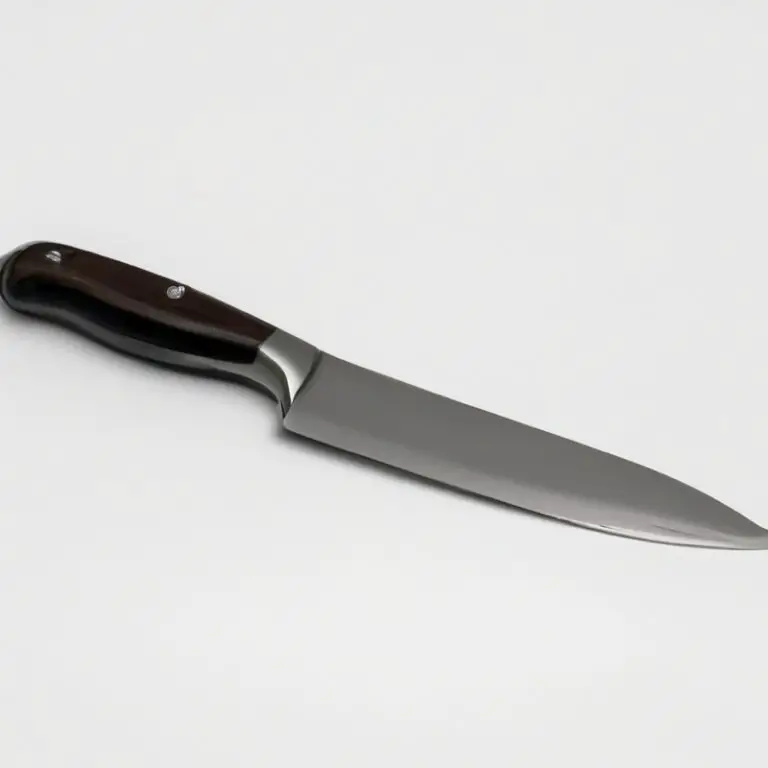
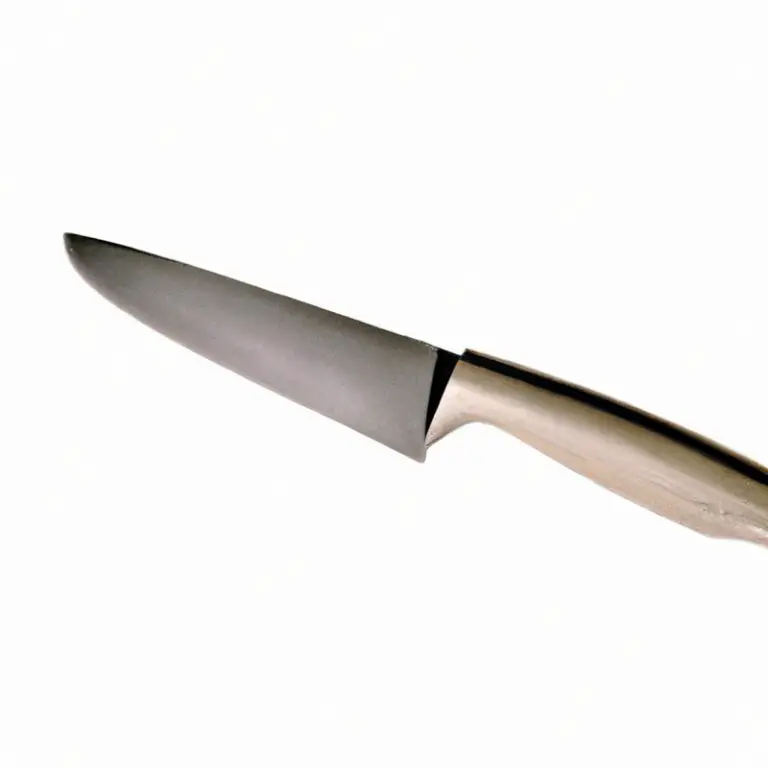
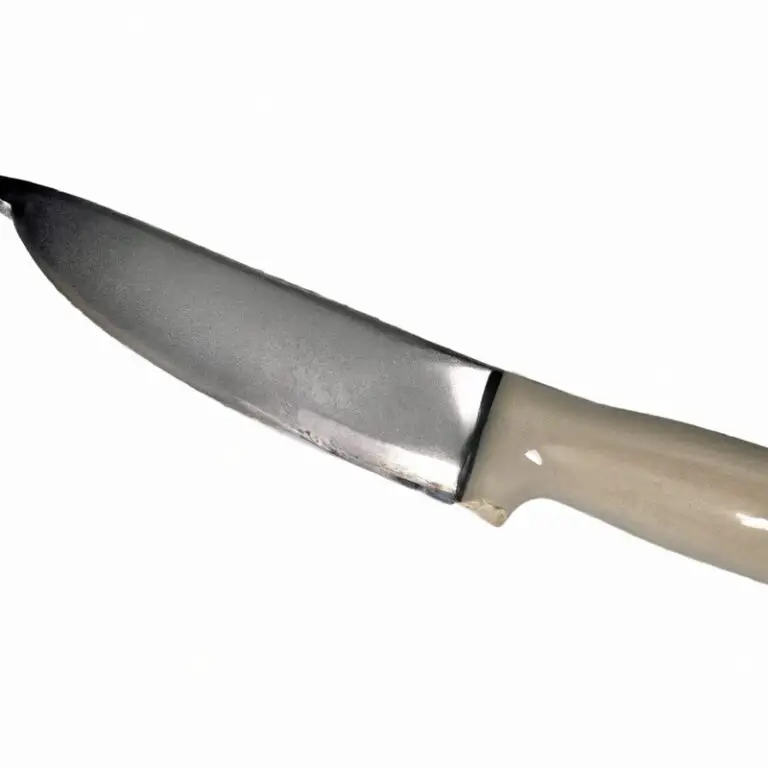
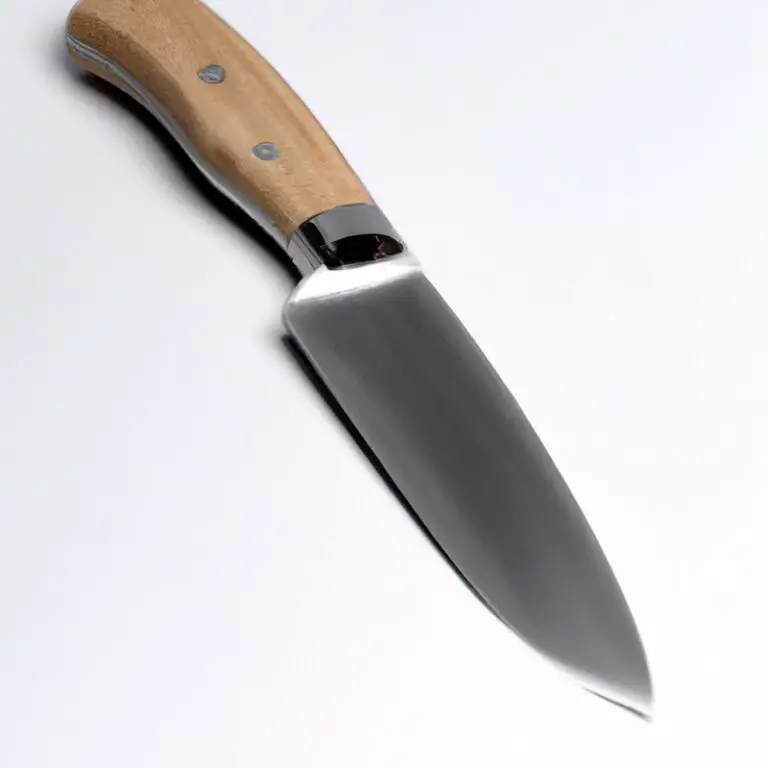
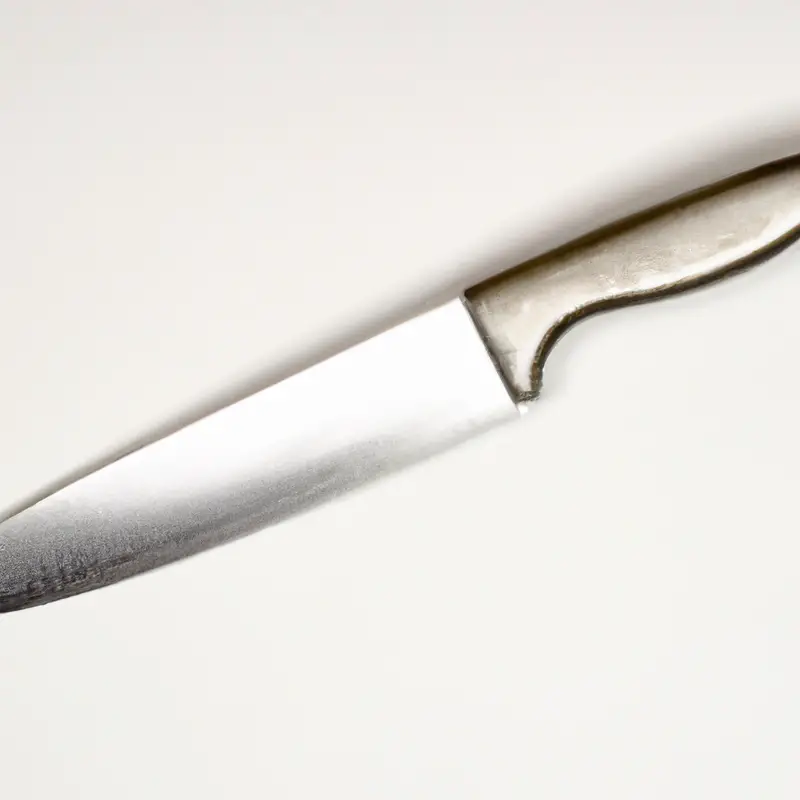
Choosing the right fillet knife is crucial to ensuring your filleting process goes smoothly and results in perfectly filleted fish. The ideal fillet knife should be sharp, flexible, and suitable for the size of the fish you want to fillet.
A knife that is too small for the fish could make the process more difficult, while a knife that is too large may remove too much meat or damage the fillet.
A blade length of 6-9 inches is ideal for most fish sizes. Additionally, consider the quality and material of the knife.
Stainless steel blades are durable and easily maintained, while high-carbon steel blades hold a sharper edge for longer periods.
Overall, investing in a high-quality fillet knife that suits the size of your fish, and is made of durable materials, can make the filleting process much more efficient and enjoyable.
Check for any bones in the fish
Before starting to fillet the fish, it’s essential to check it thoroughly for any bones. Any unremoved bones could cause discomfort or injury while eating.
It’s crucial to check for bones in the rock bass’s throat, head, and along the belly.
Use your fingers and run them along the fish’s flesh to feel for any bones. If you find them, use needle-nose pliers to remove them carefully.
Take your time and ensure you remove all bones to avoid any potential choking hazards.
Always remember to check for bones in the fish before filleting it to ensure a safer and more enjoyable meal.
Make a cut behind the gills and down to the backbone
To begin filleting a rock bass, make a cut behind the gills and down to the backbone with a fillet knife. This cut should be made deep enough to feel the backbone but not all the way through it.
Once the knife reaches the spine, slowly guide it along the length of the fish to remove one of the fillets.
Be mindful to keep the blade positioned as close to the ribs and backbone as possible to get the most meat off the fish. Repeat this process for the other fillet on the other side of the fish.
Cut carefully along the backbone to remove one fillet
To start the filleting process, make a cut behind the gills and down to the backbone. Then, insert a fillet knife’s tip into the fish’s backbone and move it along the length of the fish’s backbone, avoiding cutting through the rib bones.
Make sure to cut carefully along the backbone to remove one fillet.
Repeat this process for the other fillet. Be patient, precise, and take your time when cutting to avoid damaging the fillet.
Repeat the process for the other fillet
Now that you have successfully removed one fillet, it’s time to repeat the process for the other fillet. Turn the fish over so that the other side is facing up.
Make another cut behind the gills and down to the backbone, being careful not to cut through the bones.
Then, just like before, carefully cut along the backbone to remove the second fillet. Once you have both fillets, it’s time to remove the skin.
Lay the fillet skin-side down on your cutting board, and insert the blade of the fillet knife between the skin and flesh.
Then, using a gentle sawing motion, run the blade along the length of the fillet until all of the skin has been removed. Finally, use needle-nose pliers to remove any remaining bones from the fillets.
Rinse them under cold water, and pat them dry with a paper towel.
Store the fillets properly in the refrigerator or freezer, depending on when you plan to use them. Remember to always practice safe handling and sanitation techniques throughout the entire process to avoid any foodborne illnesses.
Remove the skin from each fillet
To remove the skin from each fillet, place the fillet skin-side down on a cutting board. Use your fillet knife to make a small cut at the tail end of the fillet, being careful not to cut through the skin.
Hold the skin taut with one hand and use a back-and-forth sawing motion with the knife to remove the skin from the flesh.
Repeat this process for the other fillet. Removing the skin will not only improve the appearance of the fillet but also make it easier to cook.
Remove any remaining bones with needle-nose pliers
To remove any remaining bones from your filleted rock bass, you’ll need a pair of needle-nose pliers. Carefully run the pliers over the fillet, feeling for any small, hard bones that the knife may have missed.
Grip and gently pull out any bones you find, being careful not to tear the flesh.
Take your time, and be thorough in your search. Once all bones have been removed, your fillets are ready for rinsing and storage.
Properly removing any remaining bones ensures your dish will be safe and enjoyable to eat.
Rinse fillets under cold water
Rinse your rock bass fillets under cold water to remove any remaining scales, skin, or debris. This step is crucial in ensuring that your fillets are clean and safe to consume.
Running cold water over the fillets also helps to remove any bacteria that may have been present during the filleting process.
Once rinsed, pat the fillets dry with a clean towel before storing them in the refrigerator or freezer. Remember to always practice good sanitation and food handling practices when preparing fish for consumption.
Store fillets properly in the refrigerator or freezer
After filleting your rock bass, it’s important to properly store the fillets to maintain their freshness. The best way to store fillets is to keep them in a refrigerator or freezer as soon as possible.
If you plan to use them within two days, store them in the coldest part of your refrigerator in an airtight container or plastic bag.
For longer storage, wrap the fillets tightly in plastic wrap or aluminum foil, then place them in a labeled freezer bag and store in the freezer for up to 6 months. When thawing frozen fillets, place them in the refrigerator overnight to thaw slowly.
Do not thaw at room temperature or in warm water, as this can cause bacteria growth and spoilage.
Proper storage and handling will ensure that your rock bass fillets stay fresh and safe to eat.
Practice safe handling and sanitation techniques throughout the process
To ensure the safety and cleanliness of your filleting process, it is crucial to practice proper handling and sanitation techniques. Begin by washing your hands thoroughly with soap and water before and after handling the fish.
Use clean utensils and surfaces and sanitize them before and after use.
When filleting, avoid cross-contamination by dedicating one cutting board and knife solely for fish. Dispose of any entrails or unwanted parts promptly and securely to avoid attracting pests.
Lastly, refrigerate or freeze your fillets promptly to avoid spoilage.
By using best practices for handling and sanitation, you can ensure the safety and freshness of your fillets.
Final Verdict
Filleting a rock bass can be a tricky process, but with the right tools and techniques, anyone can do it like a pro. Choosing a proper fillet knife, checking for bones, making careful cuts, removing the skin and bones, rinsing and storing the fillets properly are the key steps for a successful filleting process.
As an expert on the topic, I can assure you that by following these steps and practicing safe handling and sanitation techniques throughout the process, you can confidently fillet a rock bass at home.
So go ahead and give it a try, and enjoy the fresh taste of your perfectly filleted rock bass.

