How To Fillet a Muskie Using a Fillet Knife? Expert Tips
Key Takeaways:
- Proper technique is key when filleting a muskie, using a sharp fillet knife to ensure smooth cuts and minimal wasted meat.
- Start by making a cut behind the gills and then following the spine towards the tail, keeping the blade angled downward to remove the fillet in one piece.
- Removing the bones from a muskie fillet can be tricky, but taking your time and using a pair of pliers or bone removal tool can make the process easier.
- With practice and patience, filleting a muskie can become a quick and efficient process, allowing for the enjoyment of a delicious meal from this prized game fish.
Have you ever caught a muskie but weren’t sure how to prepare it for cooking? Filleting a muskie can be intimidating, but with the right tools and techniques, you can create delicious fillets worthy of any meal.
In this article, I will guide you through the steps to fillet a muskie using a fillet knife.
From preparing your workspace to properly storing your fillets, you’ll learn everything you need to know to successfully fillet a muskie like a pro. So, grab your fillet knife, and let’s get started!
| Steps | Description |
|---|---|
| Step 1 | Place the muskie on a flat surface and insert the fillet knife behind its gills. |
| Step 2 | Run the fillet knife along the spine, slowly cutting through the flesh and guiding the blade close to the backbone. |
| Step 3 | When you reach the tail section, slice through the bottom of the fish until the fillet is loosened from the body. |
| Step 4 | Repeat the process on the other side of the fish to get the second fillet. |
| Step 5 | Remove the skin by placing the fillet down on the cutting board and using a sawing motion with the fillet knife to separate the skin from the flesh. |
| Step 6 | Trim off any remaining bones and fat. |
Preparing Your Workspace
Before you start filleting your muskie, it is important to prepare your workspace to ensure a safe and efficient process. Choose a flat and stable surface with good lighting and easy access to a sink.
Keep your fillet knife sharp and within reach.
Lay down a clean cutting board and have paper towels or a clean cloth on hand. It is also advisable to wear gloves to protect your hands from any harm.
Make sure your workspace is clean and organized to avoid any unnecessary contamination.
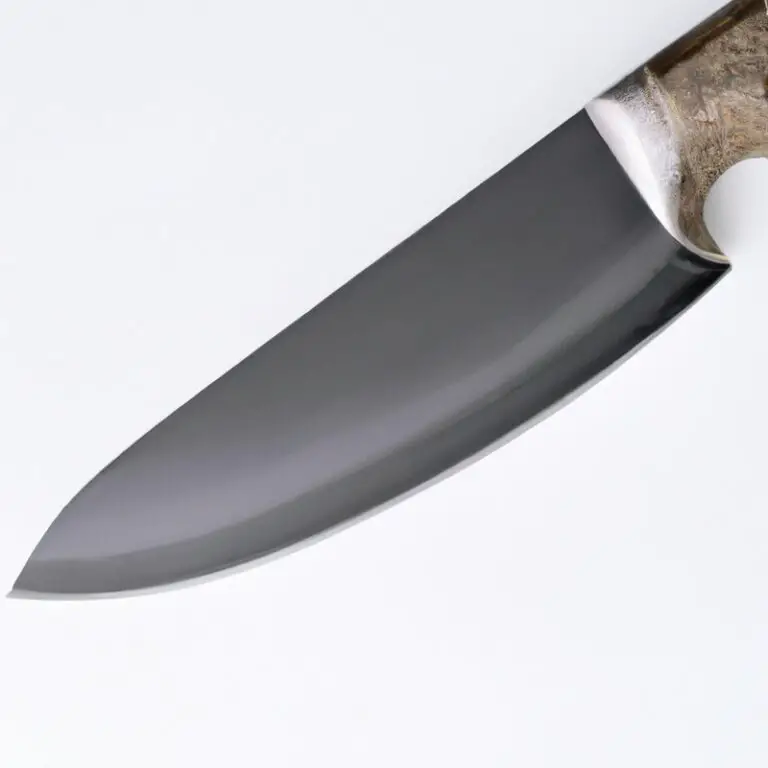
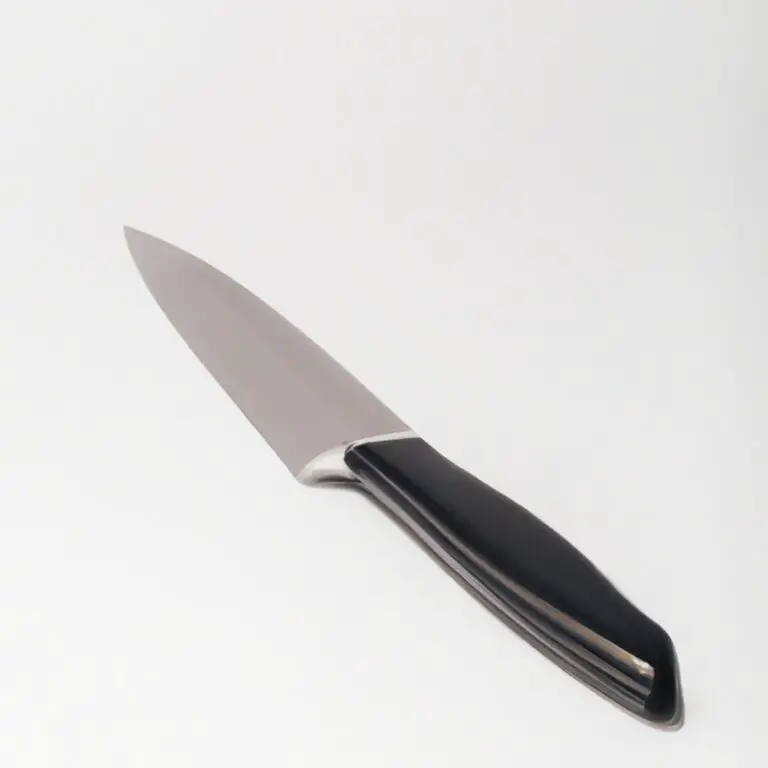
Choosing the Right Fillet Knife for the Job
Choosing the right fillet knife for the job is crucial to ensure the process goes smoothly and the end result is satisfying. A good fillet knife should have a sharp and flexible blade that can easily glide through the fish’s flesh and bones.
A 6-9 inch blade is usually ideal for filleting a muskie.
Stainless steel blades are easy to maintain and can resist corrosion, ensuring the longevity of your fillet knife. Additionally, some fillet knives come with a non-slip grip on the handle, which helps in maintaining a firm and safe grip while filleting.
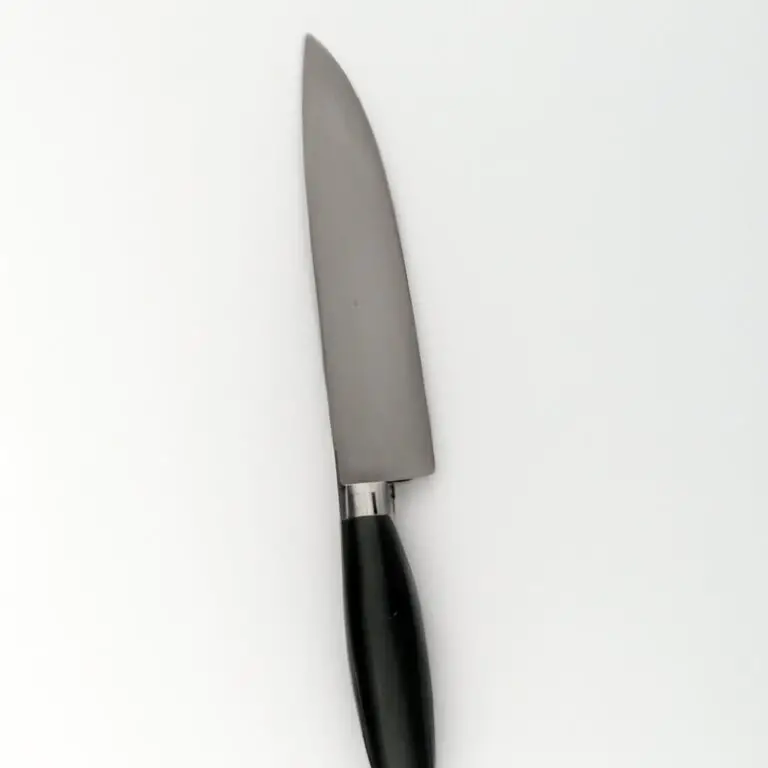
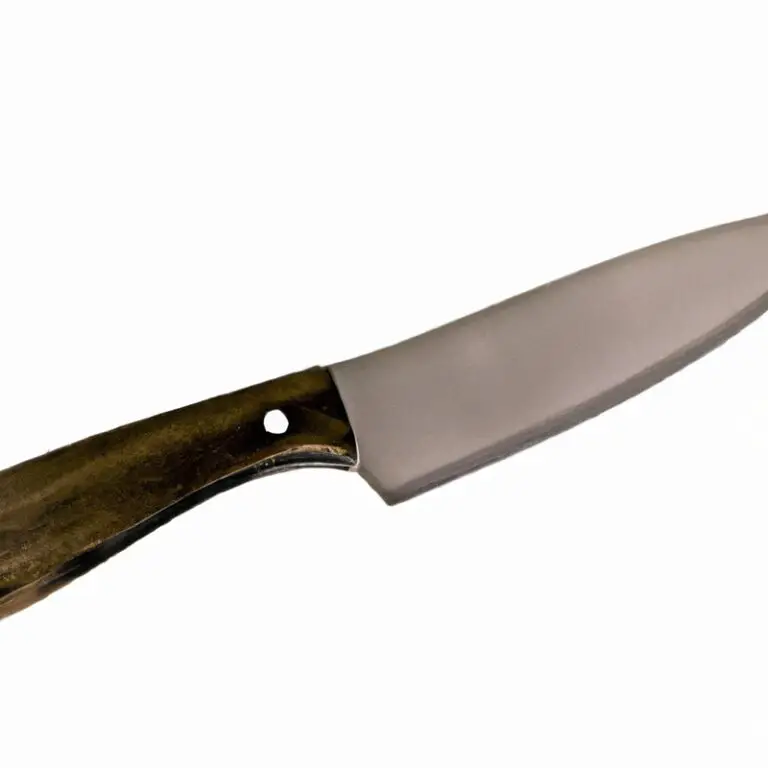
Consider the type of fish you’ll be filleting when choosing a fillet knife.
Smaller fish may require a smaller blade, while larger and tougher fish may need a more robust and sturdy blade. Lastly, invest in a fillet knife from a reputable brand that guarantees quality and longevity.
A high-quality fillet knife may be more expensive but will last longer and ultimately save you money in the long run.
Cleaning the Fish Before Filleting
Cleaning the fish before filleting is a crucial step in the process of preparing a muskie for cooking. It ensures that any dirt, grime, or contaminants are removed from the surface of the fish before it is cut into pieces.
To clean a muskie, start by rinsing it with cool water to remove any excess debris.
Use a scaler or knife to remove the scales from the skin, working from the tail towards the head. Make sure to remove scales from both sides of the fish.
Next, cut off the head of the muskie and remove the internal organs.
Use a sharp knife to make a small incision behind the gill and cut down the belly towards the anus. Gently pull out the guts, being careful not to puncture the intestines and release any of the stomach contents.
Once the fish has been gutted, use a knife to remove the fins and any remaining scales.
Rinse the fish again with cool water and pat dry with a paper towel or clean cloth. Cleaning the fish before filleting not only ensures that the meat is free from contaminants, but also makes it easier to remove the skin and bones.
Taking the time to do it properly will result in a more enjoyable and safe eating experience.
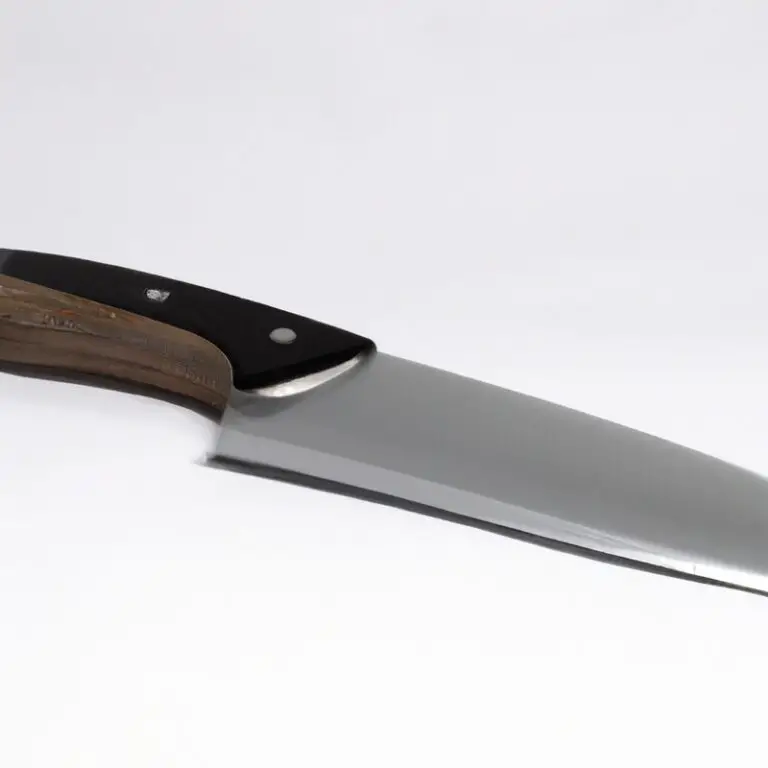
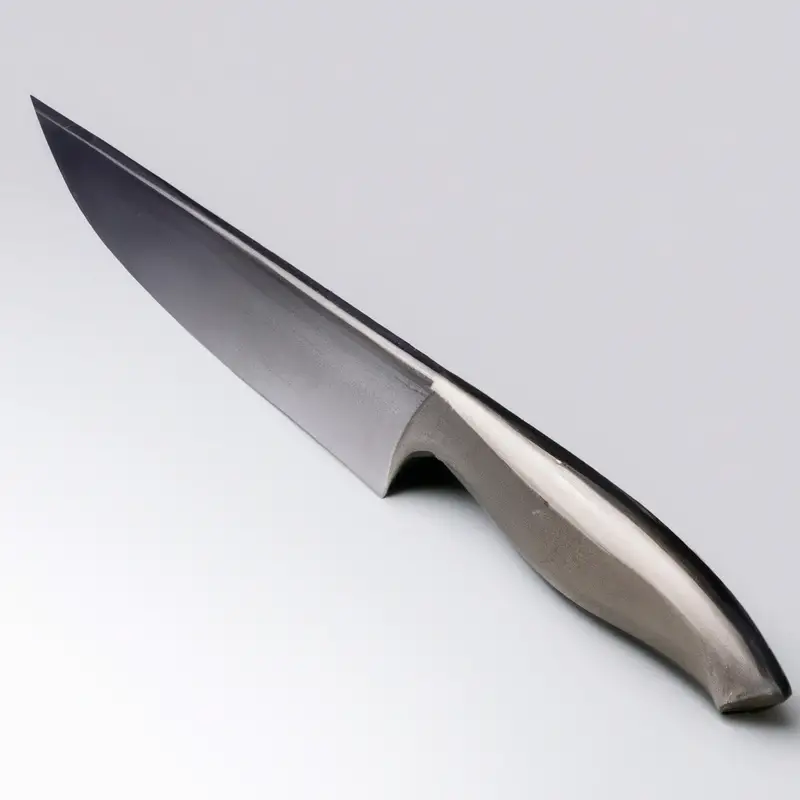
Starting the Filleting Process
To start the filleting process for a muskie, place the fish on a clean and flat surface, preferably on a cutting board. Use a sharp and flexible fillet knife and make an incision behind the gills, cutting down to the spine.
Then, turn the blade and run it gently along the spine towards the tail, using the bones as a guide.
Cut through the ribcage and continue until the fillet is separated from the spine. Repeat the process on the other side of the fish.
Be sure to discard the head, bones, and the remaining parts of the fish properly.
By following these steps, you can start the filleting process for a muskie like a pro.
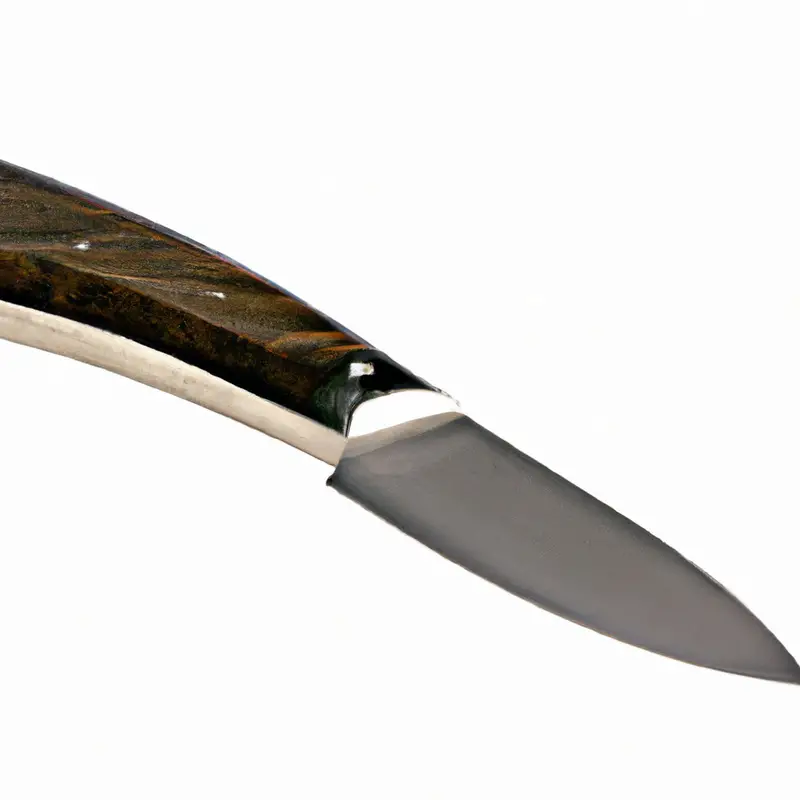
Removing the Muskie’s Skin
When it comes to removing the skin of a muskie, the key is to make precise cuts without removing too much meat. First, make an incision through the skin behind the gills and down to the backbone.
Use the tip of your fillet knife to separate the skin from the flesh, then use a back-and-forth motion to saw through the skin while keeping the blade flat against the bones.
Be sure to hold the skin taut as you work to prevent it from slipping out of your grip. Remove the skin in sections, working from the head toward the tail until you have completely removed it from one side of the fish.
Keep your blade as close to the skin as possible to minimize waste and preserve as much of the meat as possible.
Once you have removed the skin from one side of the muskie, repeat the process on the other side to complete the filleting process. Take your time and be patient – removing the skin can be a delicate process, but it’s worth the effort to ensure that your fillets are as delicious and visually appealing as possible.
Removing the Bones and Pin Bones
To remove the bones and pin bones from your muskie fillet, you will need to use a pair of pliers or tweezers. First, run your fingers along the fillet to locate any pin bones.
Next, use the pliers or tweezers to grip the bone firmly and pull it out in the same direction as the bone is pointing.
For the larger bones, make a cut on each side of the bone to release it from the fillet. Then, grip the bone firmly with your pliers and gently lift it up and away from the fillet, using your knife to guide the bone out without taking too much meat with it.
Take your time and be careful not to leave any small bones behind, as they can be a choking hazard.
Once you have removed all the bones, give your fillet a quick once-over to check for any remaining bones or debris. You may want to consider using a fillet knife with a flexible blade to make removing the bones easier.
When you are finished, repeat the process on the other side of the fish, and your muskie fillets will be ready for trimming and cooking.
Trimming the Fillet
Trimming the fillet is the final step in the filleting process. It involves removing any remaining bones and trimming excess fat and skin.
It’s important to trim the fillet correctly to ensure a better tasting and visually appealing final product.
To trim the fillet, use your fillet knife to carefully remove any leftover pin bones and belly meat. Next, trim any excess skin, fat or tissue using a sharp, flexible knife.
This will help remove any unwanted flavors from the fish.
When trimming the fillet, take care not to remove too much meat. It’s better to leave some extra flesh on the fillet rather than trimming too much and wasting a portion of the fish.
Remember, practice makes perfect and with time, you will learn how much to trim for optimal results.
Once you are done trimming the fillet, rinse it under cold water to remove any remaining debris. Then, pat it dry with a paper towel and store it properly until you’re ready to cook it.
Trimming the fillet may seem like a tricky step, but with patience and practice, it will become second nature.
Take your time, and remember to focus on creating an attractive and tasty final product.
Tips for Cutting Deeper Toward the Tail
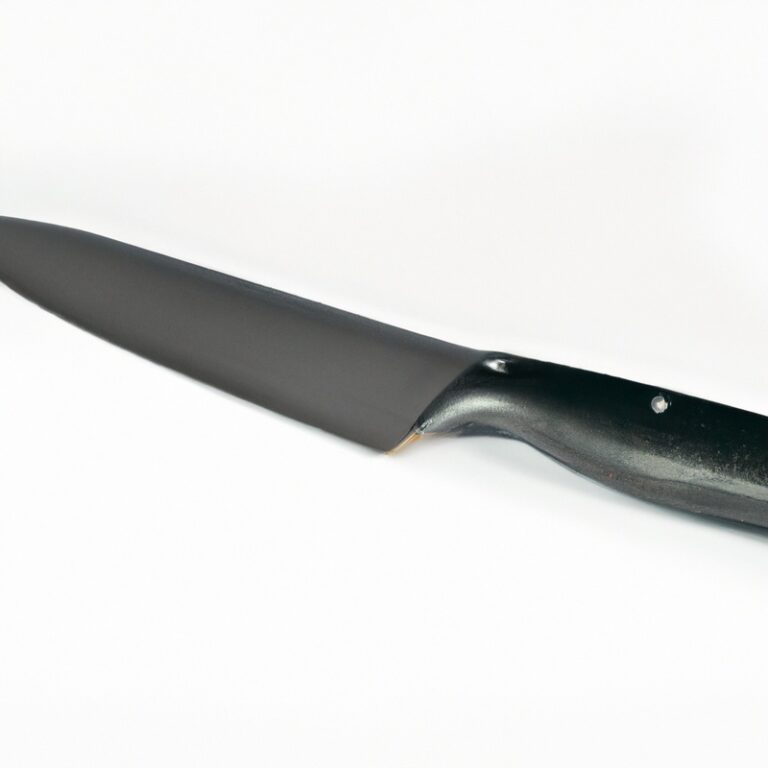
When cutting deeper toward the tail, it’s important to maintain a steady hand and take your time. Here are some tips to help you achieve a clean cut:
- Make sure your fillet knife is sharp. A dull knife will make it difficult to cut cleanly through the muskie’s tough skin and bones.
- Use the tip of your fillet knife to locate the tailbone and proceed to cut alongside it. Be sure to keep your knife flat against the bones to maintain control.
- Cut slowly and carefully to avoid damaging the fillet or leaving meat behind. Apply gentle pressure and use small, controlled movements to guide the knife.
- If you encounter resistance while cutting, it could be a pin bone. Use pliers or tweezers to gently remove any pin bones without damaging the surrounding meat.
By following these tips, you can achieve a perfectly filleted muskie with minimal waste.
Repeat on the Other Side of the Fish
Once you have successfully filleted one side of the muskie, it’s time to repeat the process on the other side of the fish. Place the fish on its other side and start again from the top of the fish’s back.
Use the same method of cutting close to the spine and working slowly towards the tail.
Remember to take your time and be careful when filleting the second side of the muskie. It’s important to maintain the same angle and pressure with each cut to ensure that your fillets are of equal thickness and quality.
After you’ve finished filleting the second side, you may notice that there are still some pieces of meat left on the fish.
You can easily remove these by scraping them off with your fillet knife. Overall, filleting a muskie can be a time-consuming process, but with practice and patience, you can quickly become an expert.
By repeating the filleting process on both sides of the fish and taking care to remove all bones and pin bones, you can create delicious, boneless fillets for your next meal.
Properly Storing Your Muskie Fillets
After you’ve successfully filleted your muskie, it’s critical to store the fillets properly to maintain their quality and freshness. Proper storage not only preserves taste but also helps to prevent foodborne illness.
Here are some effective ways to store your muskie fillets.
- Keep the fillets iced: Store the muskie fillets in a sealed plastic bag with ice or place them in a cooler filled with ice. Keeping the fillets at a temperature below 40 degrees Fahrenheit is crucial to prevent bacterial growth.
- Wrap the fillets securely: Use freezer paper or vacuum-sealed bags to wrap the fillets securely. Doing so will prevent freezer burn and keep the fillets fresh for a longer time.
- Label the fillets: Write the date of packing and type of fish on the wrapped fillets. It will help you keep track of the fillets’ freshness and prevent confusion with other types of fish.
- Freeze the fillets: If you’re not planning to consume the fillets in the next few days, freezing them is the best option. Put the wrapped fillets in the freezer for long-term storage.
By following these simple steps, you can keep your muskie fillets fresh and delicious for your next meal or fishing day.
Final Verdict
Filleting a muskie can be a daunting task, but with the right tools and techniques, you can easily succeed. A high-quality fillet knife, a dedicated workspace, and knowledge on how to properly clean and fillet the fish are all essential to a successful filleting experience.
Remember to always handle your knife with care, and take your time as you work through the filleting process.
By following the steps outlined in this guide, you will be able to prepare delicious muskie fillets that are perfect for cooking and serving to your family and friends. So, go ahead and put your new skills to the test, and enjoy the fruits of your labor.
Happy filleting!