How To Fillet a Triggerfish Using a Fillet Knife? Easy!
Key Takeaways:
- Filleting a triggerfish requires a sharp and flexible fillet knife to remove the tough skin and bones for a delicious meal.
- Begin by making a shallow incision along the backbone and carefully following the contours of the fish to avoid wasting any meat.
- Take your time and use a light touch, allowing the knife to do the work, to ensure a clean and even fillet that will impress your dinner guests.
- Proper technique and practice are key for successfully filleting a triggerfish with a fillet knife, so don’t give up if you don’t get it right the first time.
Are you tired of buying pre-cut fish fillets from the store? Want to up your seafood game by mastering the art of filleting?
Look no further than the triggerfish! With its firm white flesh and delicate flavor, it’s a popular catch among anglers and food enthusiasts alike.
But before you start filleting, it’s essential to have the right tools and knowledge. In this guide, I will walk you through the step-by-step process of filleting a triggerfish using a fillet knife.
From understanding its anatomy to removing the skin and bones, you’ll be an expert in no time.
Let’s dive in!
| Steps | Tools Needed |
|---|---|
| Clean and gut the fish | Gloves, cutting board, scaler, kitchen shears, gutting knife |
| Remove the head | Fillet knife, cutting board |
| Make an initial cut from the head to the tail along the backbone | Fillet knife, cutting board |
| Run the fillet knife along the rib cage, separating the fillet from the bones | Fillet knife, cutting board |
| Repeat the process on the other side of the fish | Fillet knife, cutting board |
| Remove the skin from both fillets using the fillet knife | Fillet knife, cutting board |
| Trim any remaining bones or bits of skin from the fillets | Fillet knife, cutting board |
Preparing Your workspace for Filleting
Before you start filleting a triggerfish using a fillet knife, it’s essential to prepare your workspace properly. A clean and organized workspace ensures a seamless and hygienic filleting process.
Here are a few steps to get you started:
- Clean your workspace with hot soapy water and sanitize it with a disinfectant. Ensure that the area is free from any debris or clutter.
- Get a sturdy work surface and cover it with a non-slip mat or towel. This ensures that the cutting board doesn’t slide around during filleting.
- Keep a separate bin nearby for waste disposal. This helps keep your workspace clutter-free and prevents cross-contamination.
- Have all the necessary tools within reach, such as a fillet knife, pliers, and scissors. This avoids searching for tools during the process and ensures a smoother operation.
- Always use a cutting board that is specifically designed for fish filleting. A wooden or plastic cutting board is ideal for this purpose.
By preparing your workspace correctly, you can avoid accidents and ensure a hygienic and efficient filleting process. Now that you have your workspace ready let’s move on to the next step in filleting your triggerfish.
Understanding the Anatomy of Triggerfish
Understanding the Anatomy of Triggerfish is crucial to successfully fillet them. Triggerfish have a unique body structure that requires careful attention while filleting.
They have sharp spines in their dorsal and anal fins, which can cause injury to the fishermen.
Triggerfish have a bony structure that runs along their back, making them difficult to fillet. They also have a thick skin that needs to be removed before filleting.
Triggerfish have two fillets, one on each side of the central bone.
These fillets are attached to the rib cage, which must be removed to get a clean fillet. When preparing to fillet a triggerfish, it is important to locate the joint where the head meets the body.
This joint is where the gills are located, and it should be the starting point for any filleting process.
Overall, understanding the anatomy of triggerfish is crucial before attempting to fillet them. By knowing where the spines are located and how to remove the rib cage, you can avoid damaging the fish and improve the quality of the fillet.
Choosing the Right Fillet Knife for Triggerfish
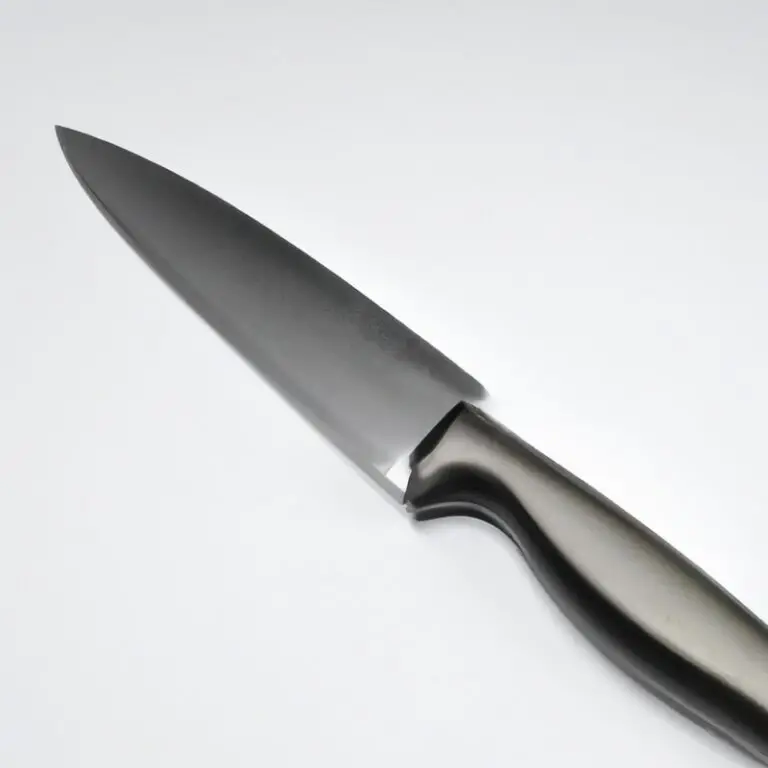
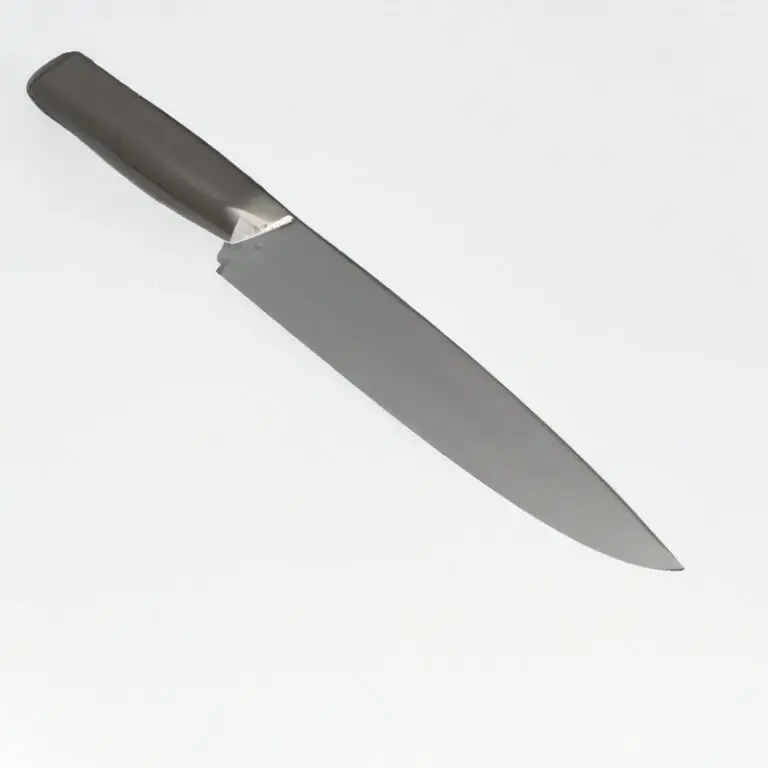
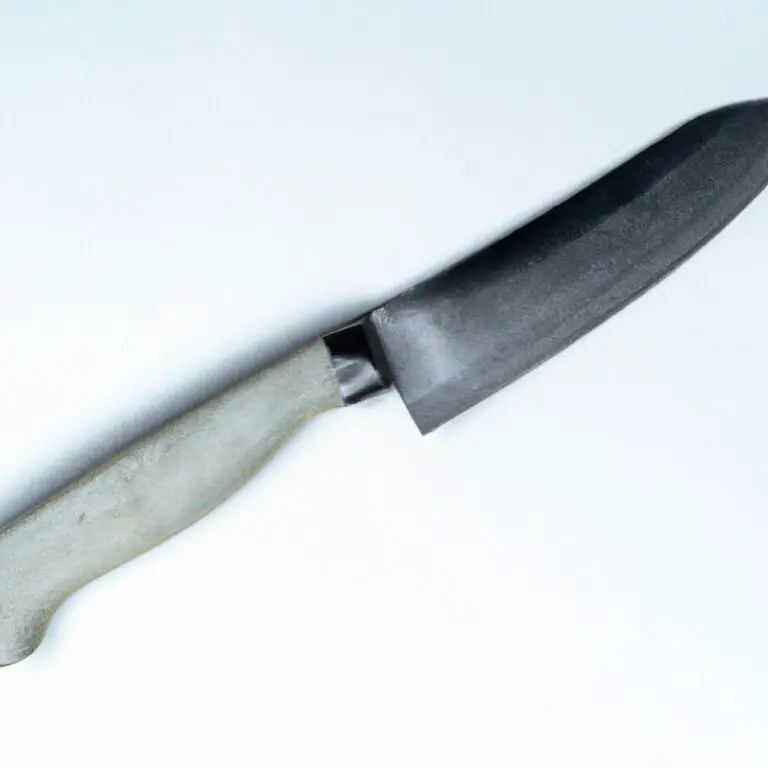
For filleting a triggerfish, it is important to choose the right fillet knife. The ideal fillet knife for triggerfish should have a thin, flexible, and sharp blade to make precise cuts along the bones and meat of the fish.
A blade length of 7 to 9 inches is suitable for fish of this size.
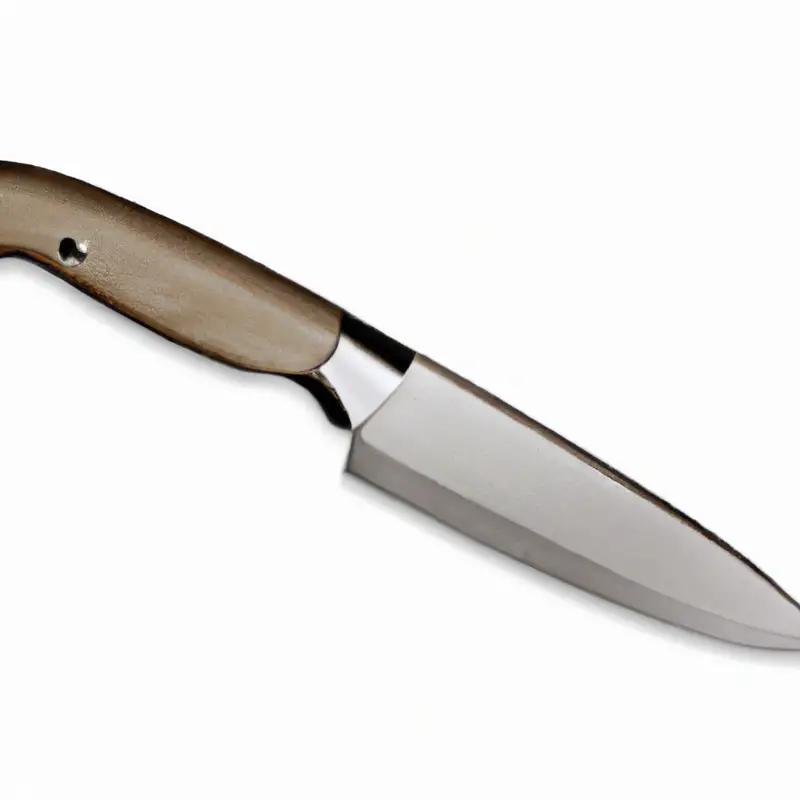
It is recommended to select a knife with a curved or flexible blade that can bend and follow the contour of the fish’s bones. This allows for greater control, resulting in cleaner cuts and less wasted meat.
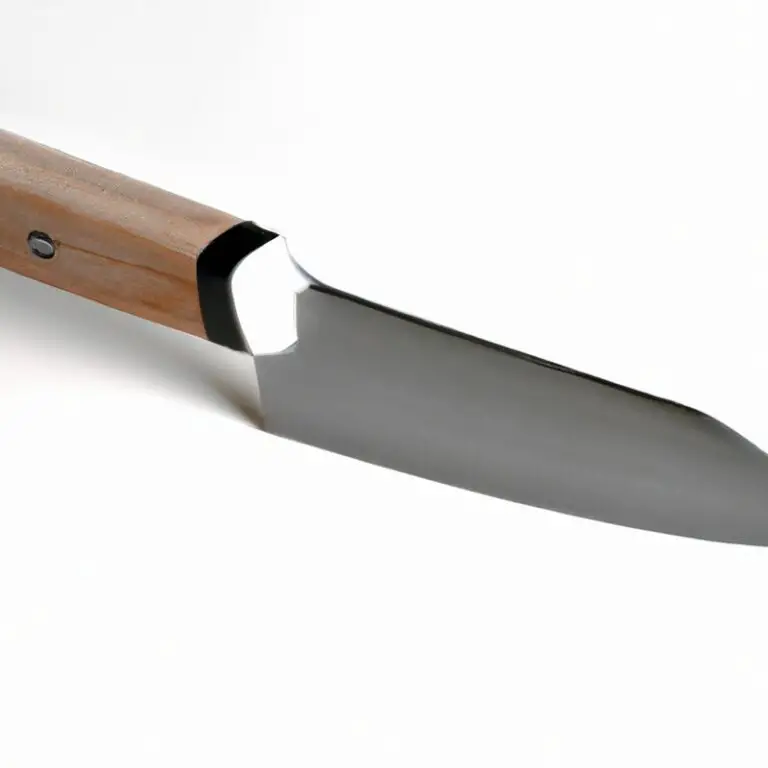
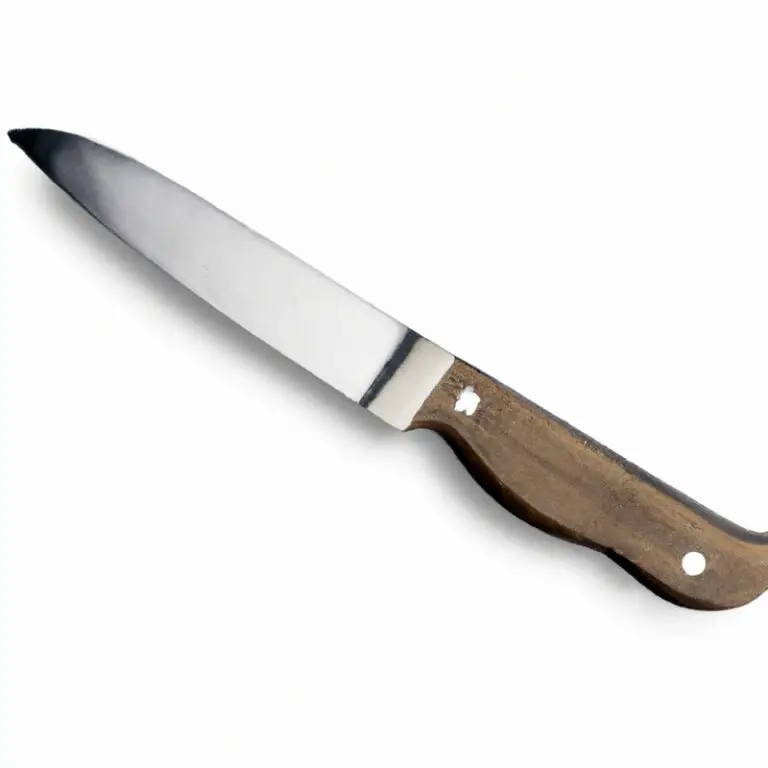
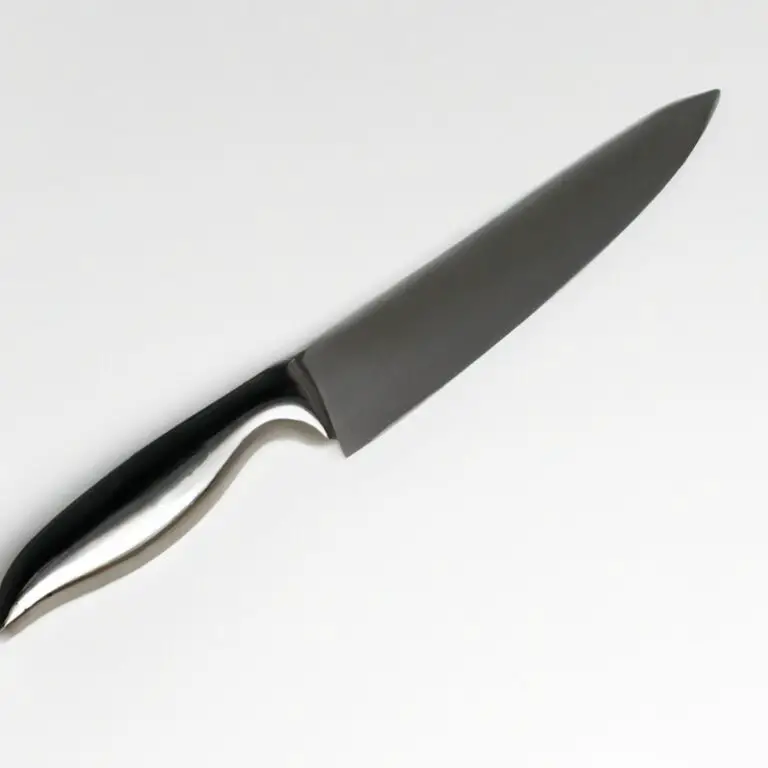
A fillet knife with a non-slip handle that provides a comfortable and secure grip is also a must.
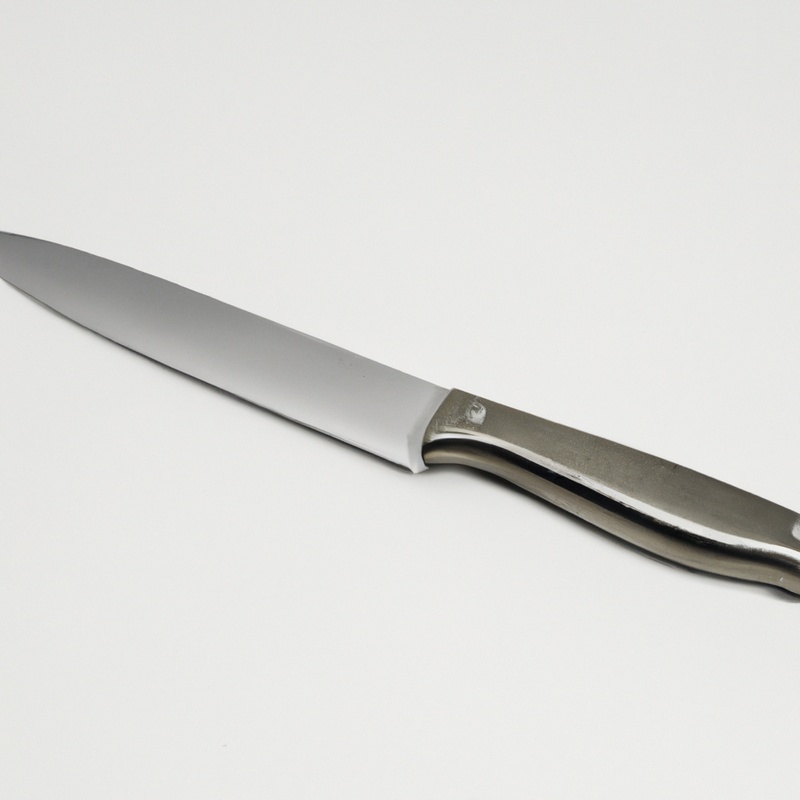
High-quality stainless steel, titanium-coated, or ceramic-bladed fillet knives are durable, resist rust, and easy to maintain. However, they can be expensive.
On the other hand, affordable stainless steel fillet knives are also readily available, but they tend to lose their sharpness quickly.
Investing in a quality fillet knife may seem like an added expense, but it is worth it for efficient and precise filleting. So, choose a fillet knife that feels comfortable and suits your needs and budget, to ensure enjoyable and stress-free filleting of triggerfish.
Safety Precautions to Be Taken Before Filleting
Before filleting a triggerfish, safety precautions must be taken to avoid any possible accidents or injuries. It is essential to have a stable and non-slip cutting board to avoid the knife from slipping and causing injuries.
Wearing a cut-resistant glove on the non-dominant hand will provide extra protection while holding the fish in place.
Additionally, always ensure the fillet knife is sharpened to avoid accidents due to excessive force while cutting. It is also imperative to keep the knife away from children and to handle it carefully to avoid injury.
Lastly, always follow the manufacturer’s instructions and take breaks to avoid fatigue and loss of focus during the process.
Remember, by taking necessary precautions, you can effectively avoid accidents and perform safe and successful filleting of triggerfish.
Removing the Scales of Triggerfish
To remove the scales of a triggerfish, you will need a fish scaler or a sturdy knife. Hold the triggerfish by the tail and scrape the scaler in a back-and-forth motion against the grain of the scales from the tail towards the head until the scales are removed completely.
Be cautious while scaling to prevent puncturing the skin or damaging the fillet.
Some scales may remain, so use a small knife to remove any remaining scales. Alternatively, use a descaling tool or a spoon that has a serrated edge to remove scales by running it over the skin in a back-and-forth motion.
Once you have completely removed scales, rinse the fish under cold water and pat it dry before filleting.
Making the First Cut for Filleting
The first step in filleting a triggerfish is to make the first cut. Start by placing the fish on its side and positioning the fillet knife perpendicular to the fish’s spine near the head.
Apply pressure to the knife and make an incision down to the backbone.
Next, angle the knife slightly towards the head and continue the cut until the blade reaches the tail. Be careful not to cut too deeply into the backbone or through the other side of the fish.
Repeat the process on the other side of the fish.
This first cut will separate the head and body from the fillet, making it easier to remove the bones in subsequent steps. Proper technique and attention to detail can make this step quick and easy, resulting in beautifully filleted triggerfish ready for cooking.
Cutting along the Backbone to Remove the Fillet
To remove a fillet from a triggerfish, you need to make a cut along the backbone. To do this, place your fillet knife at the top of the fish’s head and slowly slice down the body towards the tail, following closely along the spine.
Once you reach the end of the fish, gently separate the fillet from the backbone using your knife or kitchen scissors.
It’s important to be steady and precise during this step to avoid leaving any meat on the bones. The backbone and rib bones can be discarded or kept for making fish stock.
Separating the Rib Bones from the Fillet
To separate the rib bones from the fillet, place the fillet skin-side down on the cutting board. Locate the rib bones, which run perpendicular to the backbone, and then make a cut just above them, following the curve of the bones.
Use the tip of the fillet knife to gently lift the rib bones as you continue to slide the knife along them until the fillet is completely free of bones.
Repeat the process for the other fillet. Removing the rib bones will create a boneless fillet, making it easier to cook and enjoy.
Be careful not to cut too deeply into the fillet, as this may result in losing some meat.
With a little practice, you’ll learn to separate the rib bones effortlessly and efficiently.
Removing the Skin from the Fillet
Removing the skin from the fillet is an essential step in preparing triggerfish for cooking. To start, lay the fillet skin-side down on a clean, flat surface.
Use a sharp fillet knife to make a small horizontal cut just underneath the skin at the base of the fillet, near the tail.
This cut should only go through the skin, not the flesh. Next, use your non-dominant hand to hold the fillet steady while using the knife to gently slice between the flesh and skin.
Angle the knife slightly downward and use smooth, even strokes, making sure to keep the blade as close to the skin as possible.
Take care not to cut too deeply into the flesh or puncture the skin. Work your way down the length of the fillet, using your fingers to pull the skin back as you go.
If the skin is particularly tough or slippery, consider using a pair of pliers or a paper towel for better grip.
Once you have removed the skin, you should be left with a clean, boneless fillet ready for seasoning and cooking. Remember to discard the skin properly, and clean any tools or surfaces that came into contact with it to avoid cross-contamination.
Removing the skin may take some practice to do it quickly and efficiently, so take your time and be patient.
A well-done fillet with smooth skin is a satisfying reward for your efforts.
Trimming the Fillets to Remove Any Remaining Bones
After removing the rib bones and skin from the fillet, inspect it closely for any bones that may still be present. Use a pair of pliers or tweezers to remove any remaining bones.
To ensure maximum safety, it is essential to remove all bones, no matter how small they may be.
Once you have removed all the bones, trim the edges of the fillet to remove any excess flesh or fat. This step will not only improve the appearance but also enhance the taste of the fillet.
Remember always to use a sharp knife for trimming to avoid damaging the flesh.
By following these steps, you can achieve perfectly filleted, boneless triggerfish that is ready for cooking.
Cleaning Up the Work Surface After Filleting
After filleting your triggerfish, it is important to properly clean up your work surface to avoid any potential health hazards. Begin by wiping the surface with a damp paper towel to remove any excess blood or scales.
Use a dish soap and hot water to scrub the surface thoroughly.
Rinse with clean water and dry the surface. Dispose of all remaining fish scraps and packaging in a trash bag to avoid unpleasant odors or attracting pests.
Sanitize the work surface with a disinfectant to ensure it is safe for use in the future.
Proper cleaning and sanitizing of your work surface will ensure the safety of your food and prevent the potential spread of bacteria.
Storing and Using the Filleted Triggerfish
Once you have successfully filleted your triggerfish, it is essential to store the fillets properly to ensure their freshness and quality. You can keep the fillets either in the refrigerator or freezer, depending on how soon you plan to use them.
If you plan to cook the fillets soon, store them in the refrigerator in an airtight container or wrap them tightly with plastic wrap.
The fillets can last up to three to four days in the refrigerator. If you intend to use the fillets later, store them in the freezer.
Wrap them tightly with plastic wrap and then put them in a labeled freezer bag.
The fillets can last up to six months in the freezer. When it comes to using the filleted triggerfish, there are countless possibilities.
You can bake, grill, fry, or even use it in sushi rolls.
It is a versatile fish that can be cooked in many ways to suit your taste. Storing the filleted triggerfish correctly can help maintain their freshness and quality.
Whether you choose to store them in the refrigerator or freezer, ensure that they are in an airtight container and labeled correctly.
When it comes to using the fillets, the possibilities are endless, and you can get creative with your cooking methods.
Final Verdict
Filleting a triggerfish using a fillet knife might seem daunting at first, but with the right preparation, technique, and safety measures, anyone can master this culinary skill. Understanding the anatomy of the fish and selecting the right fillet knife are crucial for achieving clean and meaty fillets.
Following each step, from removing the scales and cutting along the backbone to trimming and cleaning up after filleting, ensures that the fillets are boneless, skinless, and ready for cooking.
By implementing the tips and techniques discussed in this article, you can confidently fillet a triggerfish like a pro. Remember to prioritize safety, cleanliness, and quality throughout the process, and you’ll enjoy the delicious rewards of freshly filleted triggerfish.