How To Fillet a Channel Catfish Using a Fillet Knife? Step-By-Step Guide
Key Takeaways:
- A sharp fillet knife is crucial for clean and efficient catfish filleting.
- Learning proper filleting techniques can enhance the flavor and texture of channel catfish.
- Safety measures should be taken to avoid injury while handling and cleaning the fish.
- Practice and patience are key to becoming skilled at filleting catfish.
Have you ever caught a channel catfish but struggled with filleting it properly? Filleting a fish may seem like a daunting task, but with the right preparation and tools, it can become a breeze.
In this article, I’ll walk you through the step-by-step process of filleting a channel catfish using a fillet knife.
We’ll cover everything from cleaning the fish to trimming the fillet and storing it for later use. By the end of this guide, you’ll have the knowledge and skills to fillet a channel catfish with confidence and precision.
Let’s dive in!
| Tools | Steps |
|---|---|
| Fillet knife | 1. Place catfish on a flat surface, belly facing up. |
| 2. Make a shallow incision behind the catfish’s head, cutting down to the spine but not through it. Repeat on the other side of the fish. | |
| 3. Cut along the spine from the head to the tail, following the natural curve of the fish’s body. | |
| 4. Use the fillet knife to separate the meat from the bones by sliding the blade between them, following the shape of the bones. | |
| 5. Remove the skin by placing the blade between the skin and the flesh, then slicing gently and evenly until the skin is completely removed. | |
| Cutting board | 6. Repeat the process on the other side of the fish to get two fillets. |
| 7. Trim off any remaining bones or dark red meat with the fillet knife. | |
| 8. Rinse the fillets with cold water and pat them dry with paper towels. |
Essential Preparation: Gathering Tools and Materials
Before you start filleting a channel catfish, it is important to gather all the necessary tools and materials for a smooth and safe process. Here’s what you’ll need:
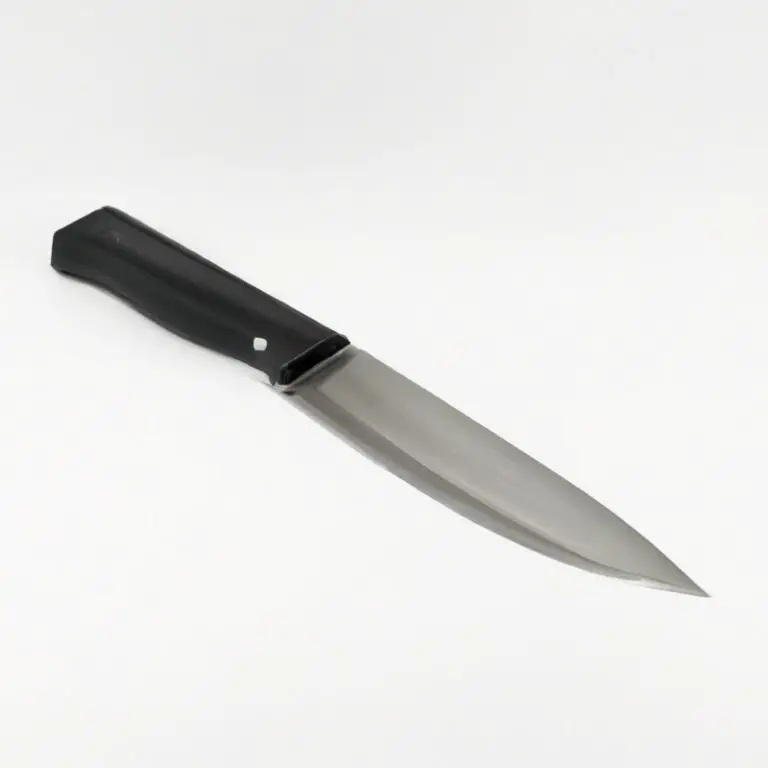
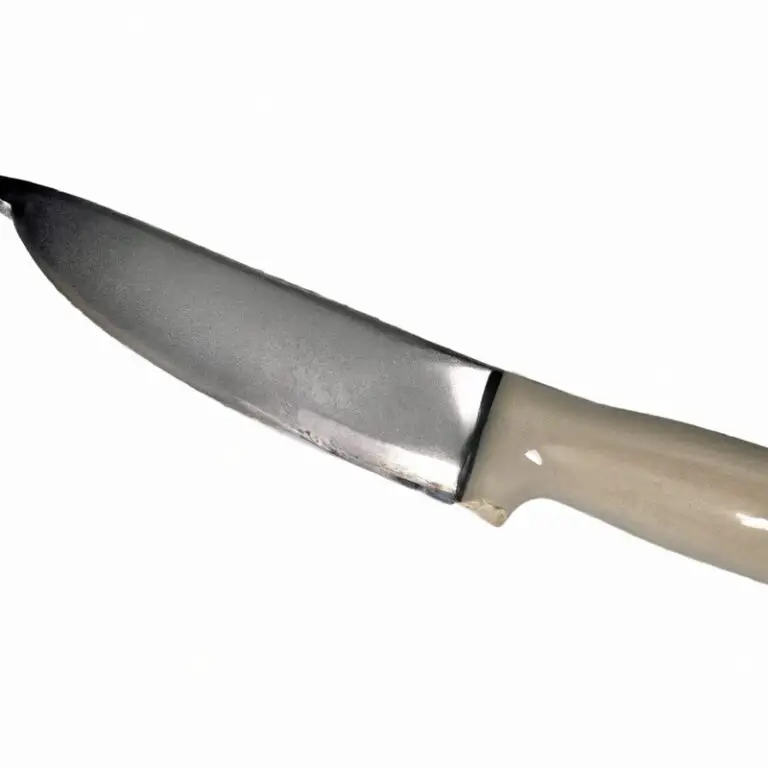
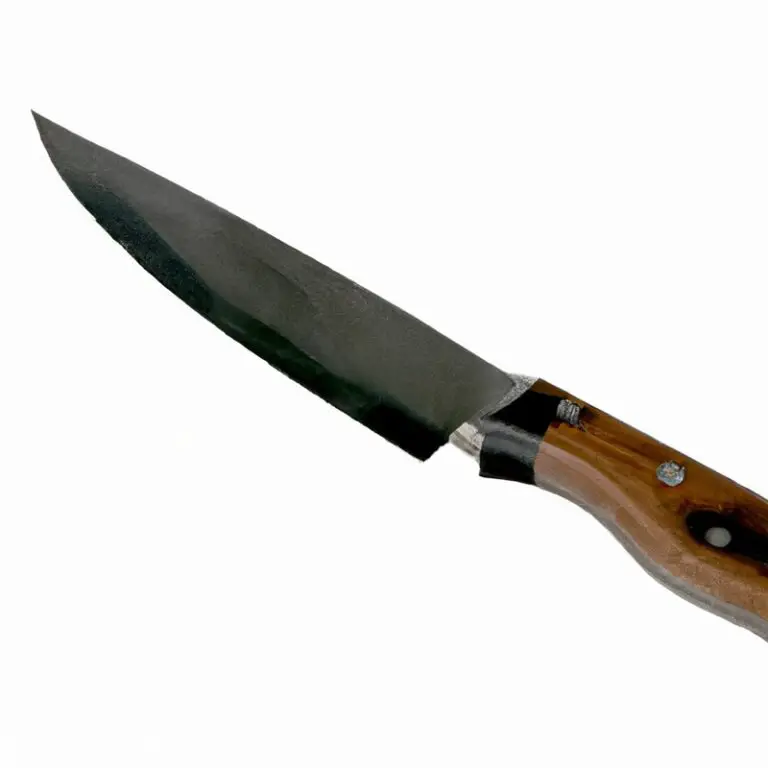
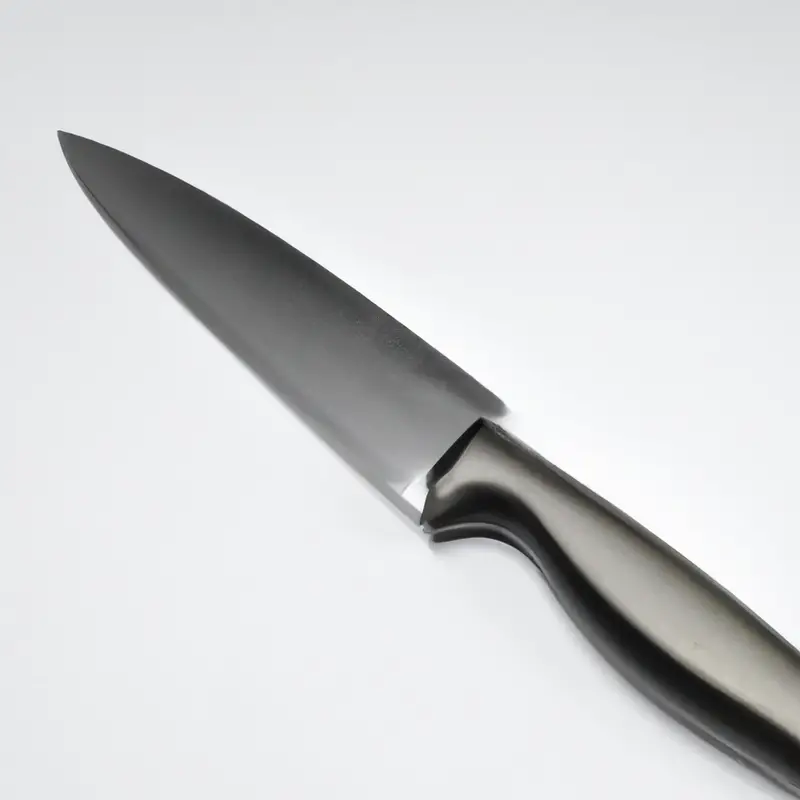
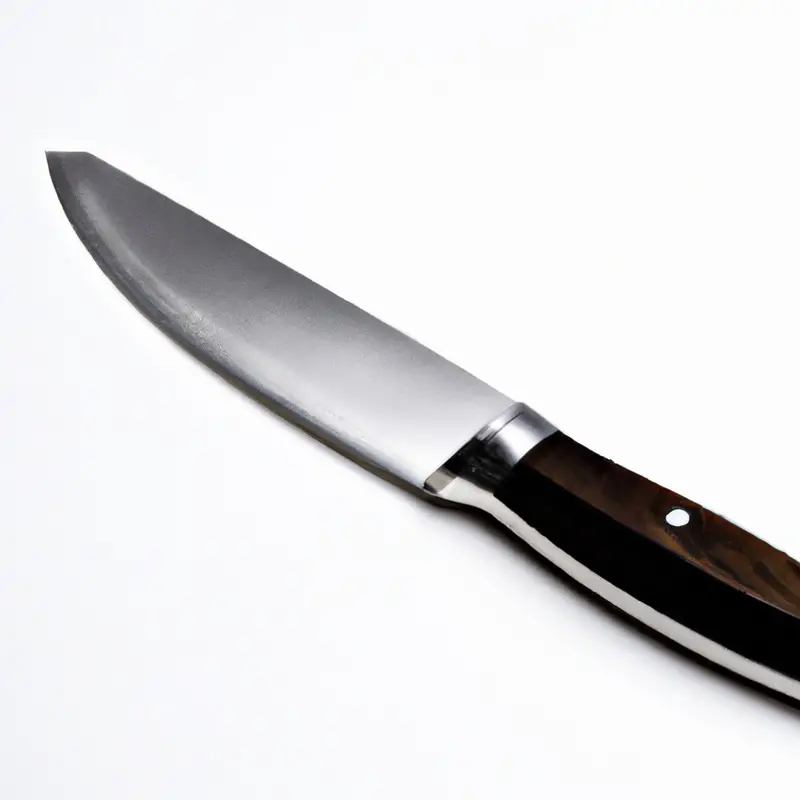
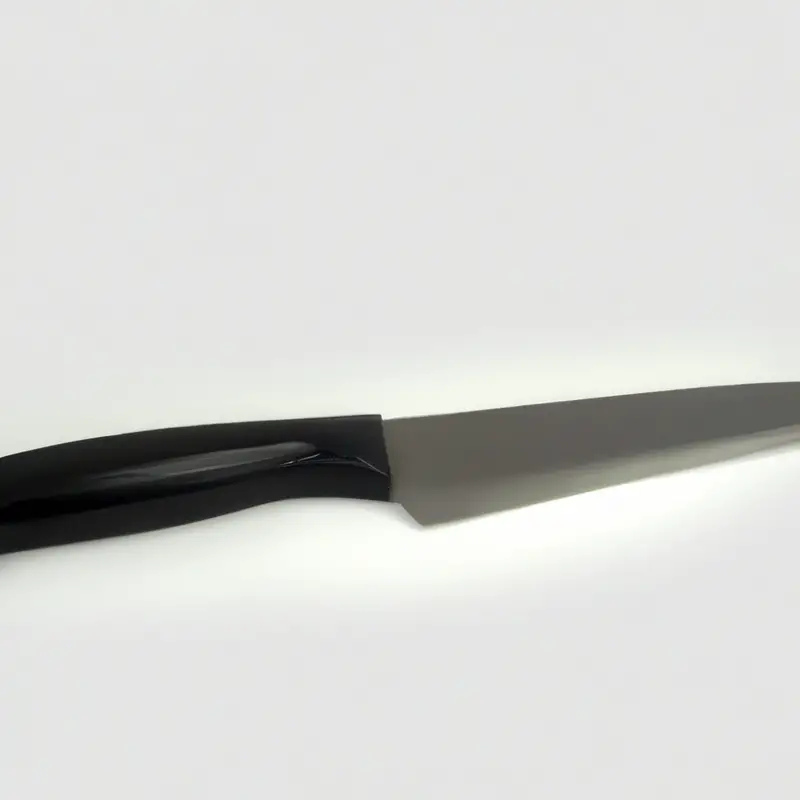
- A sharp fillet knife – It’s essential to have a sharp fillet knife with a flexible blade. This will make it easier to separate the flesh from the bones.
- Cutting board – A sturdy cutting board will provide a stable surface for filleting and prevent damage to your knife.
- Towels – Keep a few towels nearby to help maintain a firm grip on the fish and to wipe your hands or the knife if needed.
- Pliers – To remove any remaining bones on the fillet.
- A bucket – To dispose of fish waste.
By gathering these tools and materials ahead of time, you can ensure a successful and efficient filleting process. Always prioritize safety and carefully handle your tools to avoid accidents.
Step 1: Cleaning the Fish
Before beginning to fillet a channel catfish, it is essential to clean the fish thoroughly. Start by removing any scales on the skin using a scaler or the back of a knife.
Next, gut the fish by making a cut along the belly from the anus up to the gills.
Remove the guts and other internal organs, being careful not to puncture any organs that could contaminate the flesh. Rinse the fish under cold water to remove any remaining blood or debris.
Use a kitchen towel or paper towel to dry the fish completely before proceeding to the next step.
Cleaning the fish properly before filleting will ensure that the flesh is free from any contaminants, and it will also make the filleting process more manageable by providing a clean surface to work on.
Step 2: Positioning the Fish
Step 2: Positioning the Fish To start filleting the catfish, it’s essential to position it correctly on the cutting board. Place the fish on its side and use a sharp fillet knife to make a cut just behind the gills.
This cut should extend downward towards the backbone but should not go all the way through the fish.
The goal is to create a flap of skin and flesh that can easily be pulled away. Next, lift the flap up and cut through the backbone, transitioning behind the fish’s head towards the tail, and then stop before reaching the tail.
Hold the knife at a 45-degree angle and use smooth, steady strokes while cutting.
It’s essential to maintain the angle, so the knife’s blade just skims against the backbone. Now, turn the fish around and repeat the above steps, cutting the other side of the fish.
Often, anglers find it helpful to place the fillet knife blade flat against the cutting board and slide it along the bones to remove the last pieces of fillet, avoiding any excess meat waste.
Once done, flip the fish over to remove the other fillet. Always work slowly and patiently, maintaining a steady hand, and making sure to keep the knife flat while cutting.
Done well, this step will provide a clean and waste-free fillet, making the other steps easier to manage.
Step 3: Cutting the Head and Tail
Step 3: Cutting the Head and Tail After positioning the catfish, the next step is to cut off the head and tail. This is done to make it easier to remove the skin and flesh without any obstruction.
Using a sharp fillet knife, make a cut behind the gills and continue cutting towards the backbone.
Cut through the fish’s backbone and remove the head. Next, cut off the tail by slicing it horizontally towards the end using the fillet knife.
Be sure to discard the head and tail properly, or use them for soup or stock.
Cutting the head and tail allows for a smooth filleting process, and ensures each fillet is neat and tidy. By following this step, you can move on to removing the skin and separating the flesh from the bones.
Step 4: Removing the Skin
To remove the skin, place the fillet skin-side down on the cutting board. Use the tip of the fillet knife to make a small cut between the skin and the flesh at the tail end.
Then, holding onto the tail with one hand, slide the blade along the length of the fillet towards the head, keeping the blade angled slightly downward and following the contour of the fish.
Pull the skin taut with your other hand to help release the flesh from the skin. Cut off any remaining bits of skin.
Repeat the process on the other side of the fish.
Step 5: Separating the Flesh from the Bones
Step 5: Separating the Flesh from the Bones To separate the flesh from the bones, start by placing the fillet skin-side down on the cutting board. Using your index finger, locate the bones in the center of the fillet, and carefully make a small slice along the bones using the tip of the fillet knife.
Next, lift the flesh with your non-dominant hand and slice the flesh away from the bones, using a gentle sawing motion.
Take your time to avoid any bones remaining in the flesh. Repeat this process along both sides of the fish until all the flesh has been separated from the bones.
It’s essential to take your time during this step to avoid wasting any of the valuable meat or accidentally leaving any bones in the fillet.
Completing this step will leave you with two boneless fillets, bringing you one step closer to enjoying a delicious meal of freshly caught catfish.
Step 6: Removing the Rib Cage
To remove the rib cage of the channel catfish, place your fillet knife into the hole where you removed the head and cut towards the tail. Be sure to use a gentle sawing motion, cutting along the top of the rib cage, following it downwards as closely as possible.
Cut the rib bones away from the flesh, being careful not to damage the meat.
Use your hand to gently pull the rib cage away from the fillet, holding it firmly and pulling it towards the tail. Repeat this process on the other side of the channel catfish and discard the rib cage.
The resulting fillets should be free of bones and ready for trimming.
Step 7: Trimming the Fillet
Step 7: Trimming the Fillet Once you have removed the rib cage, you need to trim any remaining fats, bones, and other unwanted parts of the fillet. Use your fillet knife to remove the dark, red-colored lateral line, which can have a strong fishy taste.
If you see any small bones or pieces of skin, use your knife to remove them carefully.
Next, check both sides of the fillet to ensure that it is smooth and even. Make sure there are no protruding bones or small pieces of flesh that can be unpleasant to eat.
Trim any uneven parts of the fillet with your knife.
Be patient during this step, as trimming is crucial for a clean-looking fillet that is appetizing to eat. Trimming the fillet is not only essential for the fillet’s appearance, but also for its taste.
Removing unwanted parts removes any chances of a fishy taste or unpleasant texture.
Once you have trimmed the fillet, you can move on to the next step of storing it properly.
Step 8: Storing the Fillets
Once you have filleted the catfish, it’s essential to store your fillets properly. The best way to store catfish fillets is by placing them in an airtight container before refrigerating or freezing.
You can also wrap the fillets in plastic wrap or aluminum foil before putting them in the container to avoid freezer burns.
If you plan to refrigerate the fillets, place them in the fridge as soon as possible to prevent spoilage. For best results, consume the fillets within two to three days of refrigeration.
If you decide to freeze the fillets, ensure they are completely frozen before transferring them to long-term storage.
Properly stored catfish fillets can last for up to 6 months in the freezer. When you are ready to use frozen fillets, allow them to defrost in the fridge overnight before cooking.
Avoid defrosting at room temperature as this can cause bacterial growth.
By following these simple storage guidelines, you can ensure that your catfish fillets stay fresh and delicious for longer.
Tips and Tricks for Filleting with Precision
To achieve precision while filleting fish, it is necessary to have a sharp fillet knife and a steady hand. Here are some tips and tricks to make the process easier and more accurate:
- Keep the fish cold: A colder fish is much easier to fillet and handle. Therefore, it is recommended to work with the fish when it is in an almost frozen state.
- Start from the tail: When filleting, start from the tail since this is easier to navigate. Begin by making a shallow cut towards the head, avoiding the bones.
- Use a sawing motion: Instead of using a chopping motion, try to use a sawing motion to keep the fillet smooth and even.
- Keep the blade at an angle: Hold the knife at a 45-degree angle to the fish and cut against the bones while making sure to not to hit the bone.
- Work on a flat surface: It is easier to fillet the fish when it is placed on a flat surface like kitchen worktop or cutting board.
- Practice makes perfect: The more you practice filleting fish, the more confident and precise you will become.
By utilizing these tips and tricks, you can achieve precise filleting of channel catfish using a fillet knife.
Final Verdict
Knowing how to fillet a channel catfish is an essential skill for any angler or fish enthusiast. With the right tools, preparation, and techniques outlined in this guide, you can confidently and efficiently fillet this freshwater delicacy.
Remember to prioritize safety, precision and attention to detail throughout the filleting process.
With enough practice and determination, you can master the art of filleting and enjoy fresh, delicious fillets on your plate. By following the steps and tips provided in this article, you can be assured that your filleting skills will continue to improve, and you will have the necessary knowledge and expertise to tackle any fish filleting task.
Happy filleting!