How To Fillet a Walleye Using a Fillet Knife? Easy-Peasy!
Key Takeaways:
- A sharp fillet knife is crucial for filleting a walleye effectively.
- Proper technique, starting at the tail and working towards the head, is essential for achieving a clean and bone-free fillet.
- Removing the Y-bones from a walleye fillet can be tricky, but with practice and patience, it can be mastered.
- Always prioritize safety when handling your fillet knife, and wear protective gear such as gloves and eye protection to prevent accidents.
Are you a fan of cooking walleye but struggle with filleting it? Look no further! In this article, I will guide you through the step-by-step process of filleting a walleye using a fillet knife.
From choosing the right knife to preparing the fish, I will provide you with all the necessary tips and tricks to make your filleting process efficient and safe.
Additionally, I will guide you on how to properly hold the fillet knife and remove the skin and bones from the fillet. Plus, we’ll explore some popular recipes for cooking your freshly filleted walleye.
So, let’s start and become a pro at filleting walleye with a fillet knife.
| Steps | Instructions |
|---|---|
| Step 1 | Place the walleye on a cutting board and make sure it’s securely in place. |
| Step 2 | Make a cut behind the gills and down to the backbone, then turn the blade and cut along the backbone towards the tail. |
| Step 3 | Once you reach the ribcage, use the tip of the knife to carefully cut along the rib bones. |
| Step 4 | When you’ve reached the end of the rib bones, make a cut through the skin and remove the fillet. |
| Step 5 | Turn the fish over and repeat on the other side. |
| Step 6 | Use a pair of pliers or your fingers to remove any remaining bones from the fillets. |
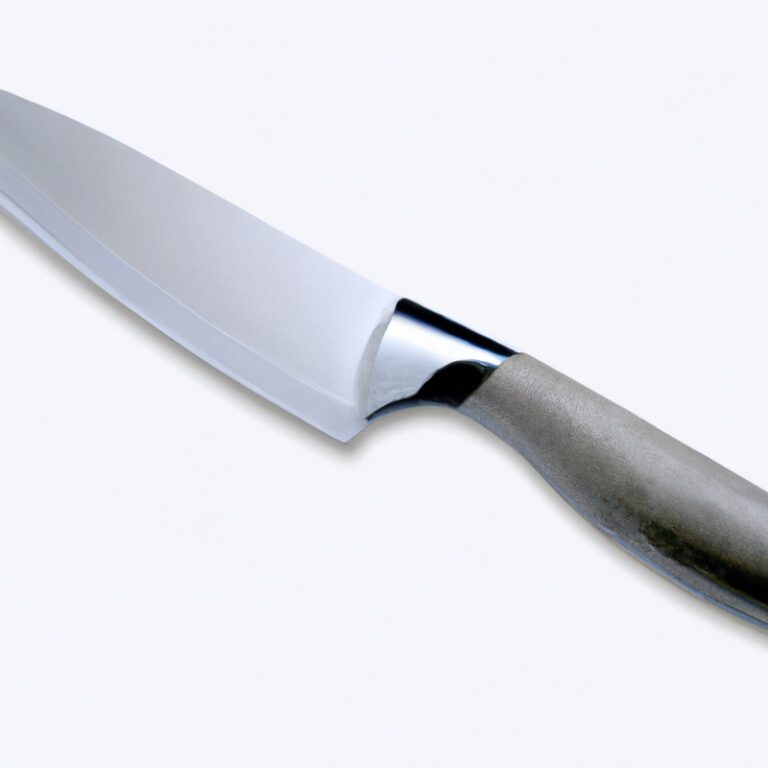
Choosing the Right Fillet Knife for Walleye Filleting
Choosing the right fillet knife for walleye filleting is crucial for achieving clean and precise cuts on the fish. When selecting a fillet knife, it is essential to consider the size and thickness of the blade, the sharpness of the edge, and the flexibility of the blade.
A flexible blade is preferable as it conforms to the shape of the fish and allows for easy maneuverability around the bones.
A blade between 6 to 9 inches long is ideal for walleye filleting. Additionally, ensure that the knife handle has a comfortable grip and provides adequate support to the wrist during the filleting process.
Avoid using a serrated blade as it can damage the flesh of the fish, leading to a less desirable end product.
Remember to keep the fillet knife sharp at all times and to store it properly to maintain its effectiveness. Overall, investing in a high-quality fillet knife is worth it for achieving the best results during walleye filleting.
Preparing the Walleye for Filleting
Before filleting a walleye, it’s important to prepare it properly. The first step is to rinse the fish under running water and pat it dry with a clean towel.
Then, place the fish on a cutting board, and use a sharp knife to make a shallow incision just behind the gills.
Cut down along the backbone towards the tail, stopping just before the tail fin. Repeat on the other side of the fish.
Next, use a pair of scissors to cut through the rib bones and remove the head.
Then, open up the body cavity and remove the internal organs. Rinse the body cavity thoroughly under running water.
Once the fish is cleaned and gutted, you’re ready to start filleting.
Remember to always work on a clean, flat surface and use a sharp fillet knife for the best results.
Making the First Cut: Removing the Head and Gutting the Walleye
To make the first cut when filleting a walleye, start by placing the fish on a cutting board with its belly facing up and its head pointing towards you. Then, use a sharp fillet knife to make a cut behind the gills and through the throat, stopping at the backbone.
Next, turn the fish over and repeat the same cut on the other side of the gills and throat.
Then, use the tip of the fillet knife to cut through the belly from the anus to the gills, being careful not to puncture the organs inside. Once the belly is cut, reach inside the fish and remove the organs, including the liver, stomach, and intestines.
Clean the inside of the fish thoroughly with water and pat it dry before moving on to the next step of the filleting process.
Gutting the walleye is an important step that must be done correctly to ensure that the fillets are clean and safe to eat. Take your time and use a sharp fillet knife to prevent any damage to the flesh.
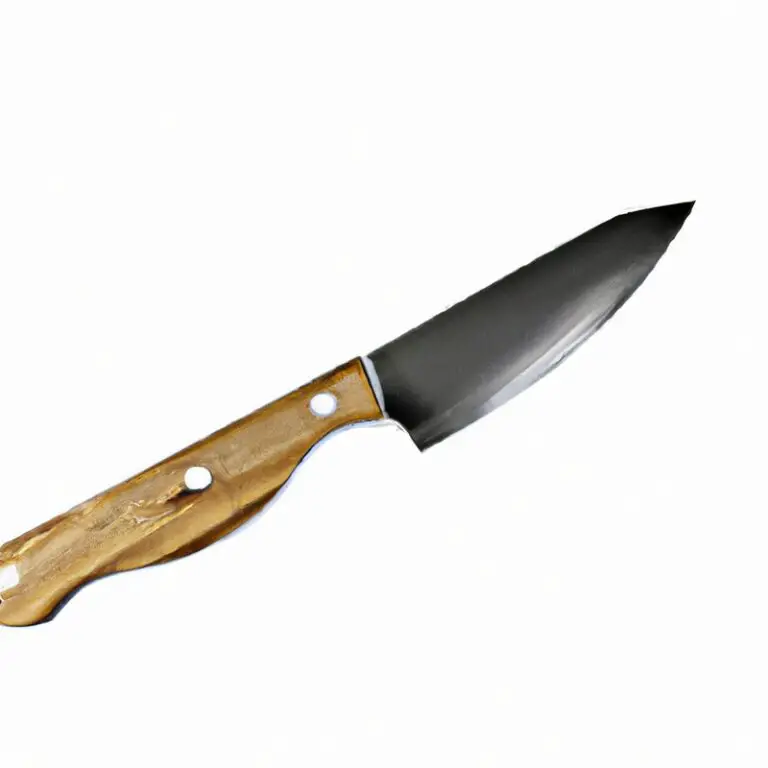
Properly Holding the Fillet Knife: Grip and Angle
Properly holding the fillet knife is crucial for a successful walleye filleting process. The grip of the knife should be firm yet comfortable.
It’s important to grip the knife handle with your fingers and thumb, placing your index finger on the top of the knife’s blade.
This grip will give you control and stability during the cutting process. The angle of the knife is equally important.
It’s recommended to hold the knife at approximately a 45-degree angle with the cutting surface, ensuring a smooth and precise cut.
It’s important to maintain this angle while cutting, ensuring that the blade doesn’t slip or cut too deep into the flesh. Always use a sharp fillet knife to make the process easier, safer and more precise.
Dull knives are difficult to work with and increase the chances of injuries.
Hold the knife with confidence and let the blade do the work. With proper grip and angle, you’ll be able to fillet your walleye like a pro.
Removing the Skin from the Walleye Fillet
To remove the skin from a walleye fillet, start at the tail end of the fillet and make a small incision between the skin and the flesh. Use the fillet knife to carefully slice along the length of the fillet, applying firm, but gentle pressure.
Use your non-dominant hand to hold the skin taut and steady while you work.
Keep the knife blade flat against the skin to minimize wasting any usable flesh. Repeat the process on the other side of the fillet.
When removing the skin, make sure to discard any bits of skin, scales, or bones that may have been left behind on the fillet.
Properly discarding these scraps will help ensure the safety of anyone consuming the walleye fillet. Removing the skin may take some practice, but with patience and a steady hand, you’ll quickly get the hang of it.
Once the skin is removed, you can move onto the next step of trimming the Y-bones from the fillet.
Trimming the Y-bones from the Walleye Fillet
After removing the skin from the walleye fillet, you may notice some small, Y-shaped bones that run down the center of the fillet. These bones can be tricky to remove but are necessary for a pleasant eating experience.
To remove, use a pair of pliers to firmly grasp the tip of the bone and gently pull it up and out of the fillet at a 45-degree angle.
Repeat this process for all visible Y-bones. If you find it difficult to see the bones, hold the fillet up to the light to help locate them.
Once all the Y-bones have been removed, you can continue with your preferred method of preparing the fillet.
Cleaning and Storing the Walleye Fillets
After filleting the walleye, it’s essential to clean the fillets properly to remove any remaining scales, bones, or debris. Rinse the fillets under cold water and pat them dry with a paper towel.
If you plan to store the fillets, place them in an airtight plastic or vacuum-sealed bag to prevent freezer burn.
Make sure to label the bag with the date and type of fish. To maximize the freshness and flavor of the fillets, it’s best to consume them within 2-3 days of filleting.
If properly stored in the freezer, walleye fillets can last up to six months.
However, some experts recommend consuming them within three months to ensure optimal quality. Before cooking the fillets, it’s best to inspect them for any remaining bones.
Use a pair of pliers or tweezers to remove any Y-bones you might have missed during the filleting process.
Make sure to dispose of any unused parts, such as the head, skin, and entrails, correctly. Overall, proper cleaning and storage are essential to ensure the quality and safety of walleye fillets.
Follow these simple steps to keep your fillets fresh and delicious for longer.
Tips for Efficient and Safe Walleye Filleting
Efficient and safe walleye filleting requires attention to detail and proper technique. To achieve the best results, consider the following tips:
- Use a sharp fillet knife to make each cut clean and smooth. Dull knives can cause injury and produce jagged fillets.
- Cut parallel to the spine of the fish when removing the fillet, ensuring that the blade remains close to the bones to maximize yield and minimize waste.
- Keep the work area clean and dry to reduce the risk of slips and falls. Use a non-slip cutting board to ensure stability.
- Take your time and focus on each cut to avoid damaging the flesh or breaking the bones, which can make filleting more difficult.
- When cleaning the fillets, remove any remaining bones and membrane to improve the texture and taste of the fish.
- Always wash your hands and equipment thoroughly with warm soapy water after filleting and handling raw fish to prevent the spread of bacteria.
By following these tips, you can efficiently and safely fillet a walleye, resulting in delicious, boneless fillets for cooking or freezing.
Common Mistakes to Avoid When Filleting Walleye with a Fillet Knife
Common mistakes to avoid when filleting walleye with a fillet knife include using a dull or unsuitable blade, not properly securing the fish, using the wrong angle or pressure while cutting, and not removing all of the bones from the fillet. It’s essential to use the right tools and to keep them in good condition, such as sharpening the blade before use and regularly cleaning and maintaining the knife.
Additionally, make sure to firmly hold the fish in place while filleting to reduce the risk of injury or uneven cuts.
Cutting at the correct angle, with even pressure, and using a smooth motion can make a significant difference in the final outcome of the fillet. Lastly, it’s crucial to remove all of the Y-bones from the fillet to ensure a pleasant dining experience for yourself and your guests.
Preparing the Unused Parts of the Walleye – Roe, Liver, and Cheeks
Don’t let the unused parts of your walleye go to waste. There are several ways to prepare the roe, liver, and cheeks for cooking, providing additional flavor and nutrients.
Roe, also known as fish eggs, can be sautéed or fried and served as a side dish or appetizer.
It can also be added to sauces or used as a topping for fish dishes. However, it is important to remove the membrane surrounding the roe before cooking.
Walleye liver can be cooked in a similar way to other types of liver and can be used in pâtés or added to stews and soups to enhance flavor.
It is important to note that consuming too much walleye liver can lead to vitamin A toxicity, so moderation is key. The cheeks of the walleye are a highly sought-after delicacy and are often compared to scallops.
They can be removed by cutting off the head and using a spoon to scoop out the cheek meat.
It is recommended to remove the gills, as they can harbor harmful bacteria. Overall, preparing and consuming the unused parts of your walleye can enhance your culinary experience and provide valuable nutrients.
Recipes for Cooking Walleye Fillets
There are plenty of recipes for cooking walleye fillets, each of which delivers a unique flavor profile. One popular method is pan-frying the fillets in butter, garlic, and lemon juice.
Season the fillets with salt and pepper, then fry them on both sides until they are golden brown.
Serve them with a side of roasted vegetables or a salad for a complete meal. Walleye fillets also taste great when baked or grilled.
To bake the fillet, preheat the oven to 400°F and place the fillets on a lined baking sheet.
Cover the fillets with a lemon-butter mixture or your preferred seasoning, then bake for 10-12 minutes, or until the fish is fully cooked. To grill, preheat the grill to medium heat and grill the fillets for 3-4 minutes per side.
If you prefer a spicy flavor, try making a blackened walleye fillet.
Rub the fillet with a blackened seasoning of your choice, then pan-fry or grill until fully cooked. This dish pairs well with a side of rice and grilled vegetables.
For a creative twist, consider making walleye tacos.
Season the fillets with taco seasoning and fry them in a pan. Once cooked, place them in a soft taco shell with shredded cabbage, avocado, and salsa.
This delicious meal is perfect for a summer day.
Lastly, for a healthy option, try poaching walleye fillets in a lemon-herb broth. Bring the broth to a boil, then add the fillets and let them cook for 4-5 minutes until fully cooked.
Serve with a side of steamed vegetables or rice.
No matter which recipe you choose, walleye fillets are a versatile and delicious protein that can be cooked in a variety of ways.
Final Verdict
Filleting a walleye can be a daunting task, but with the right fillet knife and technique, it is a manageable task that yields delicious results. Remember to properly prepare the walleye and hold the fillet knife at the correct angle and grip.
Removing the skin and Y-bones can take some practice, but with patience and persistence, you will master it in no time.
Always prioritize safety and efficiency when filleting walleye and avoid common mistakes such as applying too much pressure or cutting too deeply. By following the steps outlined in this article, you can confidently prepare fresh and delicious walleye fillets at home.
Don’t forget about the unused parts of the walleye such as roe, liver, and cheeks, which can be used in delicious recipes.
With a little practice, filleting a walleye using a fillet knife can be a rewarding experience that will impress your family and friends.