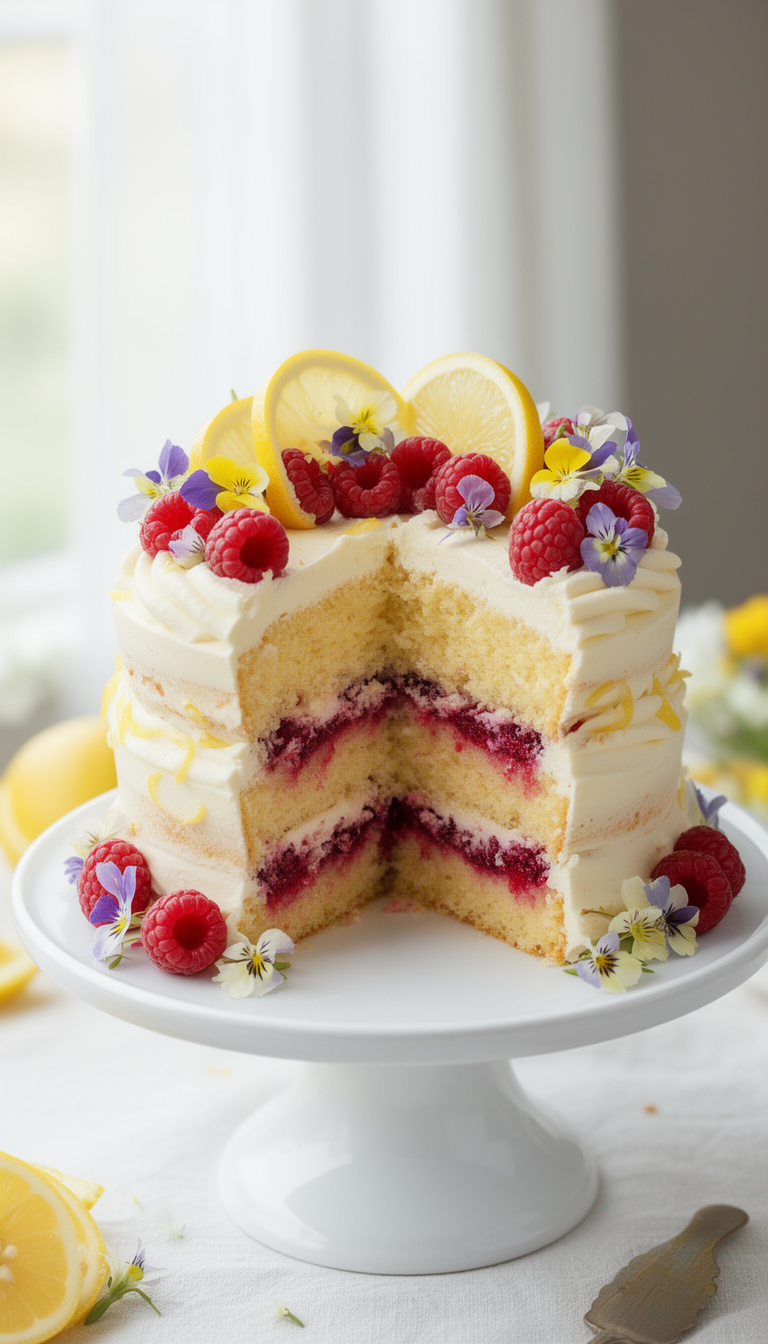
Show-Stopping Lemon Raspberry Layer Cake for Spring Parties
Three layers of bright lemon cake stacked with fresh raspberry filling and wrapped in silky lemon buttercream — it’s the kind of cake that earns a genuine gasp when you set it on the table.
It’s a project, no question. But the components break down into manageable stages you can spread across two days, which makes it far less stressful than it looks.
The payoff is a cake that tastes as vivid as it looks — tart lemon, jammy raspberries, and a buttercream that’s rich without being cloying.
Getting Your Lemon Cake Layers to Bake Flat and Even
Domed cake layers are the enemy of a clean stack. Two things help most: don’t overmix the batter once the flour goes in, and use cake strips — those damp fabric bands you wrap around the outside of your pans. They insulate the edges so the batter rises at the same rate as the center.
If you don’t have strips, wet paper towels secured with foil work in a pinch. Let the baked layers cool completely in the pan for 10 minutes, then turn them onto a wire rack. Wrap them tightly in plastic wrap once they’re fully cool — even an hour of air drying makes them harder to torte.
Editor’s Choice


Making a Raspberry Filling That Won’t Slide Out
Fresh raspberry filling needs a dam of buttercream piped around the edge of each layer before you spread it on. Without that barrier, the filling migrates outward under the weight of the next cake layer and you’ll see it bulging at the sides.
Cook the filling until it’s thick enough to mound on a spoon — about 8 to 10 minutes over medium heat. A filling that’s too loose will soak into the cake and make the layers slip. Let it cool completely and refrigerate it until it’s almost jam-like in consistency before assembling.
Make-Ahead and Storage Notes
- The cake layers can be baked up to 2 days ahead. Wrap them tightly in plastic wrap and refrigerate, or freeze for up to 1 month. Thaw overnight in the refrigerator before assembling.
- The raspberry filling can be made up to 3 days in advance and kept covered in the refrigerator.
- The buttercream can be made 2 days ahead and stored in an airtight container in the fridge. Let it come to room temperature and re-beat for 2 minutes before using.
- Room-temperature ingredients matter for the cake batter. Cold butter won’t cream properly, and cold eggs can cause the batter to curdle. Pull everything out at least 1 hour before you start.
- Cake flour gives the layers a noticeably softer, more tender crumb than all-purpose flour. If you only have all-purpose, substitute with 2 ¼ cups all-purpose flour plus ¼ cup cornstarch, whisked together.
Show-Stopping Lemon Raspberry Layer Cake for Spring Parties
Lemon Cake Layers
Raspberry Filling
Lemon Buttercream
Decoration
- 🔪Three 8-inch round cake pans
- 🥣Stand mixer with paddle and whisk attachments (or hand mixer)
- ⚡Cake strips or damp paper towels for even baking
- 🍳Wire cooling racks
- 🥄Medium saucepan
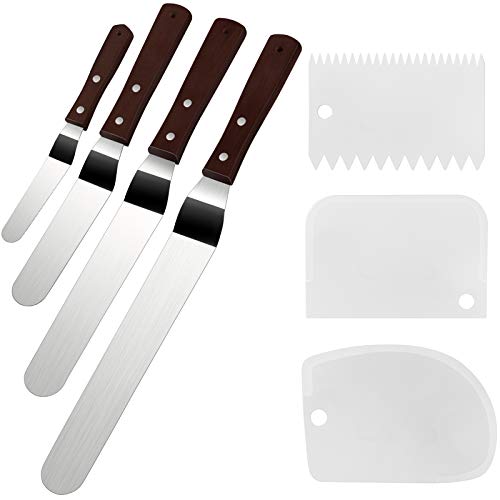
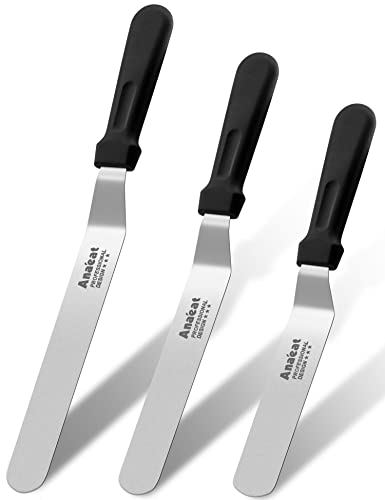
- 📏Offset spatula (small and large)
- 🔧Bench scraper
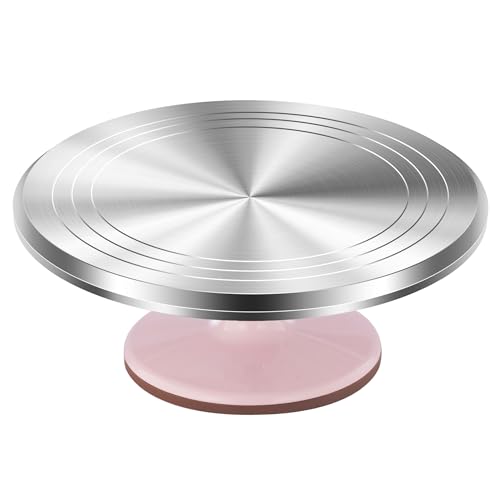
- 🍰Cake turntable
- 🫙Piping bag with a large round tip
- 🌡️Microplane zester
- 🔪Digital kitchen scale
Prep the Pans
Heat your oven to 350°F (175°C). Grease three 8-inch round cake pans with butter, line the bottoms with parchment rounds, then grease the parchment and dust lightly with flour.
Tap out any excess. If you have cake strips, soak them in cold water and wring them out, then secure them around the outside of each pan.
Mix Dry Ingredients
Whisk together the cake flour, baking powder, baking soda, and salt in a medium bowl. Set aside.
In a small measuring cup, stir the lemon zest into the buttermilk and let it sit for 5 minutes — it’ll look slightly curdled, which is fine.
Cream Butter and Sugar
Beat the room-temperature butter and sugar in the bowl of a stand mixer on medium-high speed for 4 to 5 minutes, until the mixture is noticeably pale and fluffy. Scrape down the sides of the bowl.
Add the eggs one at a time, beating for 20 seconds after each addition. Pour in the vanilla extract and lemon juice, and mix on medium for 30 seconds.
Build the Batter
Reduce the mixer to low speed. Add the flour mixture in three additions, alternating with the buttermilk mixture in two additions — start and end with flour.
Mix each addition only until just combined. The moment you can’t see dry streaks, stop the mixer.
Finish folding by hand with a spatula to make sure the bottom of the bowl is fully incorporated. Overmixing here will make the layers tough.
Bake the Layers
Divide the batter evenly among the three prepared pans — a kitchen scale makes this easy, about 450g per pan. Smooth the tops with an offset spatula.
Bake on the center rack for 26 to 30 minutes, rotating the pans halfway through. The layers are done when the tops spring back when lightly pressed, a toothpick inserted in the center comes out with just a few moist crumbs, and the edges have pulled away slightly from the pan sides.
Cool and Chill Layers
Let the layers cool in their pans on wire racks for 10 minutes. Run a thin knife around the edges, then invert each layer onto a rack and peel off the parchment.
Flip them right-side up and let them cool completely — at least 1 hour. Once fully cool, wrap each layer tightly in plastic wrap and refrigerate for at least 30 minutes before assembling.
Cold layers are much easier to handle and less prone to crumbling.
Cook Raspberry Filling
Combine the raspberries, sugar, and lemon juice in a medium saucepan over medium heat. Stir and cook for 5 minutes until the berries break down completely.
In a small bowl, whisk the cornstarch with the cold water until smooth, then pour it into the raspberry mixture. Continue cooking, stirring constantly, for 3 to 5 more minutes until the filling is thick, glossy, and holds its shape on a spoon.
Transfer to a bowl, press plastic wrap directly onto the surface, and refrigerate for at least 1 hour until cold and firm.
Make the Buttercream
Beat the room-temperature butter in the stand mixer on medium-high speed for 3 minutes until pale and creamy. Reduce speed to low and add the sifted powdered sugar in three additions, mixing until incorporated after each.
Add the lemon juice, lemon zest, and salt. Increase speed to medium-high and beat for 3 minutes.
Add heavy cream one tablespoon at a time until the buttercream is smooth, spreadable, and holds soft peaks. It should be thick enough to pipe but not stiff.
Stack and Fill
Place the first chilled cake layer on a cardboard round set on your turntable. Fit a piping bag with a large round tip and fill it with buttercream.
Pipe a border of buttercream around the outer edge of the layer — this is your dam. Spoon half the cold raspberry filling inside the dam and spread it gently to the buttercream border.
Set the second layer directly on top, pressing lightly to level it. Repeat with another buttercream dam and the remaining filling.
Place the third layer on top, bottom-side up for a flat surface.
Crumb Coat and Frost
Apply a thin crumb coat of buttercream over the entire cake using an offset spatula — just enough to seal in the crumbs, not a finished coat. Refrigerate the cake uncovered for 20 to 30 minutes until the crumb coat feels firm to the touch.
Once set, apply the final layer of buttercream generously over the top and sides. Hold a bench scraper against the side of the cake and rotate the turntable to smooth the sides.
Use the offset spatula to sweep the top clean.
Chill, Decorate, Serve
Refrigerate the finished cake for at least 1 hour before decorating and serving. When ready to serve, arrange fresh raspberries on top in a loose cluster, tuck in the halved lemon slices, and add mint sprigs if you’d like.
Slice with a sharp knife wiped clean between cuts. The cake holds well at room temperature for up to 2 hours at a party; refrigerate leftovers covered for up to 3 days.
Per serving (1 slice (1/12 of cake)) — values are estimates