How To Fillet a Pollock Using a Fillet Knife? Flawlessly!
Key Takeaways:
- A sharp fillet knife is essential for filleting a pollock properly.
- Mastering the technique of filleting a pollock takes practice and patience.
- Removing the skin from the fillet can be challenging but is necessary for a delicious final product.
- Properly storing and handling your fillet knife can extend its lifespan and maintain its effectiveness.
Are you tired of struggling to fillet your pollock? Look no further! As an expert in seafood preparation, I am here to share with you my tried and true tips for filleting a pollock using a fillet knife.
With just a few essential tools and some simple techniques, you’ll be able to remove the scales and skin, trim off any remaining bones, and maximize the yield of your fillet.
Plus, I’ll give you expert advice on storing your fillet for later use and cleaning up with ease. Let’s get started!
| Steps to Fillet a Pollock | Important Tools |
|---|---|
| 1. Lay the fish on a flat surface with the belly facing up | Fillet knife, cutting board, gloves |
| 2. Cut through the skin behind the head, down to the spine | |
| 3. Follow the spine with the knife, cutting through the rib bones to the tail | |
| 4. Use the knife to separate the flesh from the spine, starting at the head and slicing downwards | |
| 5. Continue to use the knife to gently separate the flesh from the bones, working towards the tail | |
| 6. Repeat on the other side of the fish |
Essential tools needed for filleting a pollock
Before you start filleting a pollock, there are a few essential tools you’ll need to have on hand. Here’s a quick rundown:
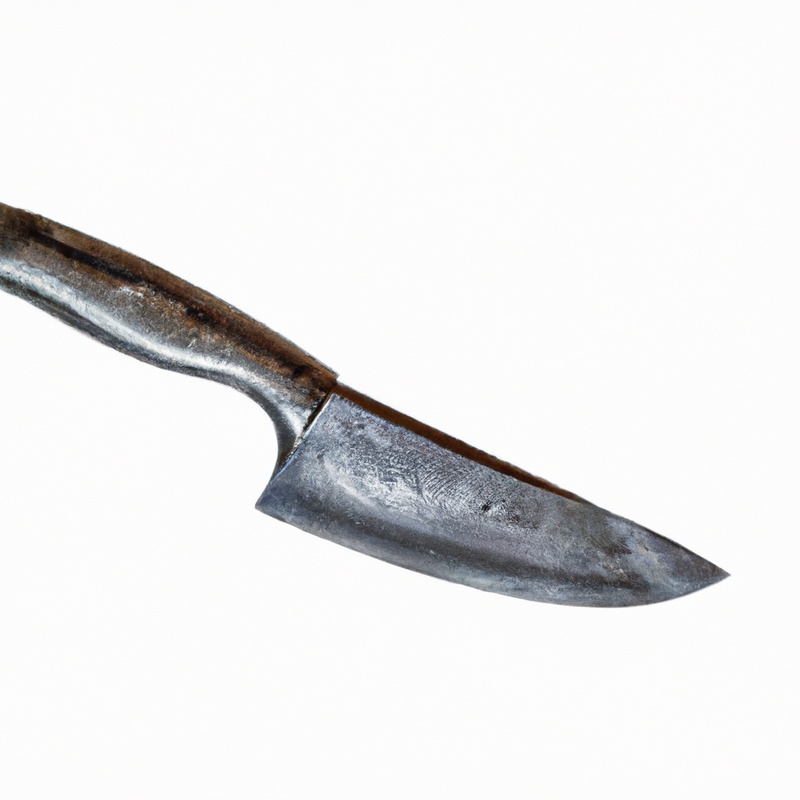
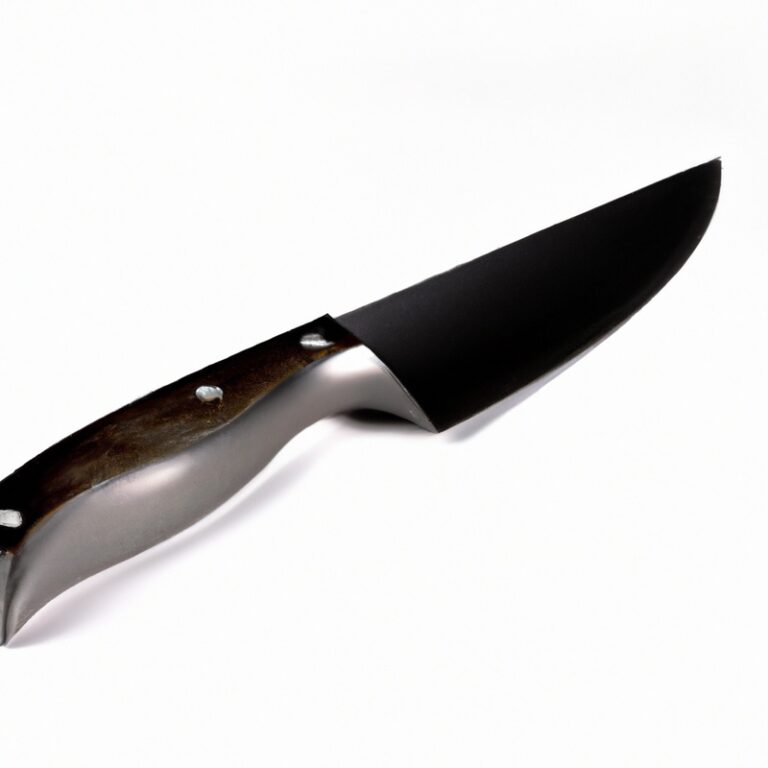
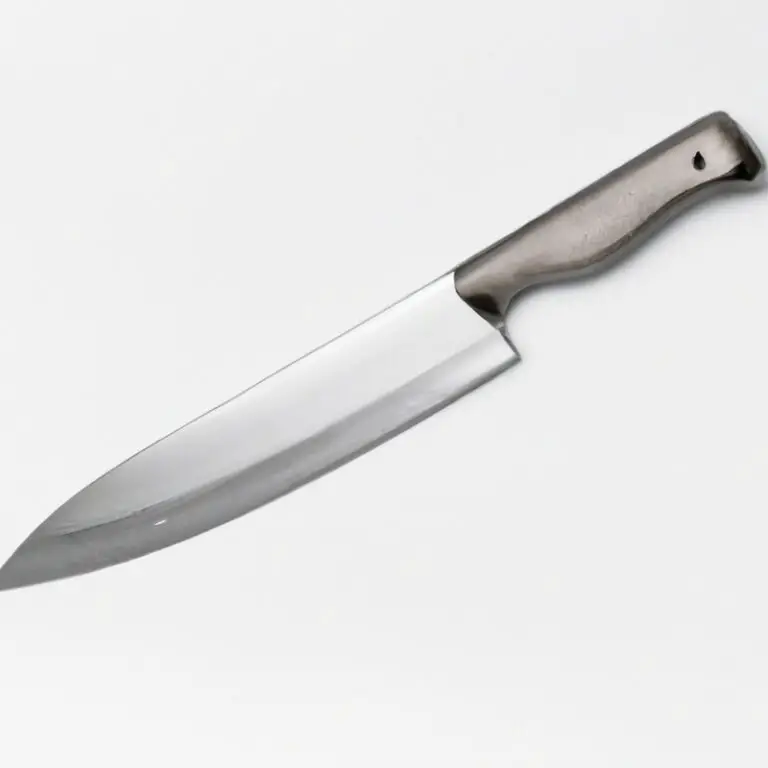
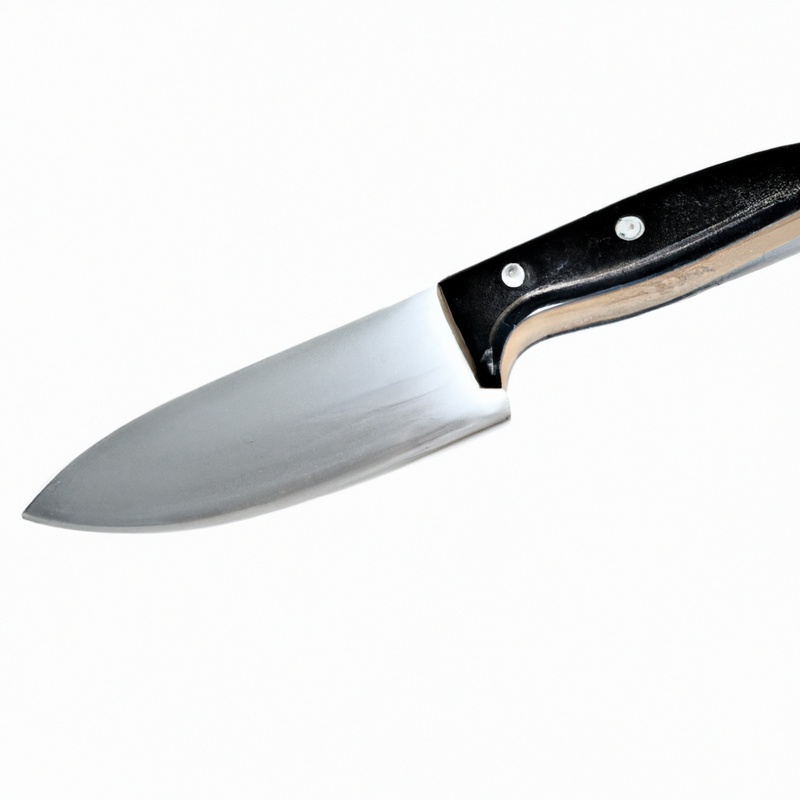
- Fillet knife: A fillet knife is the most important tool you’ll need. Choose a sharp fillet knife with a flexible blade to easily maneuver around bones and contours.
- Cutting board: Choose a cutting board that is large enough to hold the fish and has a non-slip surface to prevent the board from sliding around.
- Tweezers or pliers: Use tweezers or pliers to remove any leftover bones from the fillet.
- Fish scaler: Use a fish scaler to remove the scales from the skin before filleting.
- Bowl of water: Keep a bowl of water nearby to rinse your hands and the fish as you work.
With these essential tools, you’ll be well-equipped to fillet a pollock with ease. Remember to always handle your tools and the fish with care.
Preparing the pollock for filleting
Before you start filleting a pollock, it’s important to properly prepare the fish. Begin by washing the fish thoroughly under cold water and patting it dry with a clean towel.
Next, place the pollock on a clean cutting board and remove the head with a sharp knife.
Discard the head and any entrails. You can then either scale the fish or make a cut below the gills and peel the skin off with pliers.
If scaling, use a brush or a dull knife to remove the scales, working from the tail towards the head.
Once scaled or skinned, remove the fins by making a cut where the fin meets the body and pulling it away. Finally, rinse the fish again and place it back on the cutting board to begin filleting.
Properly preparing the pollock will make the filleting process easier and more efficient while also producing a cleaner and tastier fillet.
Handling the fillet knife safely
When it comes to handling the fillet knife safely, there are a few key points to keep in mind. First, make sure the knife is sharp and in good condition before using it.
Dull or damaged knives can slip and cause injury.
Second, always keep your fingers and other body parts away from the blade while cutting. Use a firm grip and steady pressure to guide the knife through the fish, and be sure to keep the blade pointed away from your body at all times.
Finally, take your time and work slowly and carefully, especially if you are new to filleting.
Rushing can lead to mistakes and accidents, so it’s better to take it slow and get the job done safely and properly. By following these guidelines, you can ensure that you handle your fillet knife safely and effectively every time.
Beginning the filleting process
To start the filleting process, place the pollock on a cutting board and insert the fillet knife behind the gills, making a cut towards the head of the fish. Turn the knife around and cut alongside the backbone towards the tail of the fish, using the ribs as a guide.
Gently lift the fillet away from the bones and use the knife to cut through the ribcage to remove the fillet completely.
Repeat the process on the other side of the fish. It’s important to maintain a steady hand and keep the blade close to the bones to maximize the yield of the fillet.
Removing the scales and skin from the fillet
To remove the scales and skin from the fillet, first, place the fillet skin-side down on a clean surface. Use a fish scaler or a dull knife to scrape off the scales carefully.
Starting from the tail, slowly run the scaler or knife towards the head, removing all the scales.
Rinse the fillet with cold water to remove any remaining scales. Next, hold the fillet by the tail and use the fillet knife to make a shallow cut between the flesh and the skin at the tail end.
Grip the skin with one hand and the knife with the other and, using a back-and-forth sawing motion, slowly work the knife between the skin and flesh, keeping the blade angled downwards.
Continue sawing until the fillet separates from the skin completely. Then, flip the fillet over and repeat the process on the other side.
Once both sides are skinless, use the fillet knife to trim any remaining bits of skin or dark meat from the fillet.
Removing the scales and skin from the fillet is a crucial step in the filleting process as it improves the texture and taste of the final product. With a little practice, this process can be done quickly and efficiently, resulting in a delicious, skinless fillet ready for the next steps in the filleting process.
Trimming the fillet to remove any remaining bones
Once you have removed the skin from the fillet, it’s time to trim it to remove any remaining bones. This step is crucial to ensure that your fillet is free of any unwanted bony texture.
Grab a pair of pliers to help you remove the tiny bones.
Run your fingers over the fillet to locate the bones and use your pliers to gently pull them out. If you are having trouble finding the bones, try shining a light from underneath the fillet to help make them more visible.
Be sure to take your time and remove every bone to get a smooth, bone-free fillet.
Once you have finished trimming the fillet, rinse it with cold water and pat it dry with a paper towel. The fillet is now ready for use in your favorite pollock recipe.
Tips for maximizing the yield of the fillet
Tips for maximizing the yield of the fillet:
- Use a sharp fillet knife to make precise cuts and avoid tearing the flesh, which can result in less yield.
- Remove the fillet as close to the bones as possible to maximize the amount of flesh you obtain.
- Avoid cutting too deep and removing too much flesh, as this can also reduce the yield.
- Practice filleting techniques to become more efficient, allowing you to decrease the amount of waste and increase the yield.
- Consider using a fish scrapping tool to remove any remaining flesh from the bones, which can be used for soups or stews.
- Use the leftover fish carcass or head to make fish stock, which can be used as a base for soups, sauces, and chowders.
- Store the fillet properly to maintain freshness and quality, which can also impact the yield.
Storing the fillet for later use
After filleting the pollock, it’s important to properly store the fillet to maintain its freshness for later use. The best way to store the fillet is by placing it in an airtight container or wrapping it tightly in plastic wrap.
Before storing, make sure to remove any excess moisture from the fillet by patting it dry with a clean kitchen towel.
Once stored, the fillet can be refrigerated for up to three days or frozen for up to six months. It’s important to label the container with the date to ensure its freshness and to consume it within the recommended time frame.
If freezing, it’s important to first wrap the fillet tightly in plastic wrap and then in a layer of aluminum foil or freezer paper to protect it from freezer burn.
When thawing, it’s best to move the fillet from the freezer to the refrigerator and let it thaw slowly overnight. Storing the fillets for later use not only saves time but also allows for flexibility in meal planning.
With proper storage techniques, the fillet can still maintain its flavor and texture even after being stored for an extended period of time.
Cleaning up after filleting
Cleaning up after filleting is an essential step that should not be overlooked. After filleting, there will be flesh, scales, bones, and other debris left behind on your work area.
Leaving these scraps behind can lead to mess, bad odors, and even attract insects.
To clean up after filleting, you will need to dispose of the scraps properly. Use a sharp knife to scrape off any flesh remaining on the cutting board and wash the board with soap and hot water.
You can also use a disinfectant to sanitize the cutting board and your knives.
Never pour fish scraps down your sink as they can clog your drainage pipes. Instead, wrap the scraps in a plastic bag and dispose of them in the garbage.
Wipe down your work area with a clean cloth to remove any fish scales and flesh.
Finally, wash your hands thoroughly with soap and water to remove any fishy odor. Keeping your work area clean and hygienic is crucial to avoid contamination and ensure a positive cooking experience.
In summary, cleaning up after filleting is as important as filleting itself.
Dispose of scraps properly, sanitize your equipment, wipe down your work area, and wash your hands to keep everything clean and hygienic.
Step-by-step guide to filleting a pollock using a fillet knife
Step-by-Step Guide to Filleting a Pollock Using a Fillet Knife:
- Begin by placing the pollock on a clean, flat surface and making a cut behind the gills, down to the spine.
- Cut along the spine towards the tail, using a smooth motion to avoid damaging the flesh.
- Once you reach the tail, cut through the rib bones and remove the fillet.
- Repeat on the other side of the pollock.
- Remove any remaining scales using a scaler or the back of a knife.
- Use the fillet knife to carefully remove the skin from the fillet, starting at the tail and angling the knife towards the flesh.
- Check the fillet for any remaining bones and trim them out with the tip of the fillet knife.
- To maximize the yield, trim any remaining fat or dark flesh from the fillet.
- Store the fillets in a clean, sealed container in the refrigerator or freezer.
- Clean all equipment and surfaces thoroughly after filleting.
Final Verdict
Now you have all the knowledge and skills you need to fillet a pollock using a fillet knife like a pro. Armed with essential tools, safety precautions, and step-by-step instructions, you can confidently prepare the fish for cooking or storage.
Remember to prioritize safety, maximizing the yield of the fillet, and proper storage to ensure the best results.
With this guide, filleting a pollock has never been easier. So why not try it out for yourself?
You may just surprise yourself with your newfound fish filleting prowess.
Trust the process, and enjoy the fruits of your labor!

